
The accordions below will help guide you on customizing your SSCERT WordPress template website. Make sure to click on the images to see the full size image of different examples.
We are continually updating this with more common requests and questions. If you have any questions or concerns about WordPress email us at webteam@ss.ucla.edu!
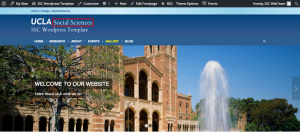
Header & Main Menu
How to change the department name in header
If you are using an older SSCERT WordPress Templates you can change the department name on your own with the instructions below.
- Click on the “Edit …” button in the admin bar located at the top of your screen.
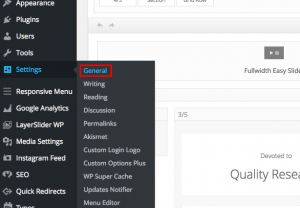
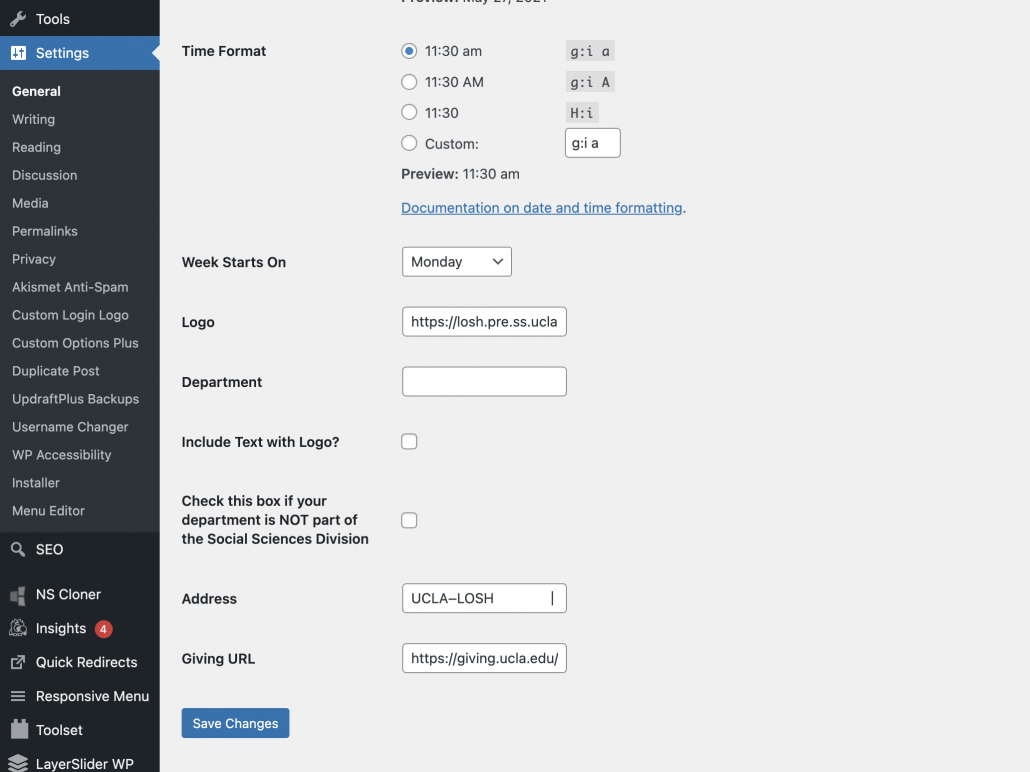
- On the left side of the page go to “Settings” -> “General”.
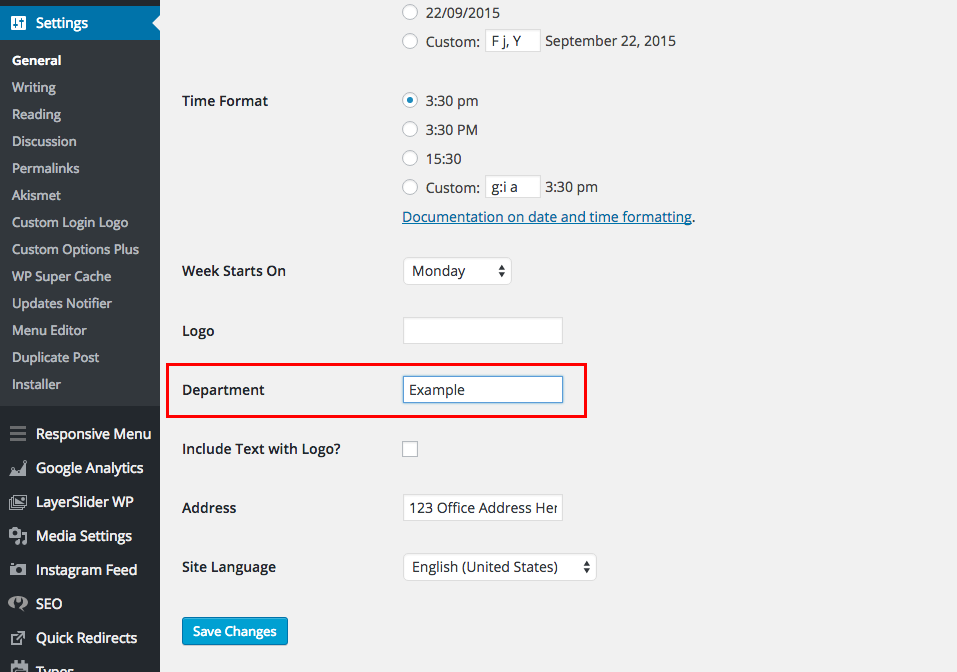
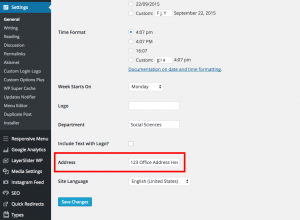
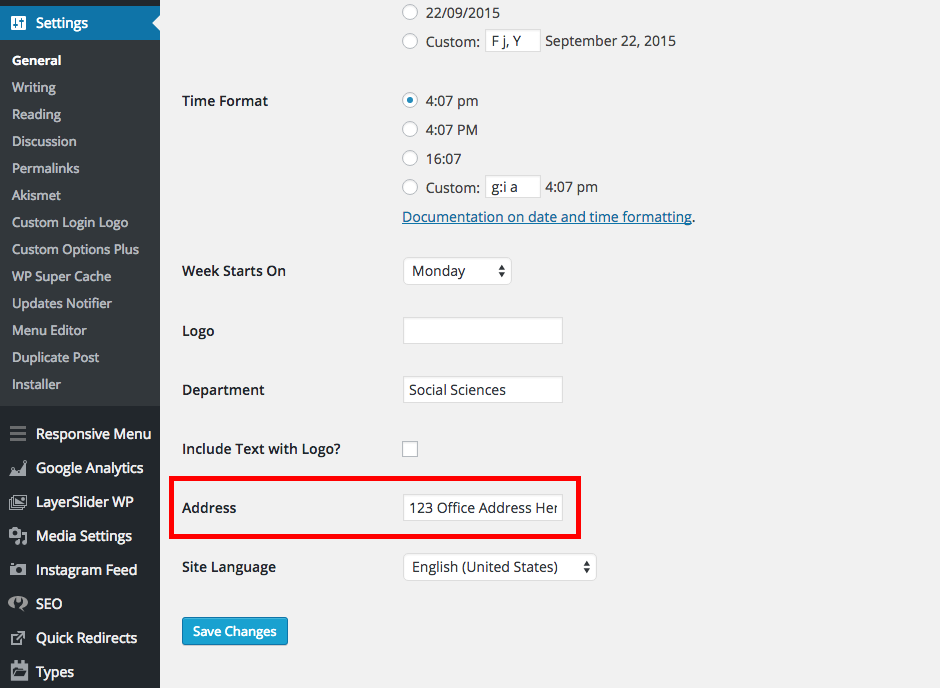
- Scroll to the bottom of the page to find the “Department” box. Fill in the section with the appropriate name of your department and press “Save Changes” once you are finished.


How to change the logo in header
Newer WordPress Templates:
- If you don’t have a copy of your department’s logos go to https://www.college.ucla.edu/brand/division/social-sciences/ to download them. Otherwise, proceed to step 2.
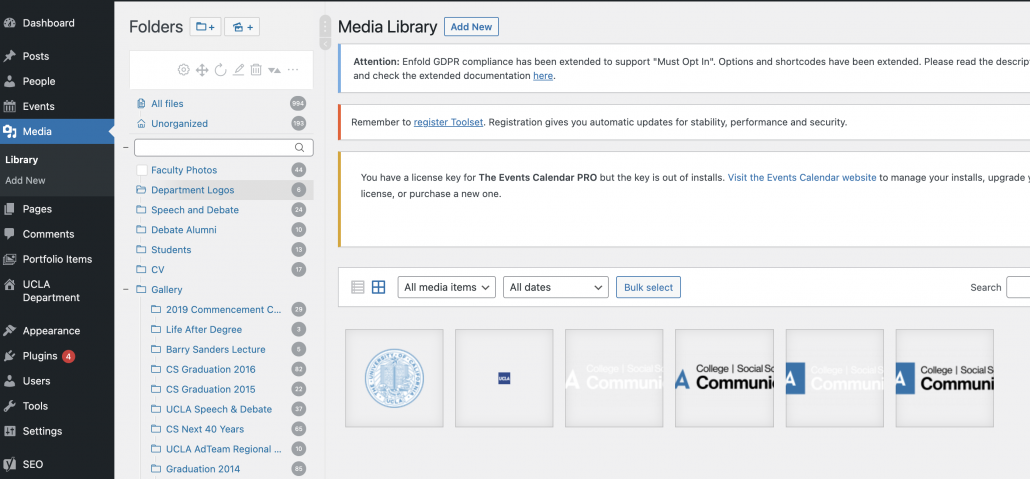
- Upload your department’s PNG logos to the “Media Library”.
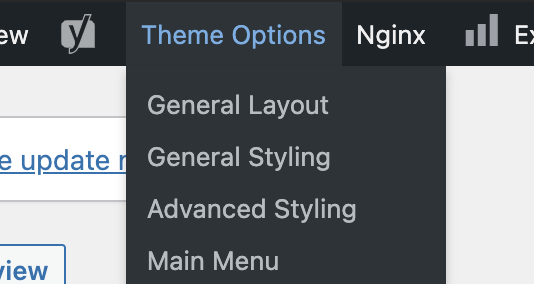
- Go to the admin bar located at the top of the page and click on “Theme Options”.

- Look for “Logo” then click “Upload” to search for the logo that was uploaded to the Media Library.
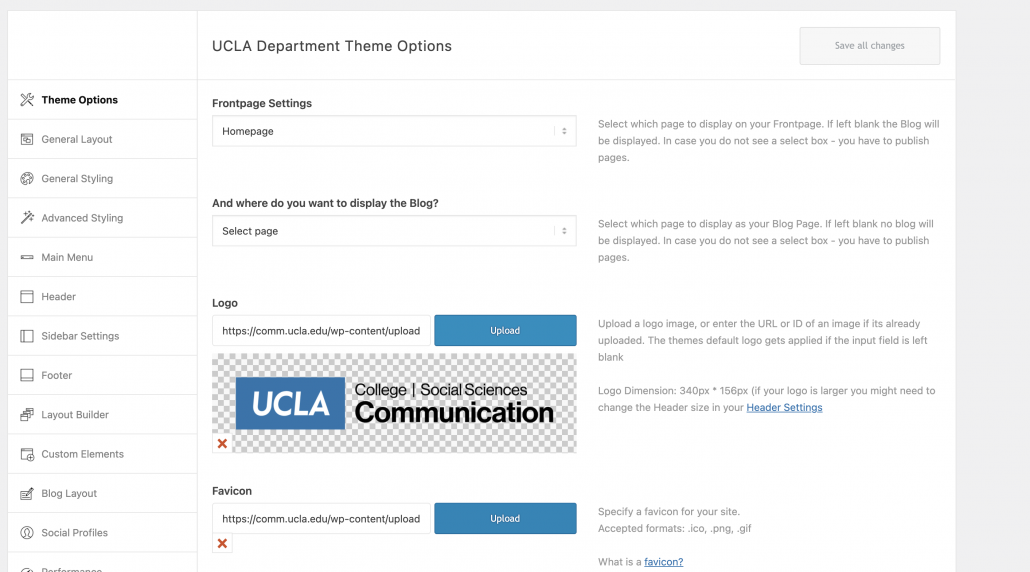
- Once the logo has been uploaded click the “Save All Changes” button on the bottom of the page.


Older WordPress Templates:
- Go to Settings and then scroll down to where it says “Logo”. Here you are going to insert the logo’s url that you got from the media library.
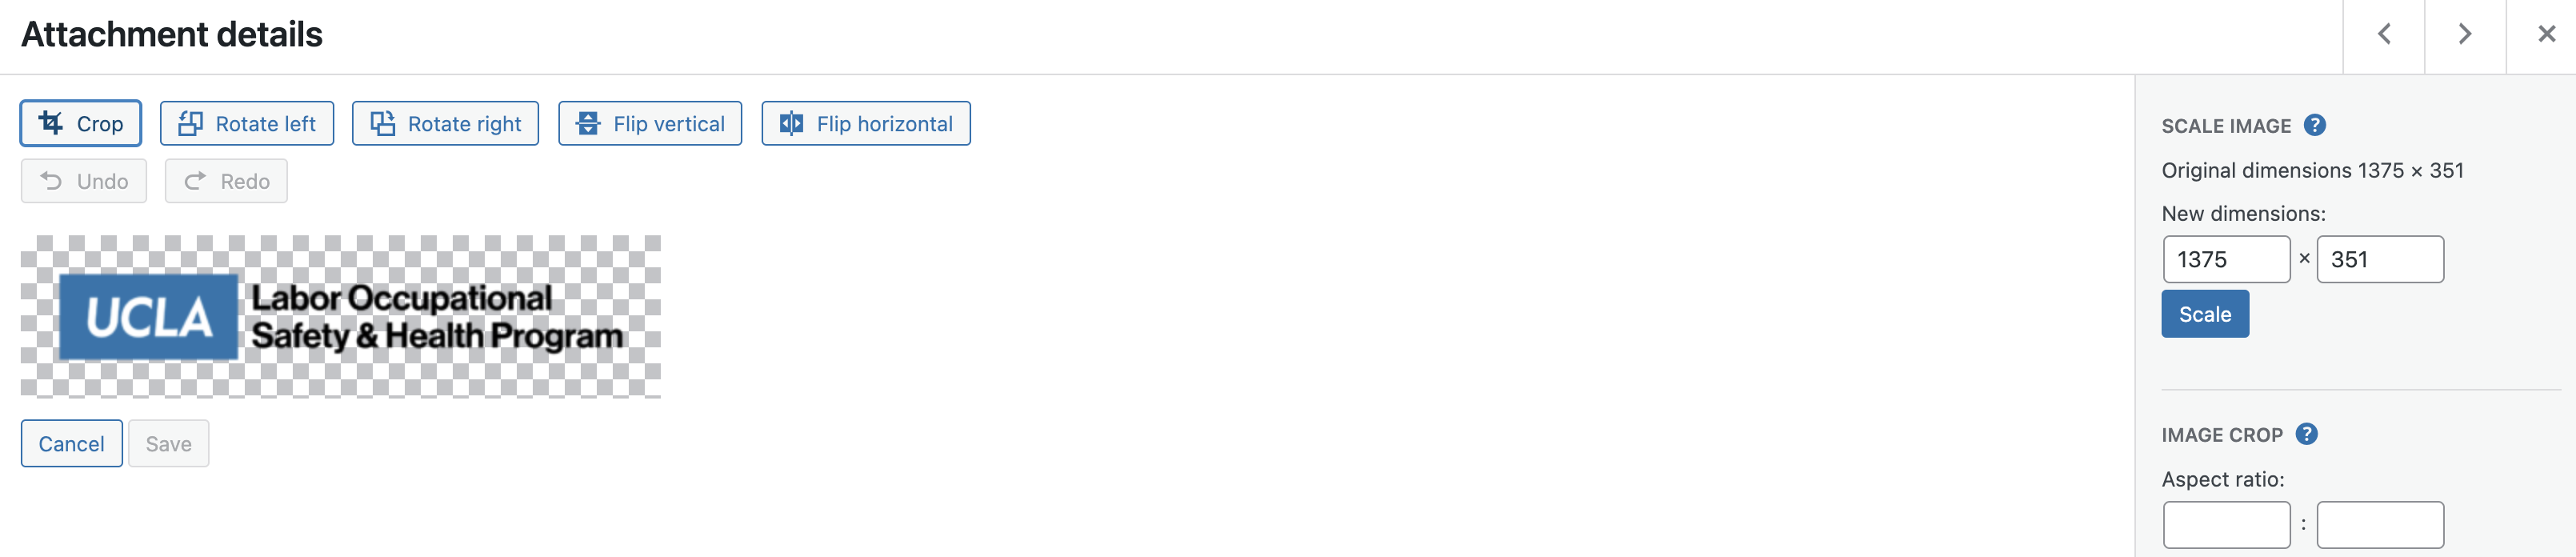
- If the logo turns out being too big in the header go to Media Library and edit the logo by clicking on “Edit image”.
- On the right look for “Scale image”. Here you can scale the logo down to the appropriate size. Your changes will save automatically. If you make a mistake, you can always revert the image back to it’s original size. A button to revert should show up right under “Scale image”.

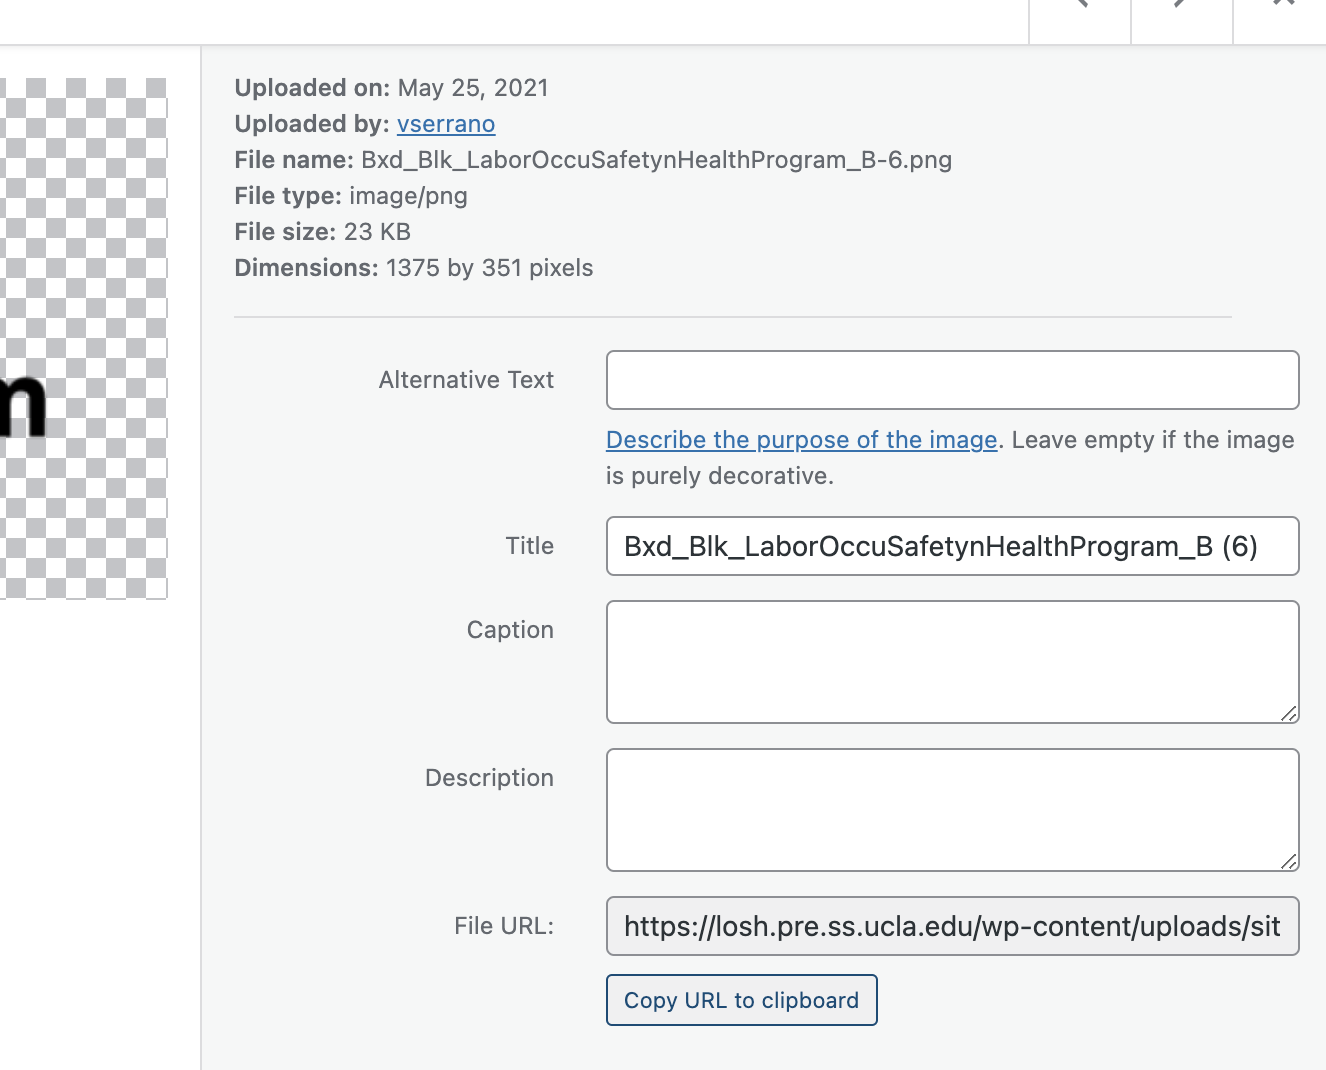
- After make sure to recopy the logo link by clicking on “Copy URL to clipboard”.
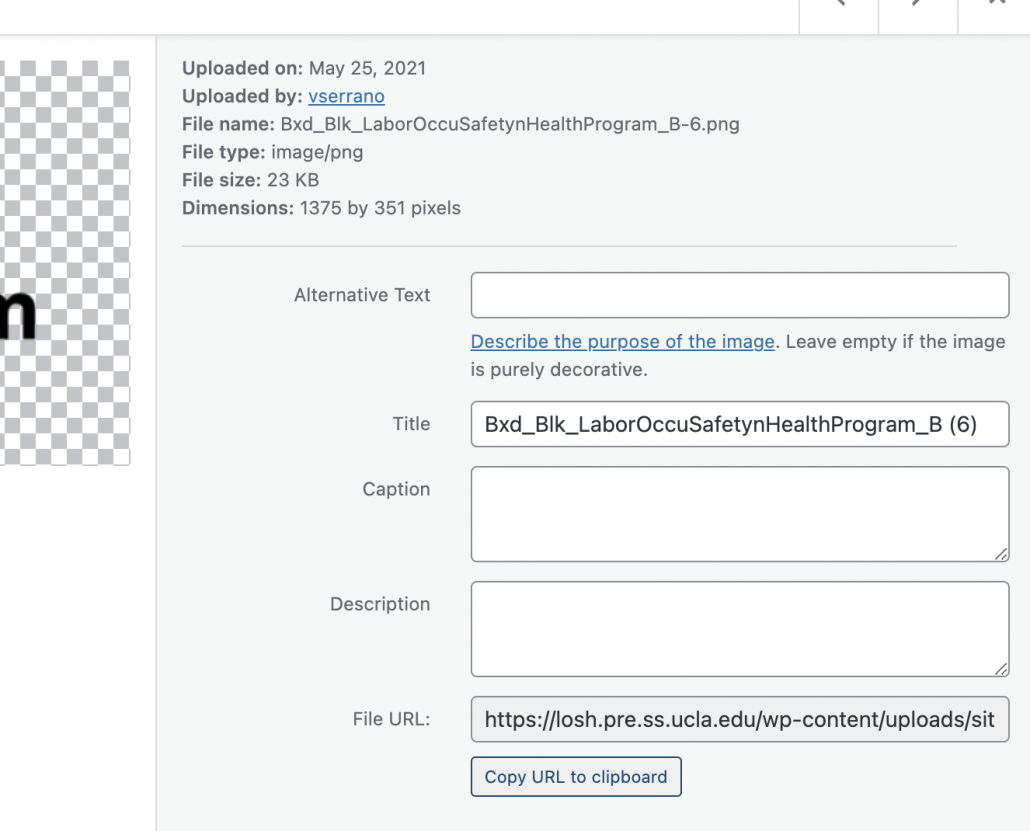
- Go back to Settings and paste the URL where it says “Logo”.


How to add social media button(s) in header
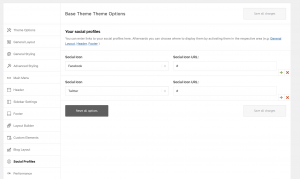
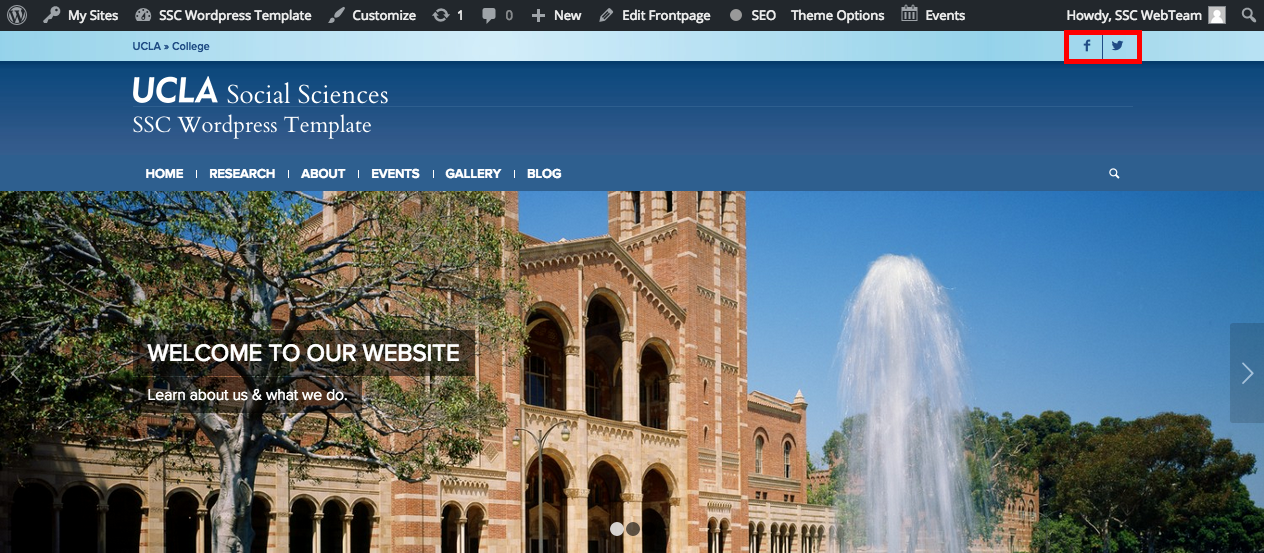
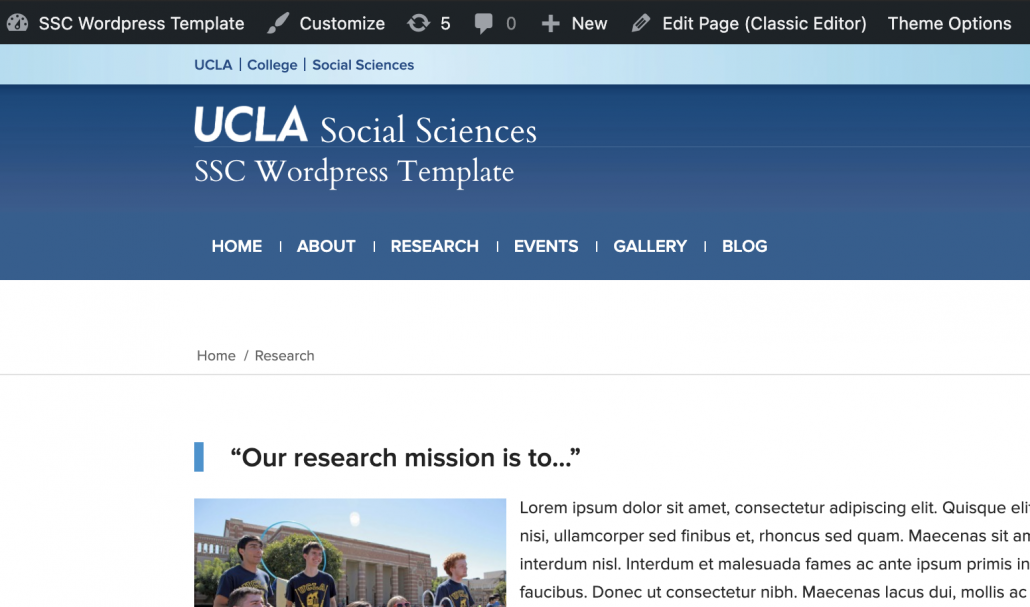
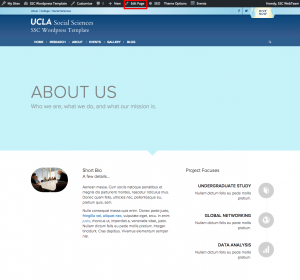
- To add social media icons to the header (boxed in red), first click on “Theme Options” in the admin bar at the top of the page.
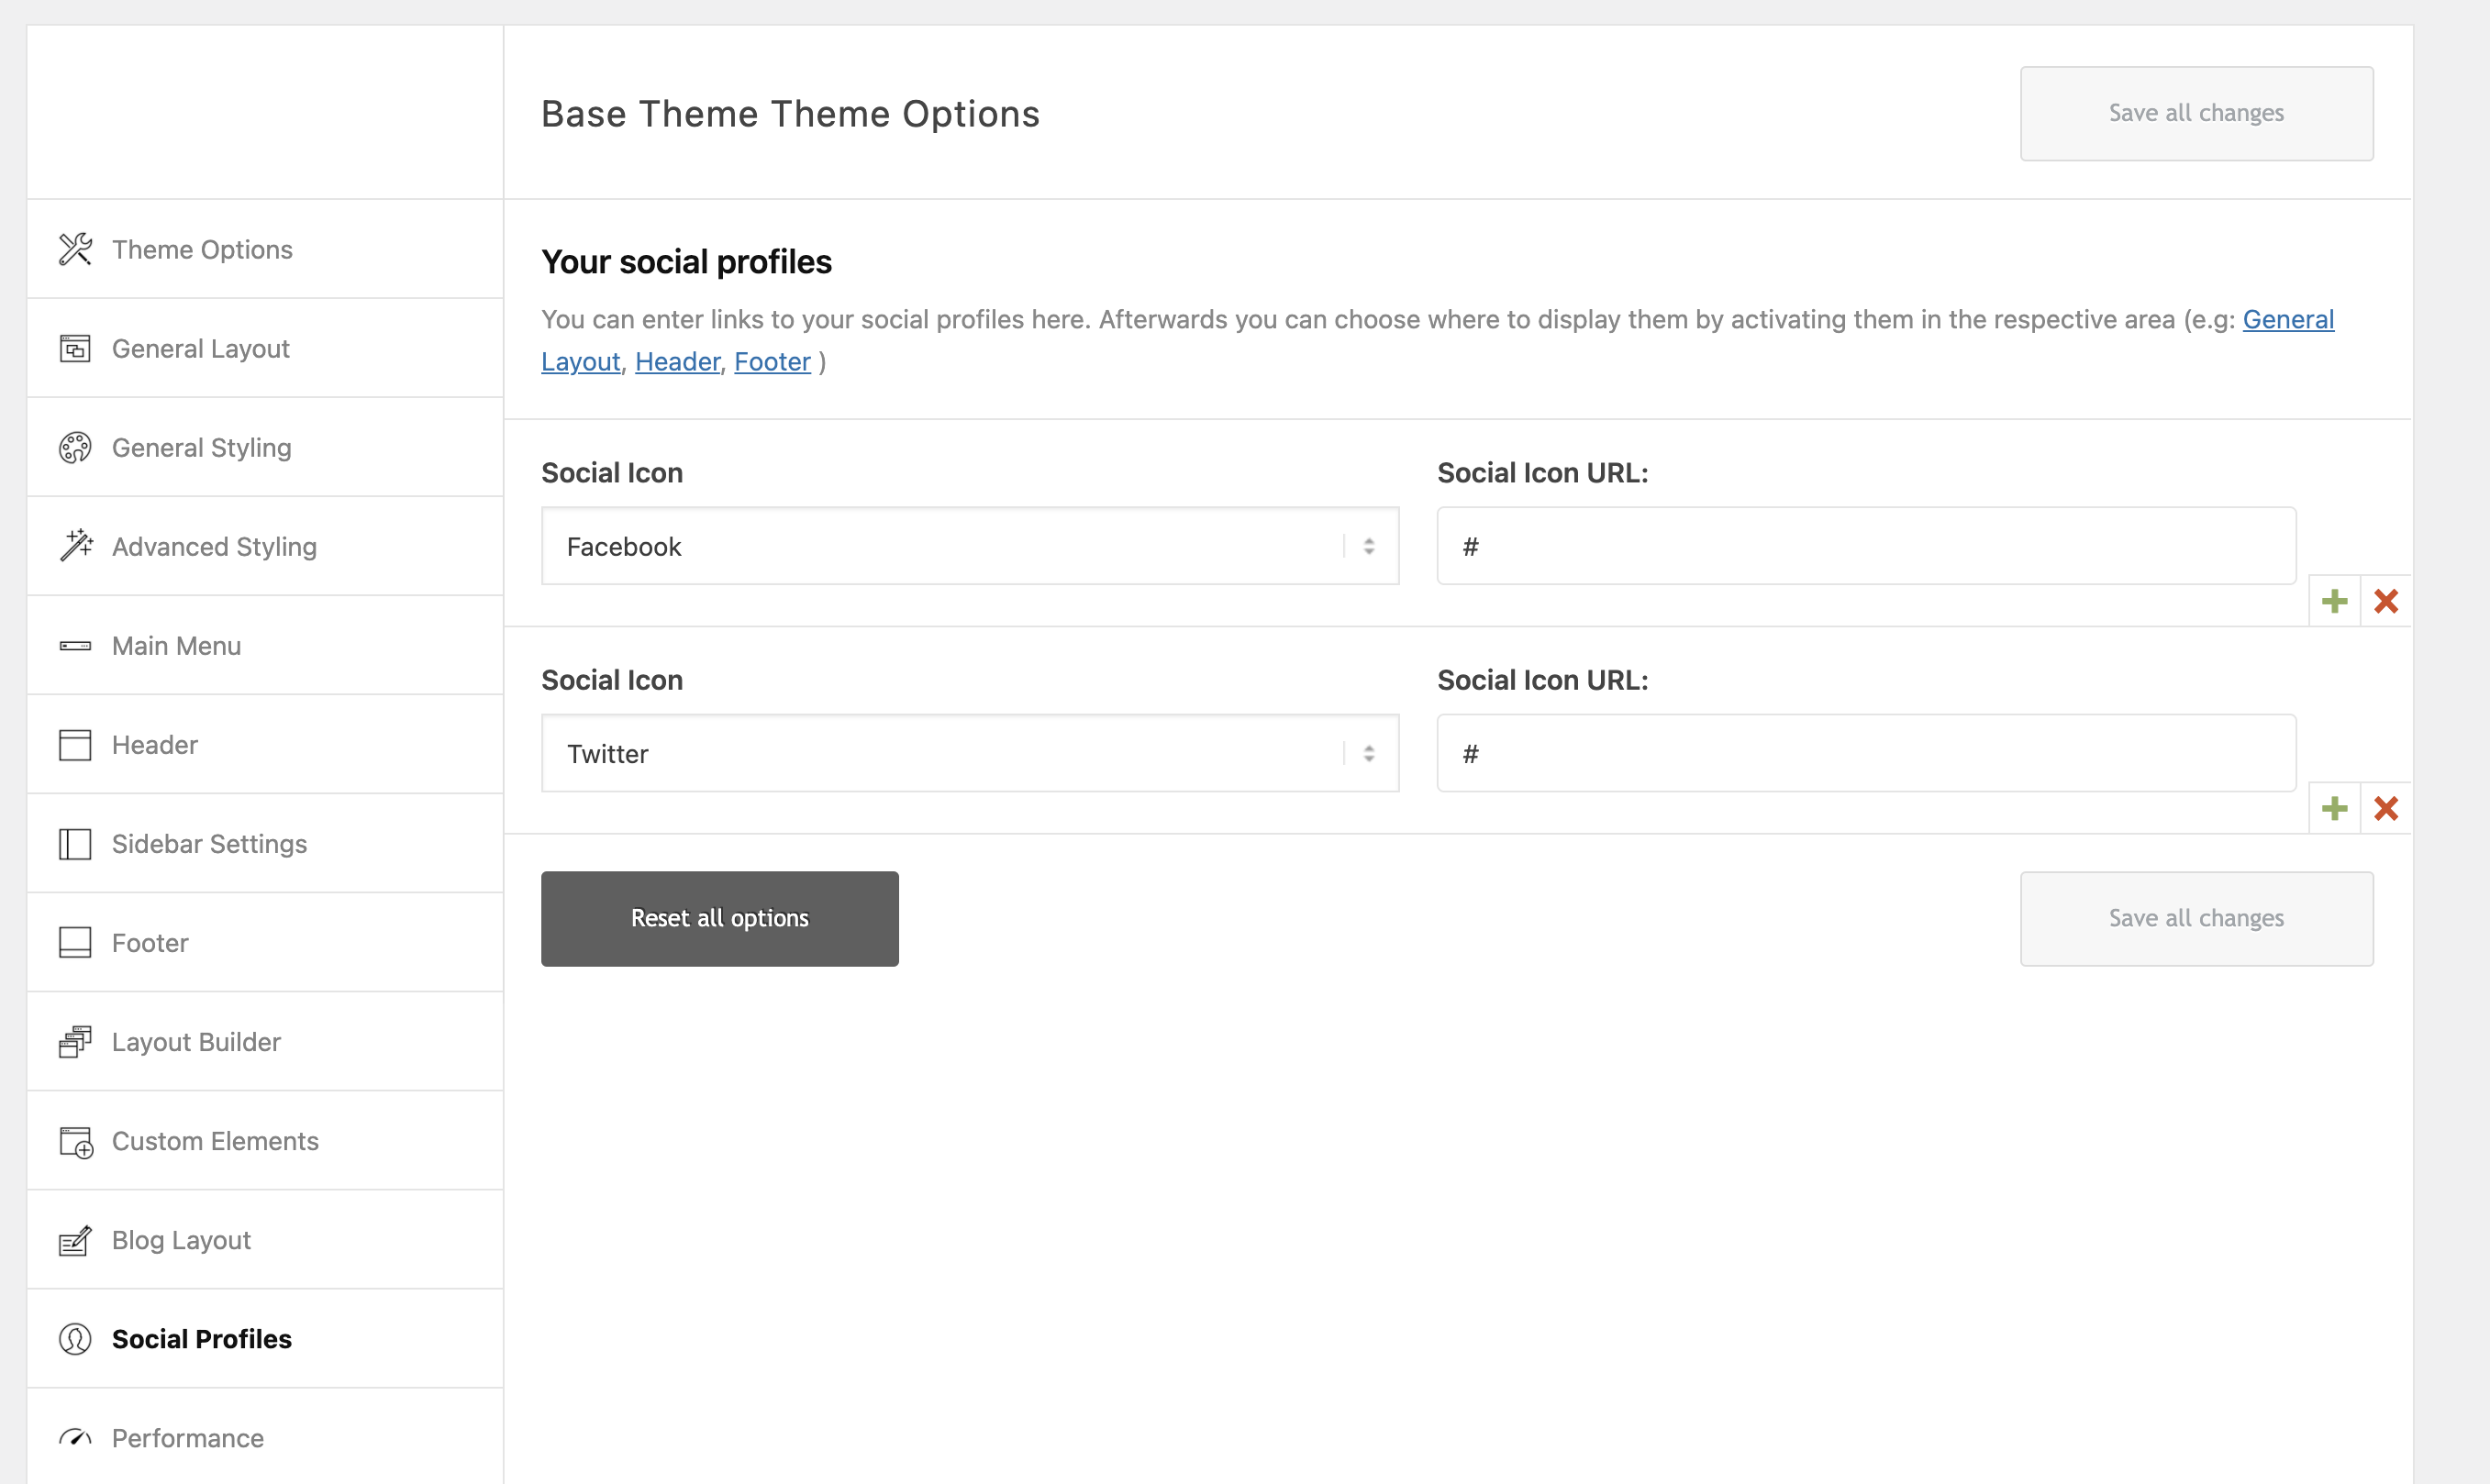
- Once you are on the “Theme Options” page, scroll down and click on “Social Profiles”.

- Select a social icon from the dropdown menu, and insert the URL to your social media account in the appropriate box. When you are done make sure to click “Save all changes”.
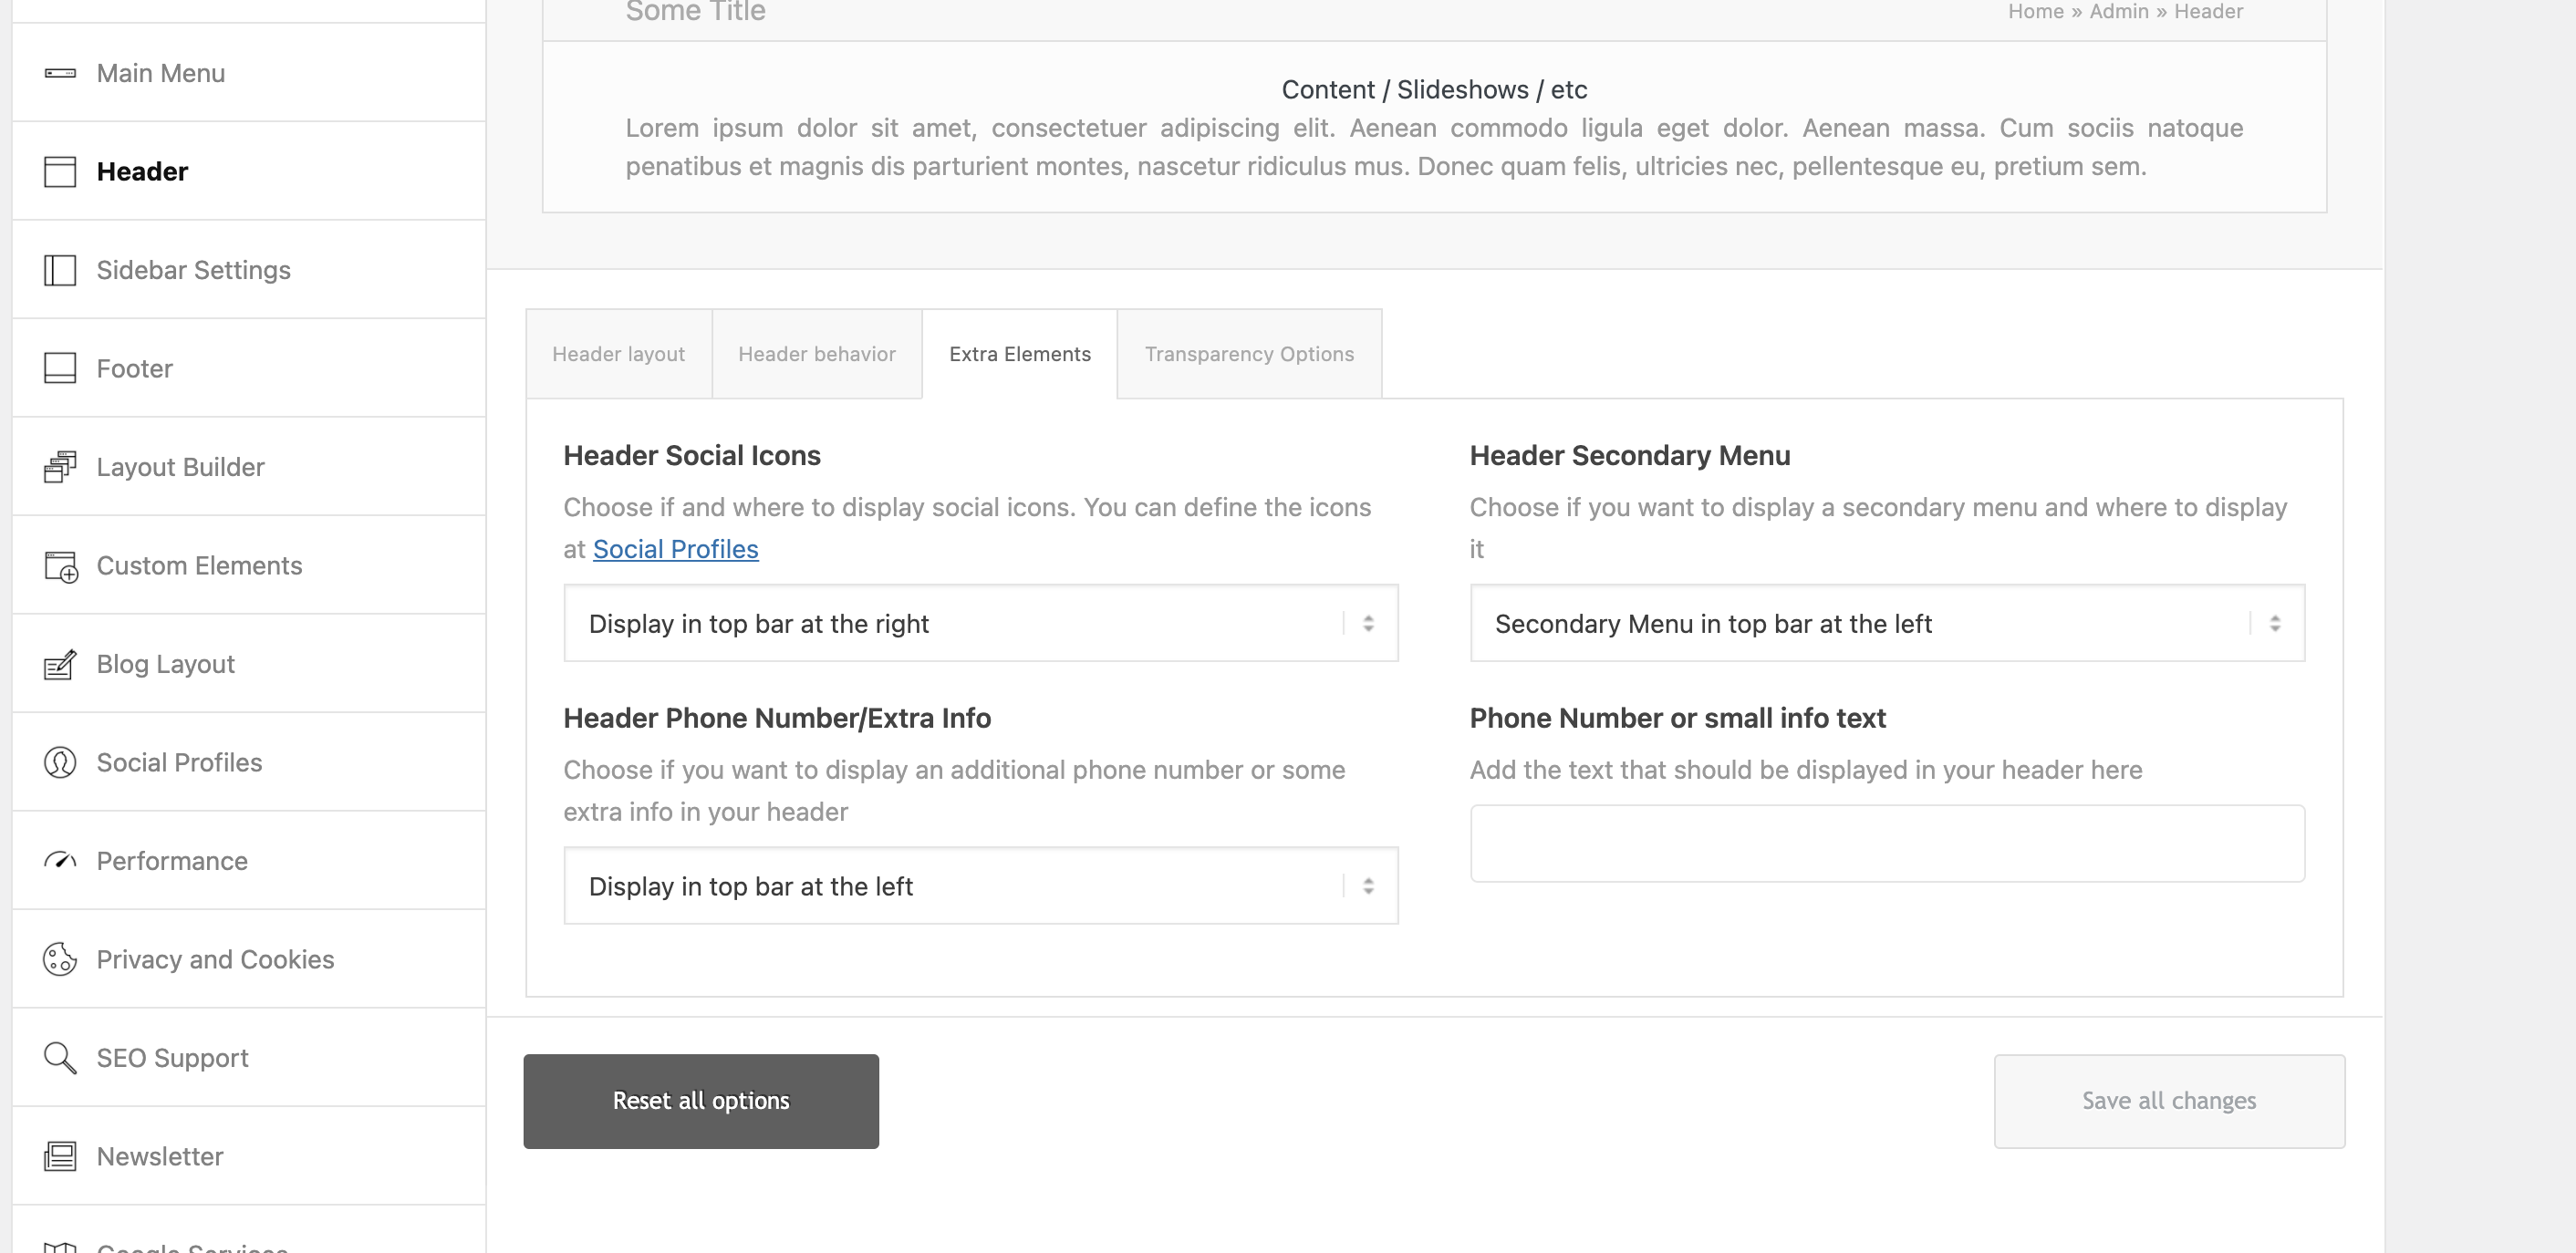
- If the social media icons are not showing up on the header go to “Header” then click on the “Extra Elements” tab.
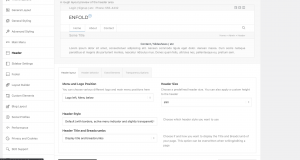
- Now look for “Header Social Icons” and check to see if it has “Display in top bar…” selected. If it is not, click on the drop down menu to change it.
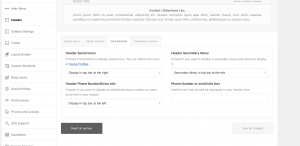
- Click “Save all changes” to save at the end.


How to add or remove items on the main menu
- To edit the main menu items, first click on “Edit …” in the admin bar located at the top of your screen.
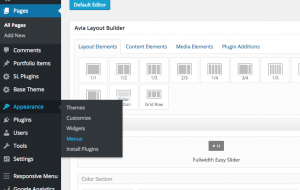
- On the left side of the page, go to “Appearance” –> “Menus”.
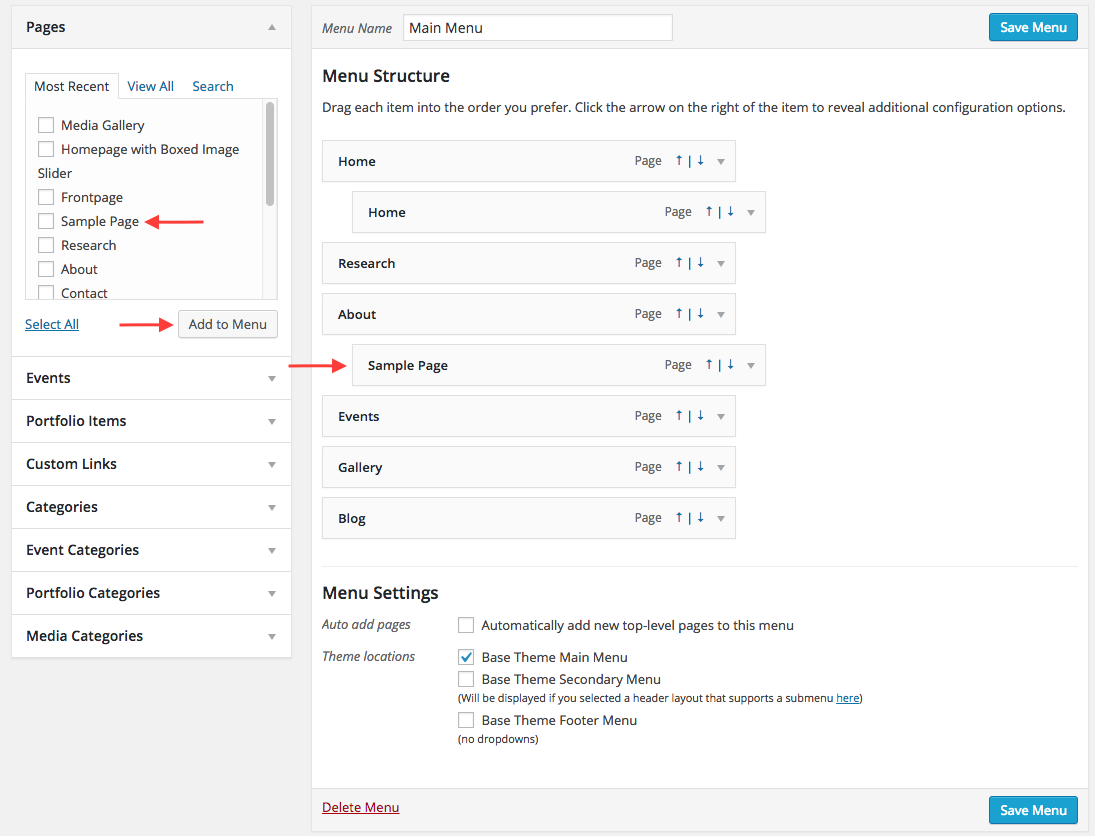
- On the left there should be a “Pages” box that shows a list of existing pages. Look for the page you want to add. Select the page and then click “Add to Menu”. All new menu items will show up at the bottom of the menu list. You can either leave the new item at the bottom of the list or drag and drop it to your desire location.
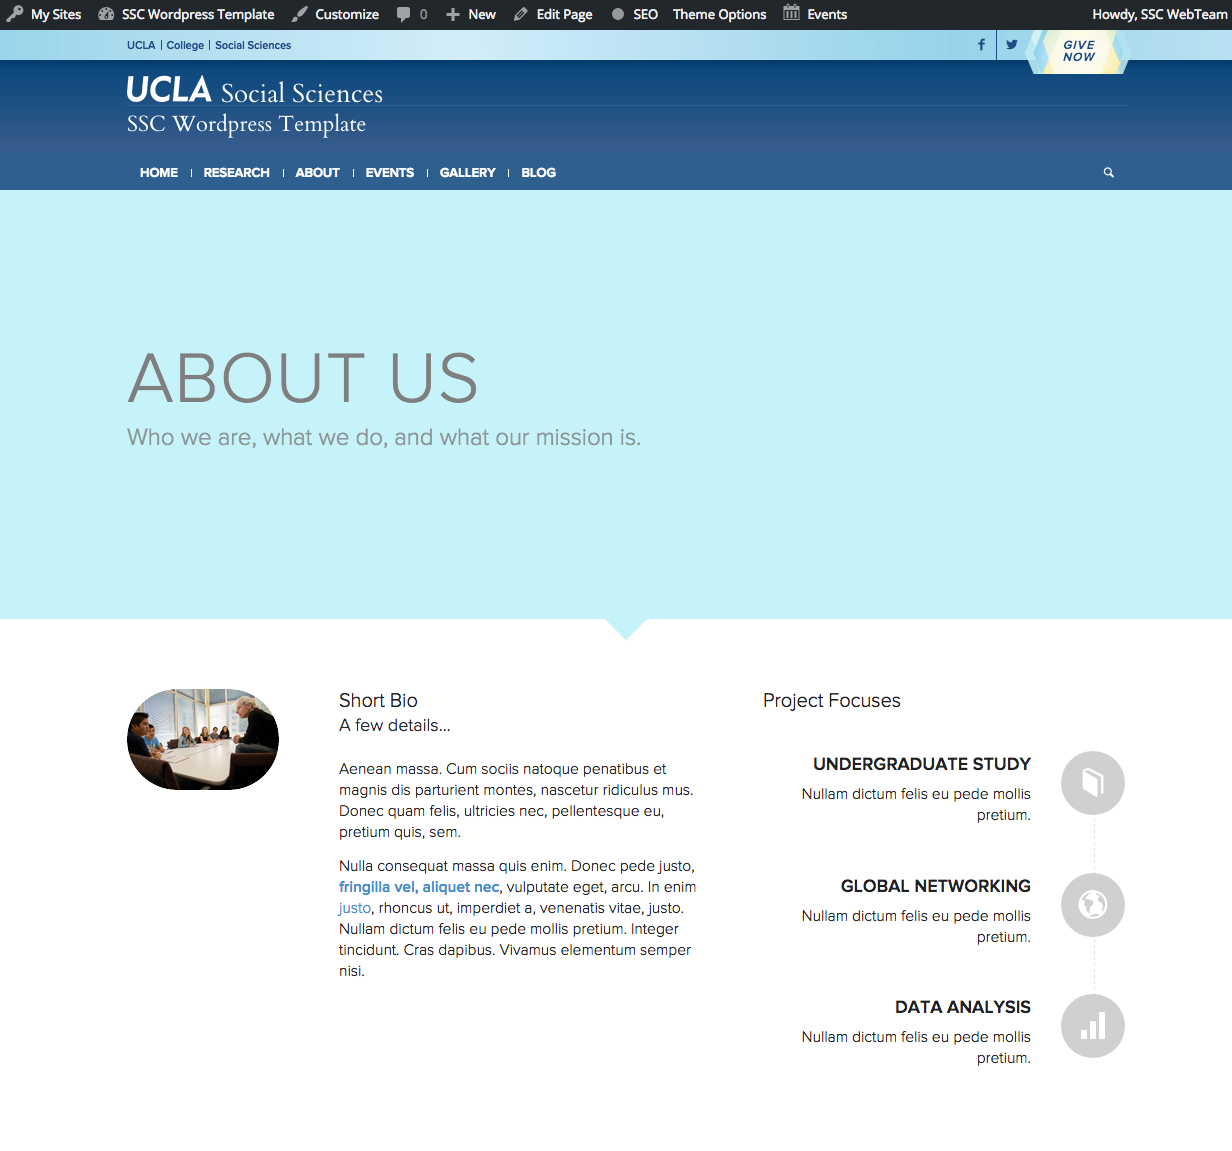
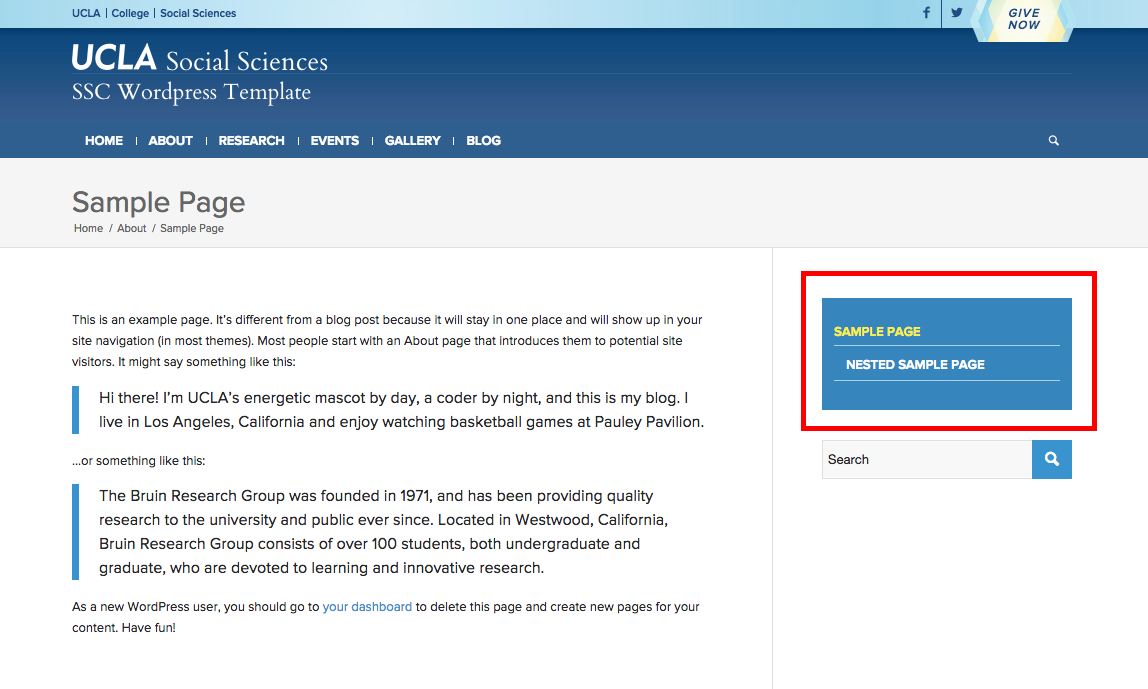
- You can also nest menu items on the main menu. In the example below, we added “Sample Page” to our main menu and nested it under the “About” page. You may do this by simply placing the box of the appropriate page as indented under the parent page of your choosing, which in our case is the “About” page.

- To delete an item on the main menu, click on the dropdown arrow then click “Remove”.
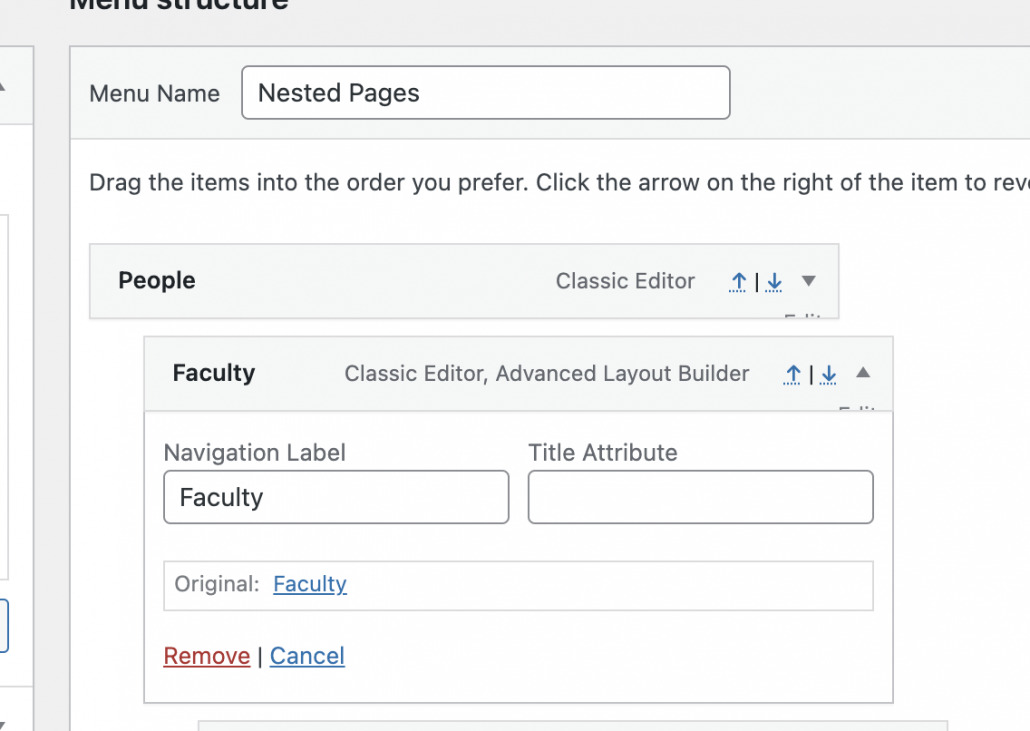
- When you are finished making changes to the main menu, make sure you click “Save Menu” to save your changes.
- If you make a mistake while editing the main menu, refresh the page and the changes won’t be saved. The original main menu before your changes should show back up.

Pages
How to create a new page
- On the Dashboard go to “Pages” then click on “Add new”.
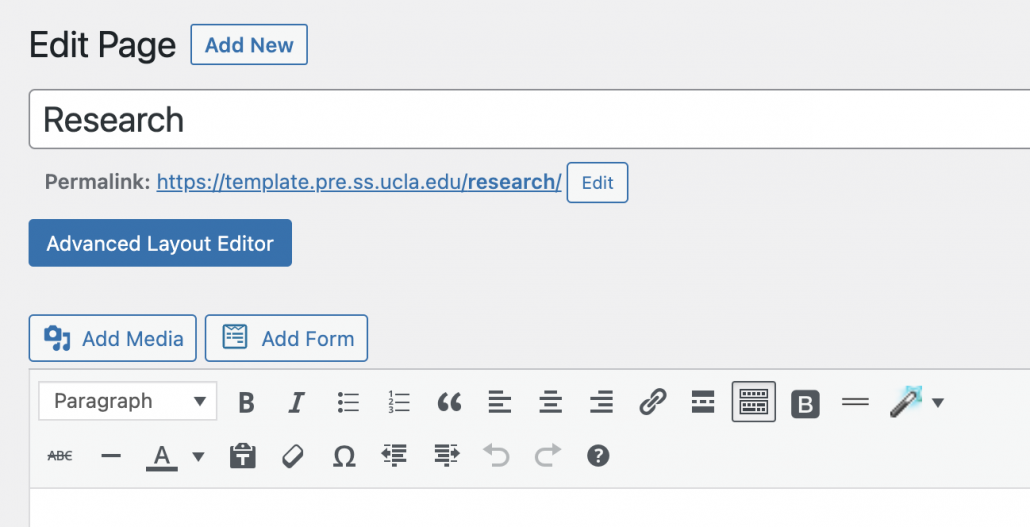
- You can now start adding in a title for the page. In the example below the title is “Research”. You don’t have to worry about the “Permalink” because WordPress will automatically create the permalink for you after you save your work.
- Before you start adding in content to the new page, make sure you save your page first! There are two ways to save your new page. You can click on “Save Draft” or “Publish” . “Save Draft” will save your progress, but won’t make the page live on the site. While Publish will save your progress and make the page live on the site.


How to edit an existing page
There are two options on how to edit a page.
Option 1:
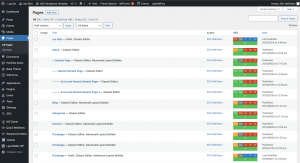
- On the Dashboard go to “Pages” and search up the page on the search bar or look through the list of pages.

Option 2:
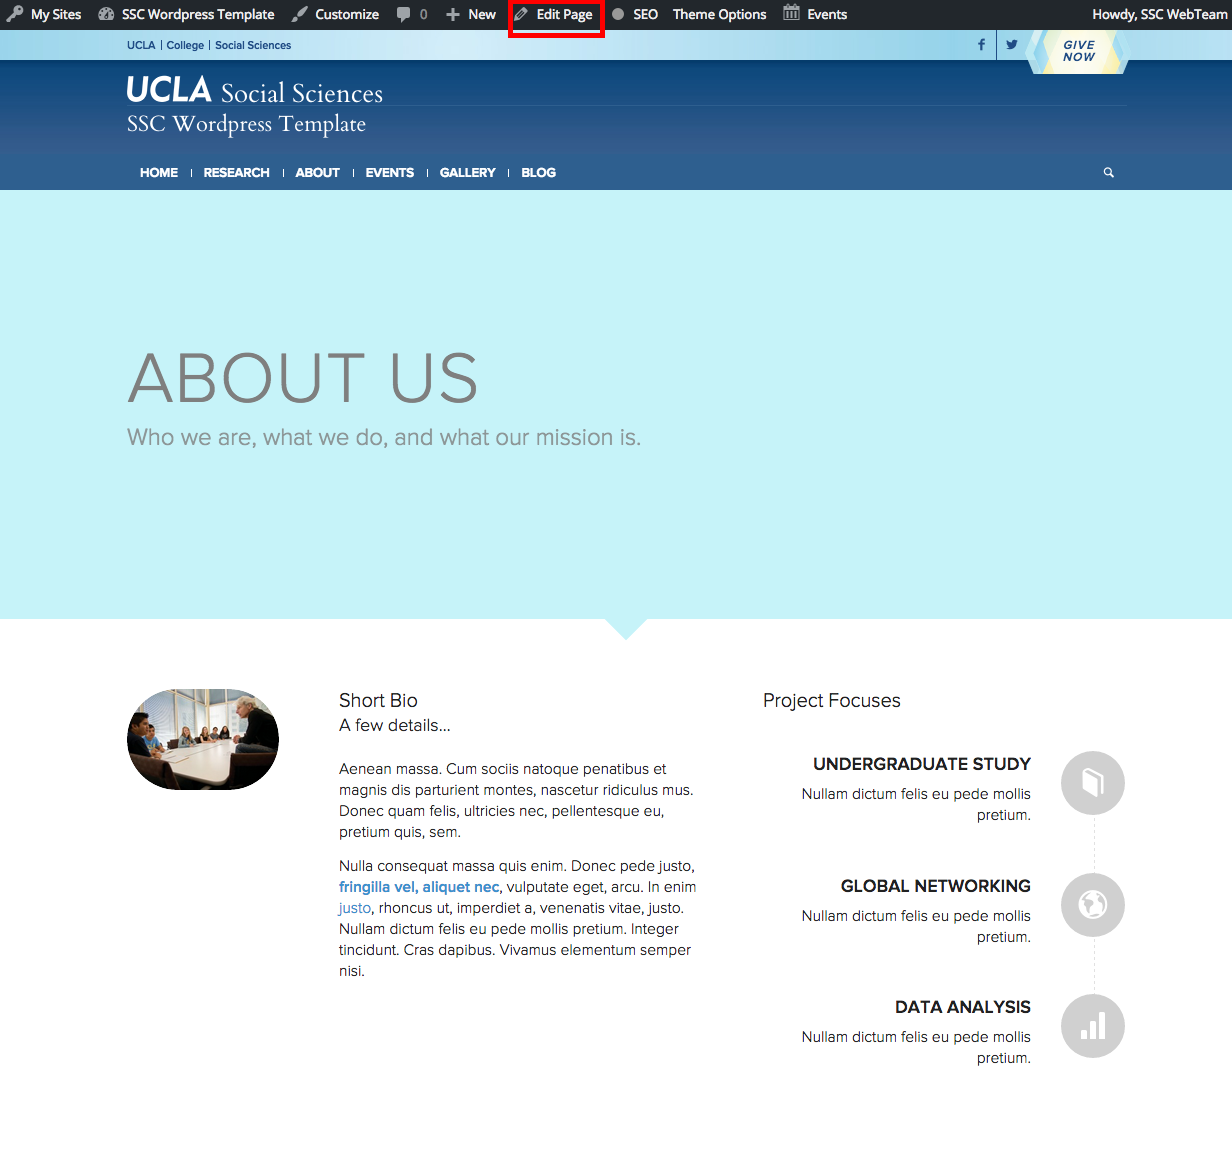
- Go to the page directly on the site and then click on “Edit Page”, located at the top of your screen.
- When you are finished making changes to a page, always remember to click on “Update” to make the changes live on the site. If you wanted to see what the changes would look like before updating you can click on “Preview Changes” and this will open a new tab with the changes you have made.

How to restore a revision
If you have made a mistake on a page you can always restore the page back to what it was originally.
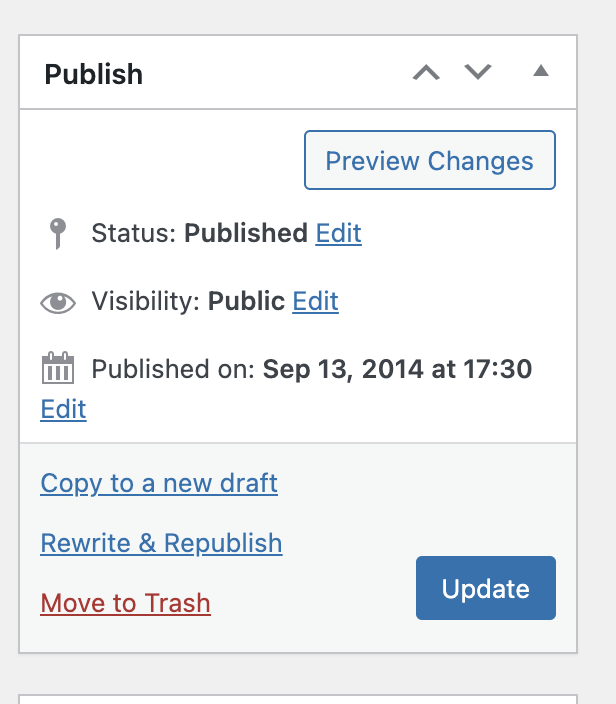
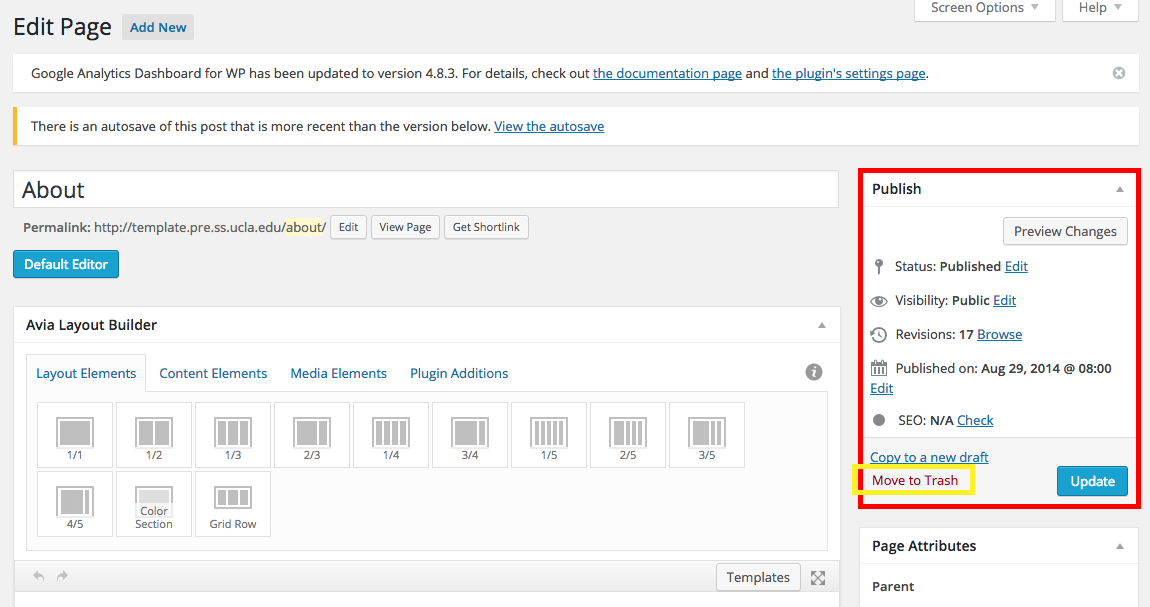
- On the editing page look for the “Publish” box located on the right. In the box look for “Revisions” and then click “Browse”.
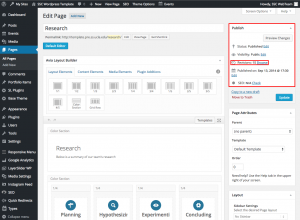
- Using the slider at the top of the page, you can slide it to the past version of the page. Once you are on the correct version click “Restore This Revision” to restore your page back to the original one.

How to remove content on a page or the whole page itself
The SSCERT WordPress Template provides you with several dummy pages furnished with example content to get your website started.
- To delete content on a page click on “Edit Page” in the admin bar located on the top of your screen.
- There are two ways to delete content.
Option 1 (Default Editor):
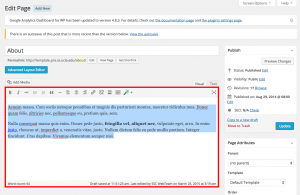
If the page is using the Default Editor, select all the content inside the white box and erase it with ‘backspace’ or ‘delete’ on the keyboard.
 Option 2 (Advanced Layout Editor):
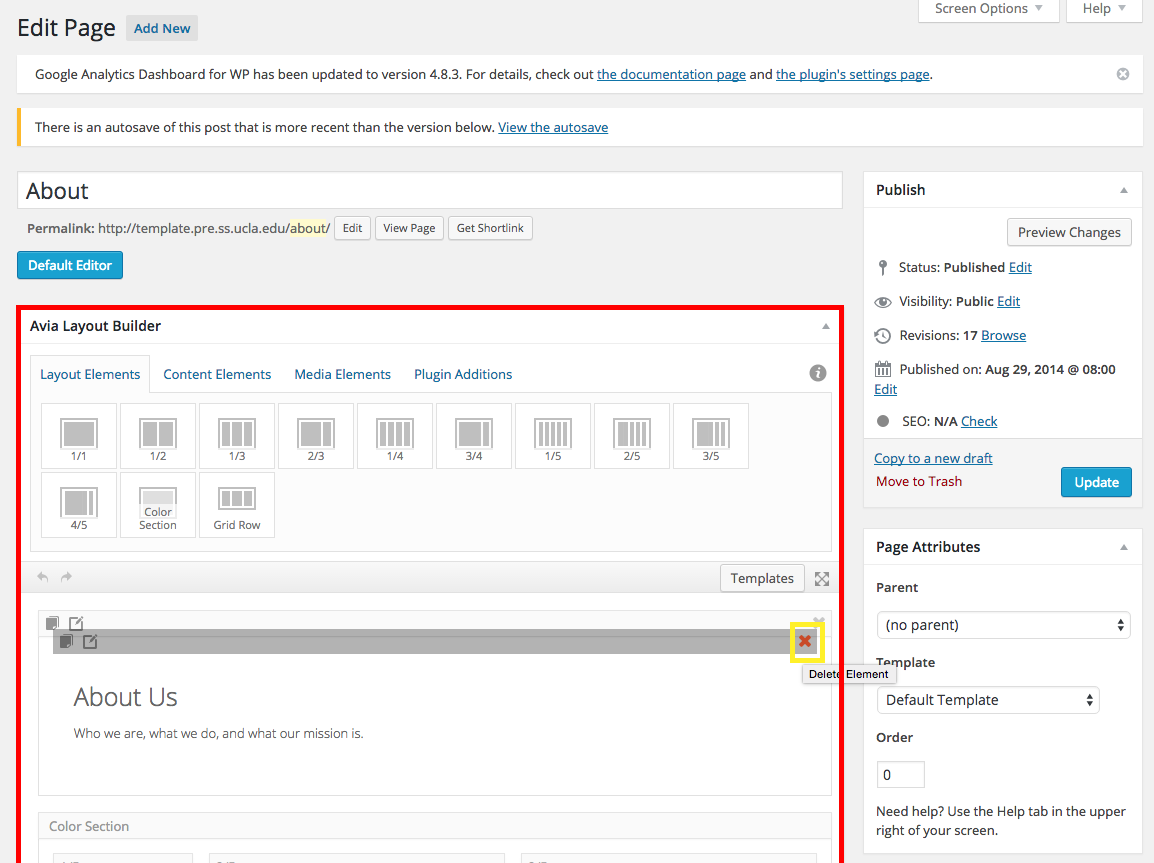
If the post is using the “Advanced Layout Editor” hovering over the elements in the “Avia Layout Builder”. Each element, when hovered over, has a small red ‘X’ in the top right-hand corner that will delete that element from the page. In our example below, hitting ‘X’ will result in the ‘About Us’ text to disappear.

- If you would like to completely remove the page from your website, find the ‘Publish’ box on the right hand side of the editing page. Click on ‘Move to Trash’ to delete the page from your website.

Organizing pages into a page hierarchy
If your website has a lot of pages, it’s a good to try to organize them into some kind of hierarchical structure; that way, when visitors are navigating your site, they have an organized way of accessing information, and helps you keep the pages in a logical order. We call this a parent-child hierarchy; with it a sidebar menu can be generate from the pages.
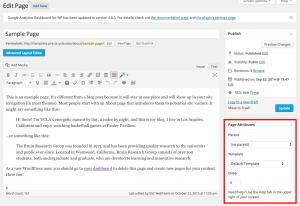
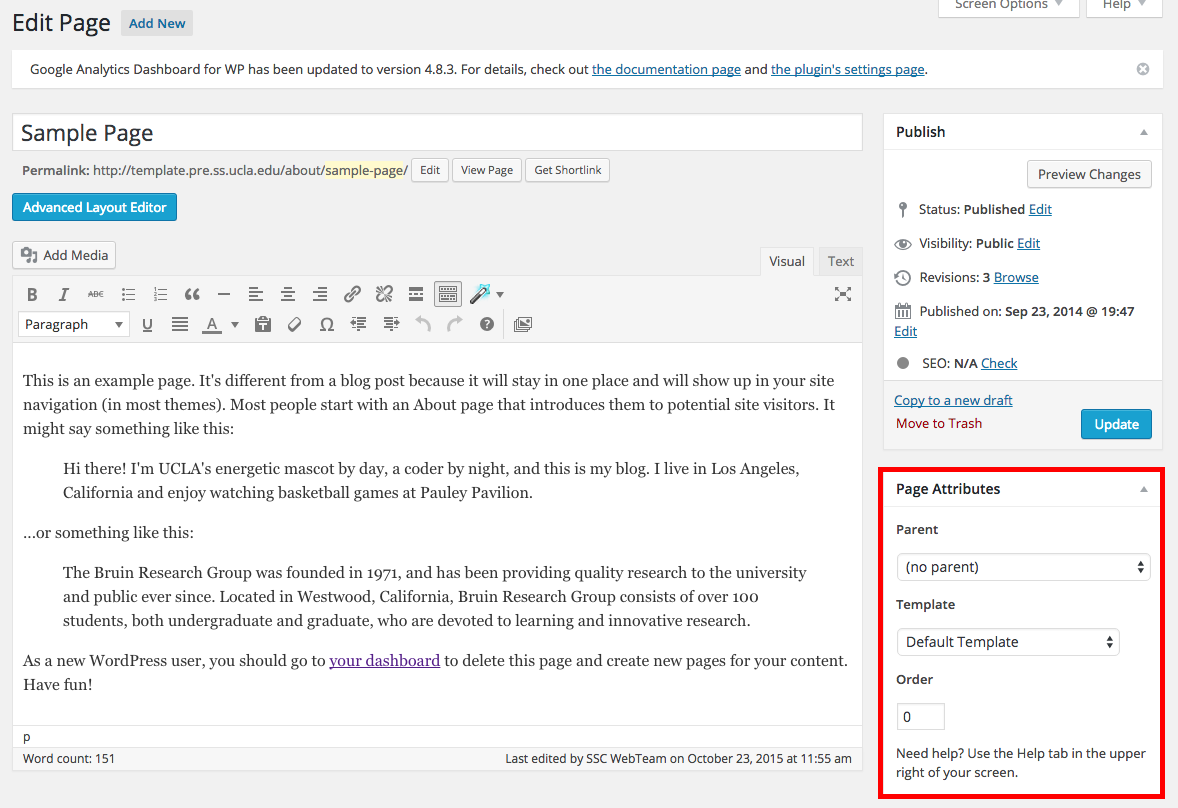
- We can set the page hierarchy attribute by first clicking on “Edit Page” in the admin bar. In our example template we are using “Sample Page”.
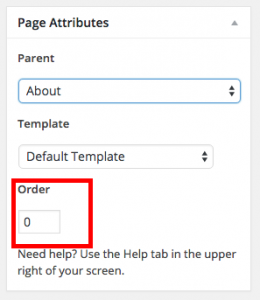
- On the “Edit” page, find the “Page Attributes” box in the right sidebar. It should have the elements Parent, Template, and Order. We will be working with Parent and Order.
 By default, pages that are created have no parent page; this means they are at the top of the hierarchy. Typically these pages are the kinds of pages you would see on the top-level of the main menu.
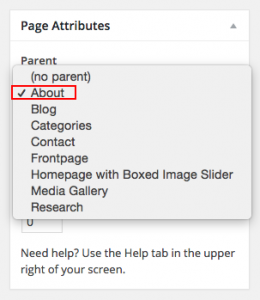
 - If you wanted to give a page a parent, click on the drop down menu underneath Parent, which expands a list of all the pages on the website. In the below example, all the pages are non-parented; they are all leftmost justified and aligned vertically (more on this later). We set a parent by simply choosing one of these pages.
 Now, we have nested ‘Sample Page’ to be a child of ‘About.’ This would be the equivalent of adding ‘Sample Page’ as a drop-down menu item to ‘About.’ Now, when we are on the ‘About’ page, we can easily navigate to ‘Sample Page.’
 - Additionally, we can control the order that our child pages are in using the Order parameter. ‘0’ means the child has the highest precedence, so it would be the first item under parent in the sidebar menu, ‘1’ being the next highest precedence, and so on.
 Users are not limited to just one nest. You can nest pages as much as you want. For example, let’s nest ‘Nested Sample Page’ under ‘Sample Page.’ Go to ‘Nested Sample Page’ and on the editing page, look at the Page Attributes. If we click the drop-down menu underneath Parent, we’ll see that ‘Sample Page’ has been indented in comparison to the rest of the list of pages. This is because it is now a child of ‘About.’ If we allow ‘Sample Page’ to be the parent of ‘Nested Sample Page,’ then ‘Nested Sample Page’ would be indented twice to say its most relevant page (parent) is ‘Sample Page’ and falls under the category (grandparent) of ‘About.’


Nesting pages in this parent-child hierarchy is a good way of organizing content by groups of information. It makes navigation easier for both you and the viewer!

Adding other elements (Blog Post, Team Member, Testimonial)
In WordPress you are not limited to just adding text and images. You can add in more elements to make the page look more nice.
- On the editing page make sure you are using “Advanced Layout Editor”. If not, click on the “Advanced Layout Editor” button.
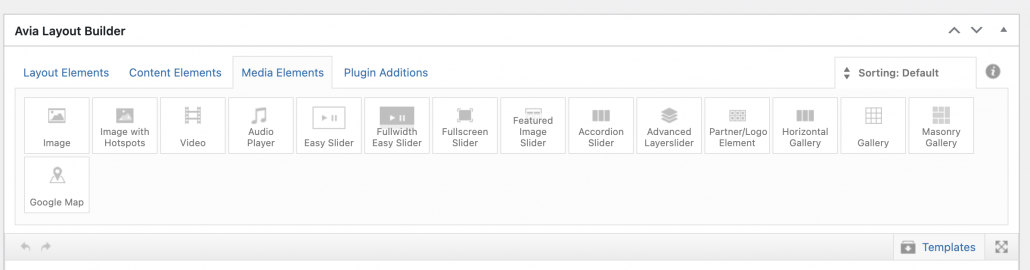
The “Advanced Layout Editor” should look like the image below.
- In “Advanced Layout Editor” you can now add in elements such as Videos, Blog Posts, Team Member, and many more to your page. Adding these elements are very simple. You can either click on the element itself or drag and drop it to where you want the element to be.

- After you have added the element you can now click on the element in the editor to add in content. When you click on the element a window should pop up to allow you to insert your content.

Avia Layout Builder & Elements (Text, Images, Videos, Photo Galleries, News, Publications)
In WordPress, there are lots of different elements that you can use to help style your page. Below are instructions on how to use these different elements.

Basic Usage
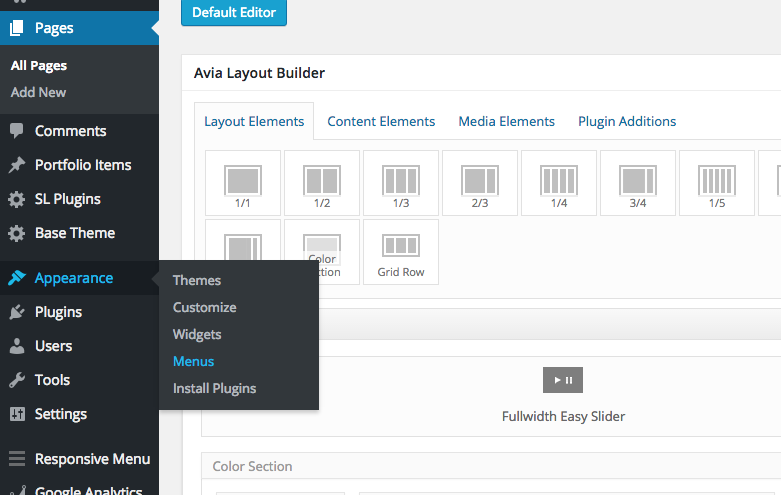
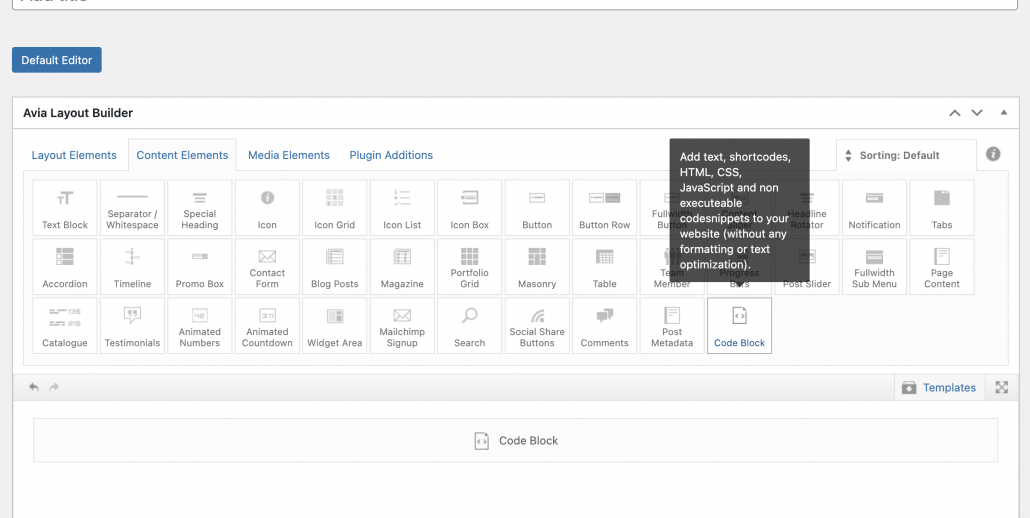
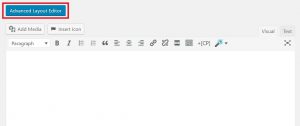
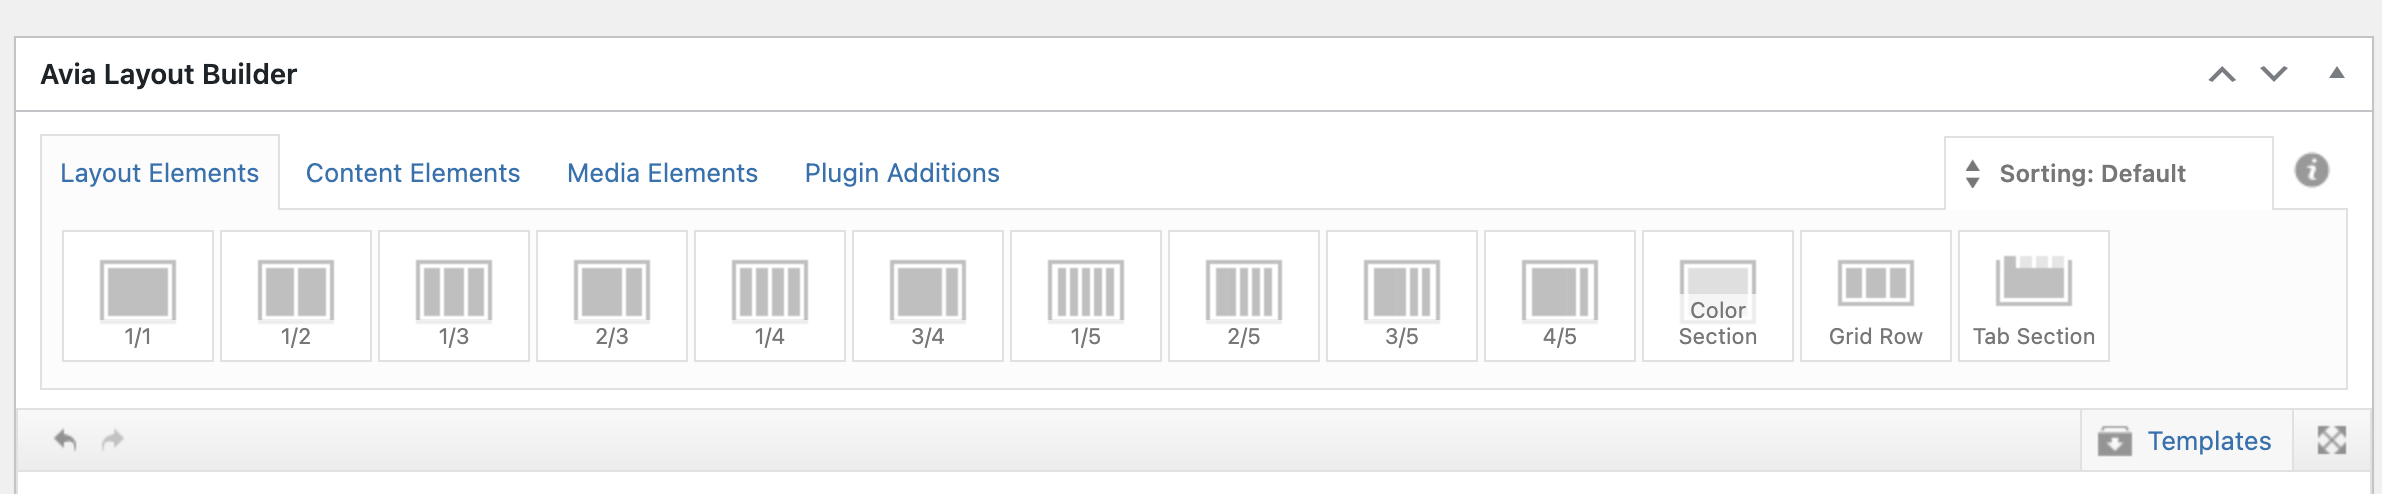
You can open the Avia Layout Builder by clicking on the blue button located on the left hand side above the Default Text Editor.
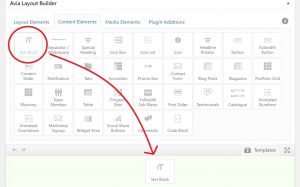
From here, you can select whether you’d like to add Layout Elements, Content Elements, etc. To add an element, simply drag and drop the element to the empty block below the options. The block will turn green to indicate the element can be dropped.
Hovering over the element, you can see the options in the top left hand corner of the element. The middle icon allows you to duplicate the element, while the right icon open a new dialogue for editing the element. Remember to click ‘Save’ at the end of the dialogue to retain changes.

Text Block

The “Text Block” element is used for the main content of a page. When editing the text block, a rich text editor will appear (just like when you normally edit a page); you can type your content directly into the box or copy & paste your content.
Additionally, you can use the top bar of options for formatting your text, such as creating headings, bullet points, changing font color or size, adding an image directly into the text block, adding a link, etc. Selecting “Toolbar Toggle” will allow you to see more styling options.
If you would like to manually style your text, you can click on “Text” in the top right hand corner of the editor in order to write in HTML.
Special Heading
The “Special Heading” element can be used to make a title or piece of text stand out on the page (each section of this page is divided by special headings!). The ‘Content’ tab has several options:
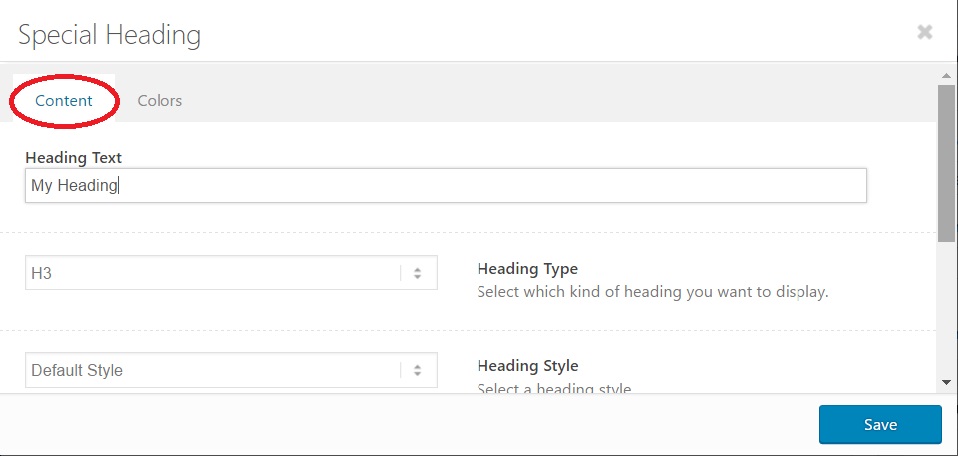
Heading Text: This is what will display on the page.
Heading Type: This controls the size (the biggest being H1) and style of the heading.
Heading Style: Options on how the heading will appear on the page. The default is left-aligned text, followed by a thin grey line extending the width of the container. For non-default styles, you can also specify the Heading Size and an additional Subheading.
Padding Bottom: How much white space will appear between the bottom of the Special Heading and the next element on the page.
In the ‘Colors’ tab, click ‘Custom Color’ from the Heading Color drop-down to choose the color of the heading text.

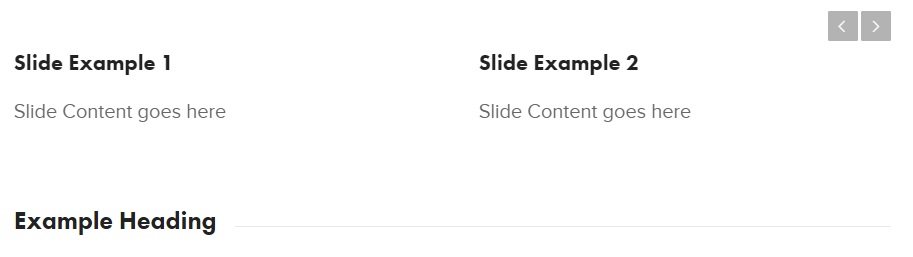
Content Slider
The “Content Sliders” element can be used to display several bodies of text in a rotating carousel.
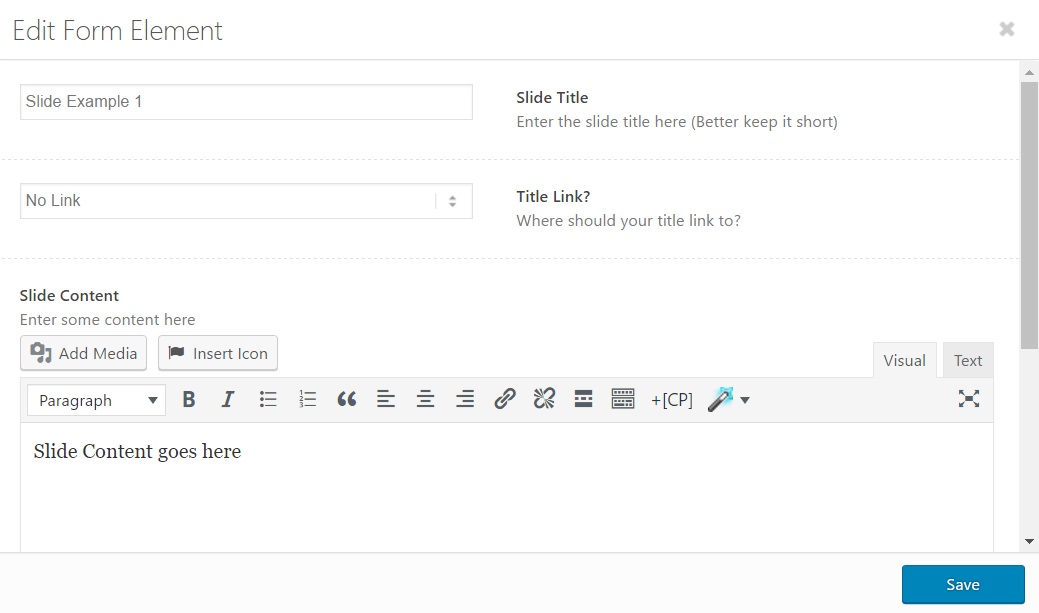
To add a slide, Click on the ‘+’ button in Add/Edit Slides. To change the order of the slides, click the double-facing arrows on the left side of each slide and drag it into the desired position. To delete a slide, click the ‘x.’ Slides can be edited by clicking on the corresponding box. This will open up options to change the Slide Title and the rich text editor for the slide content.
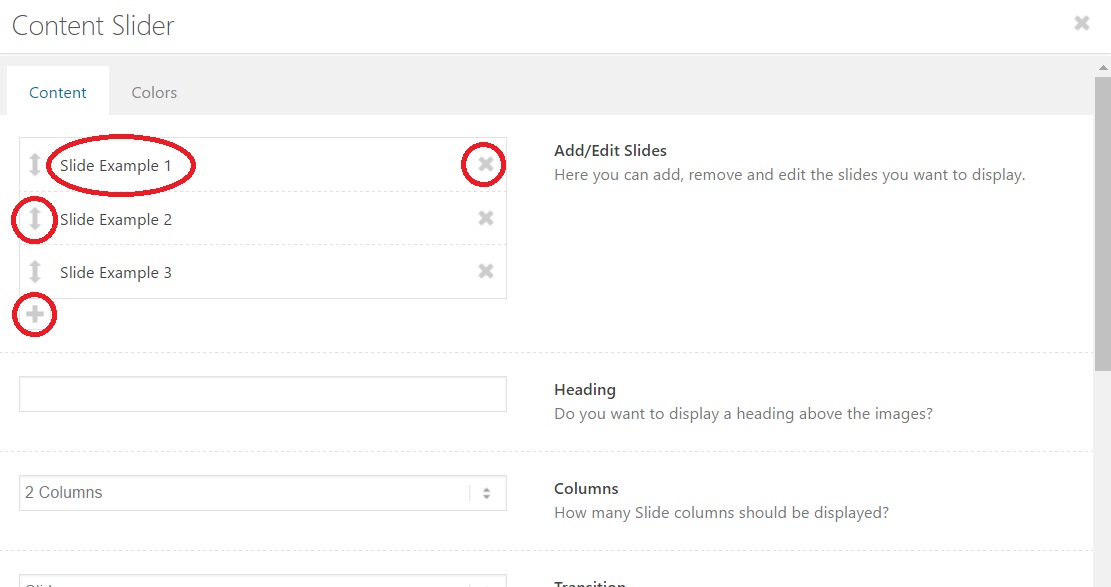
You can also change how many columns appear, the transition type, and the autorotation options.
Choosing a ‘Custom Color’ under the ‘Colors’ tab will apply the same color to all the text.
Tabs
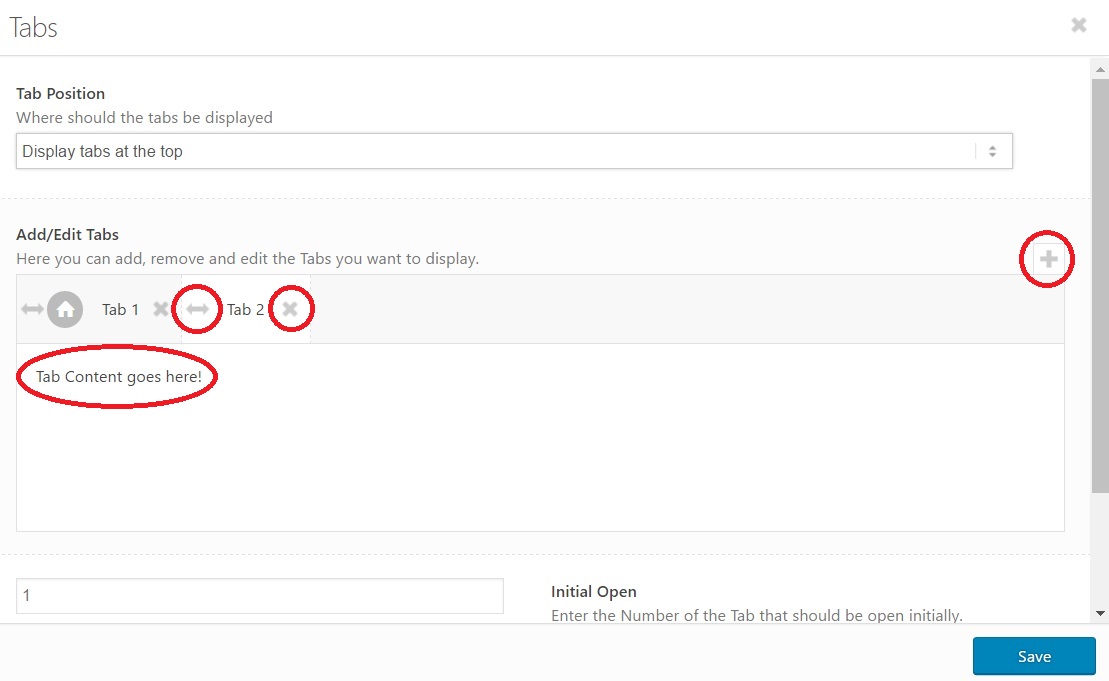
The “Tab Section” element, is similar to “Content Sliders“, allow you to display text in a condensed space on the page. Users can toggle what content they are viewing by clicking on each tab.
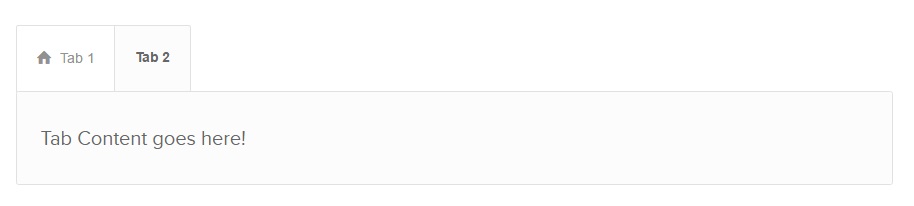
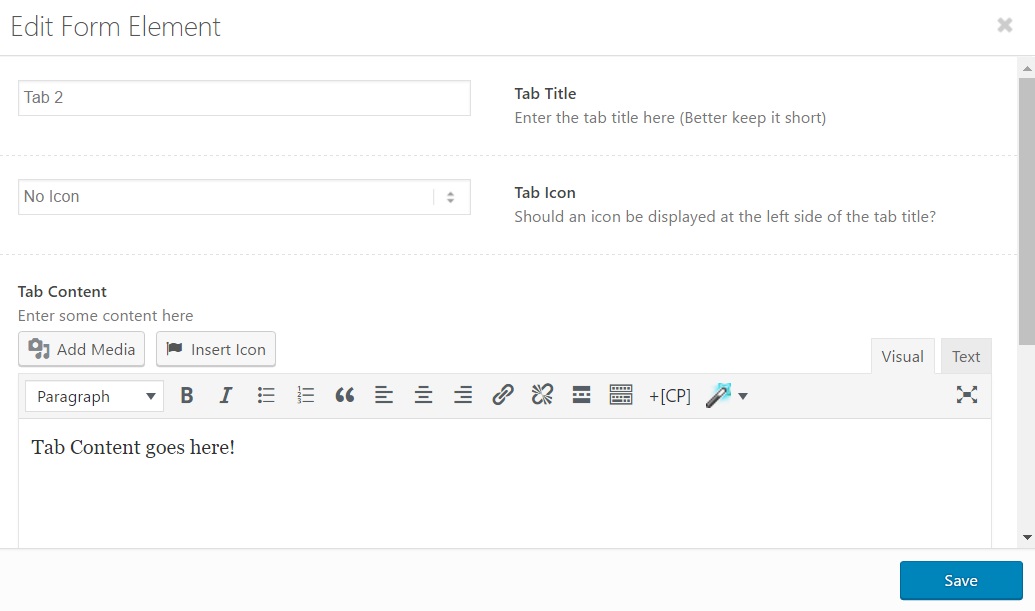
To add a tab, Click on the ‘+’ button in Add/Edit Tabs. To change the order, click the double-facing arrows on the left side of each tab and drag it into the desired position. To delete a tab, click the ‘x’ next to the name of the tab. You can click on either the tab name or space below the tab to open up the rich text editor, where you can add icons to the tab or change the tab content.
Accordion
An “Accordion” object is used to group and fold different spaces into a more compact form. You are reading content from an Accordion right now!
In the Avia Layout Editor under Content Elements, drag and drop the Accordion item into position and begin editing it by clicking on the object that is created.

On the top left of the editor you can find your currently created accordion sections. To edit an accordion tab (such as to add its content or its title), simply click on its name on this page. To add a new accordion section, click the ‘+’ button. To rearrange the order of the sections of your accordion, drag and reposition by the double-arrows on the left of a tab. You may read the descriptions of the other options on this page to change the overall behavior of the accordion.
Table
The “Table” element can be used as a way of presenting data in columns and rows. 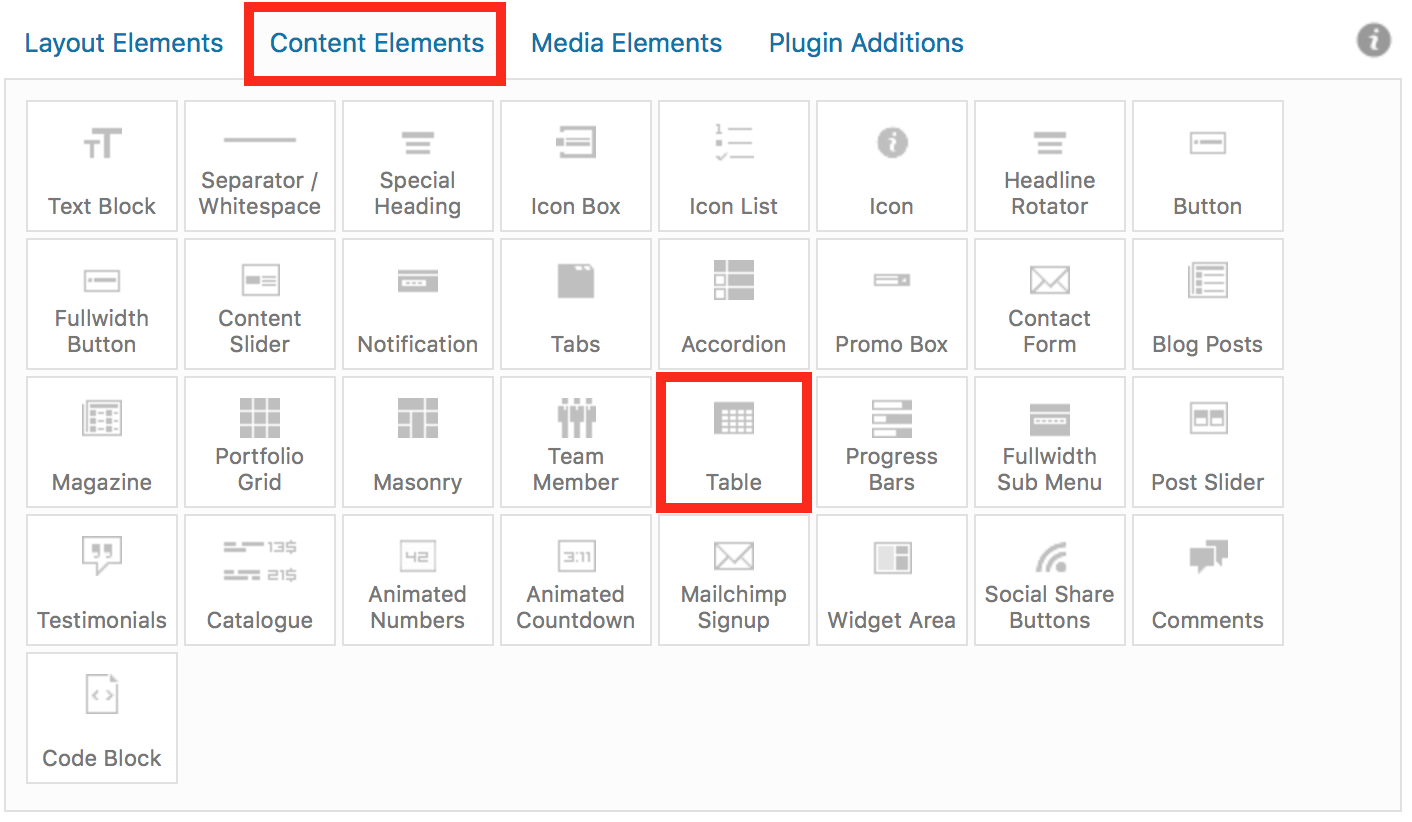
In the Avia Layout Editor, click ‘Content Elements’ and drag the Table item into the correct position.

Click on this new Table element to edit it. In the ‘Edit Table’ section, you will be able to input data. In the ‘Table Options’ section, you will be able to change the appearance of the table.
Image
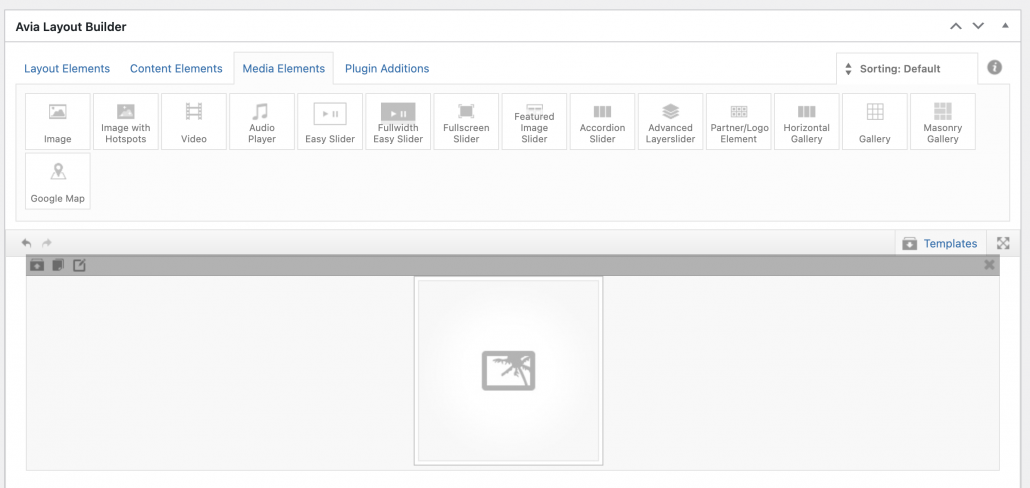
- Go to the “Media Elements” tab and look for “Image”.
- Drag and drop the “Image” element into your editor.
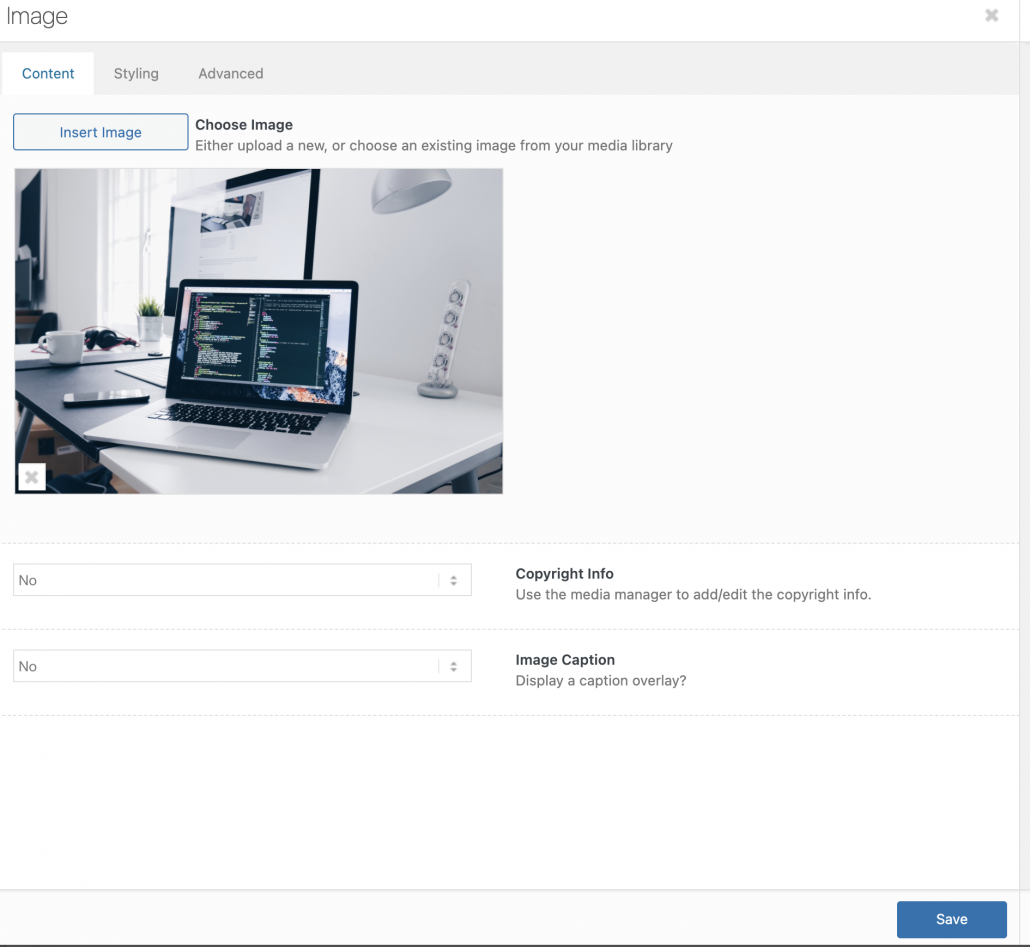
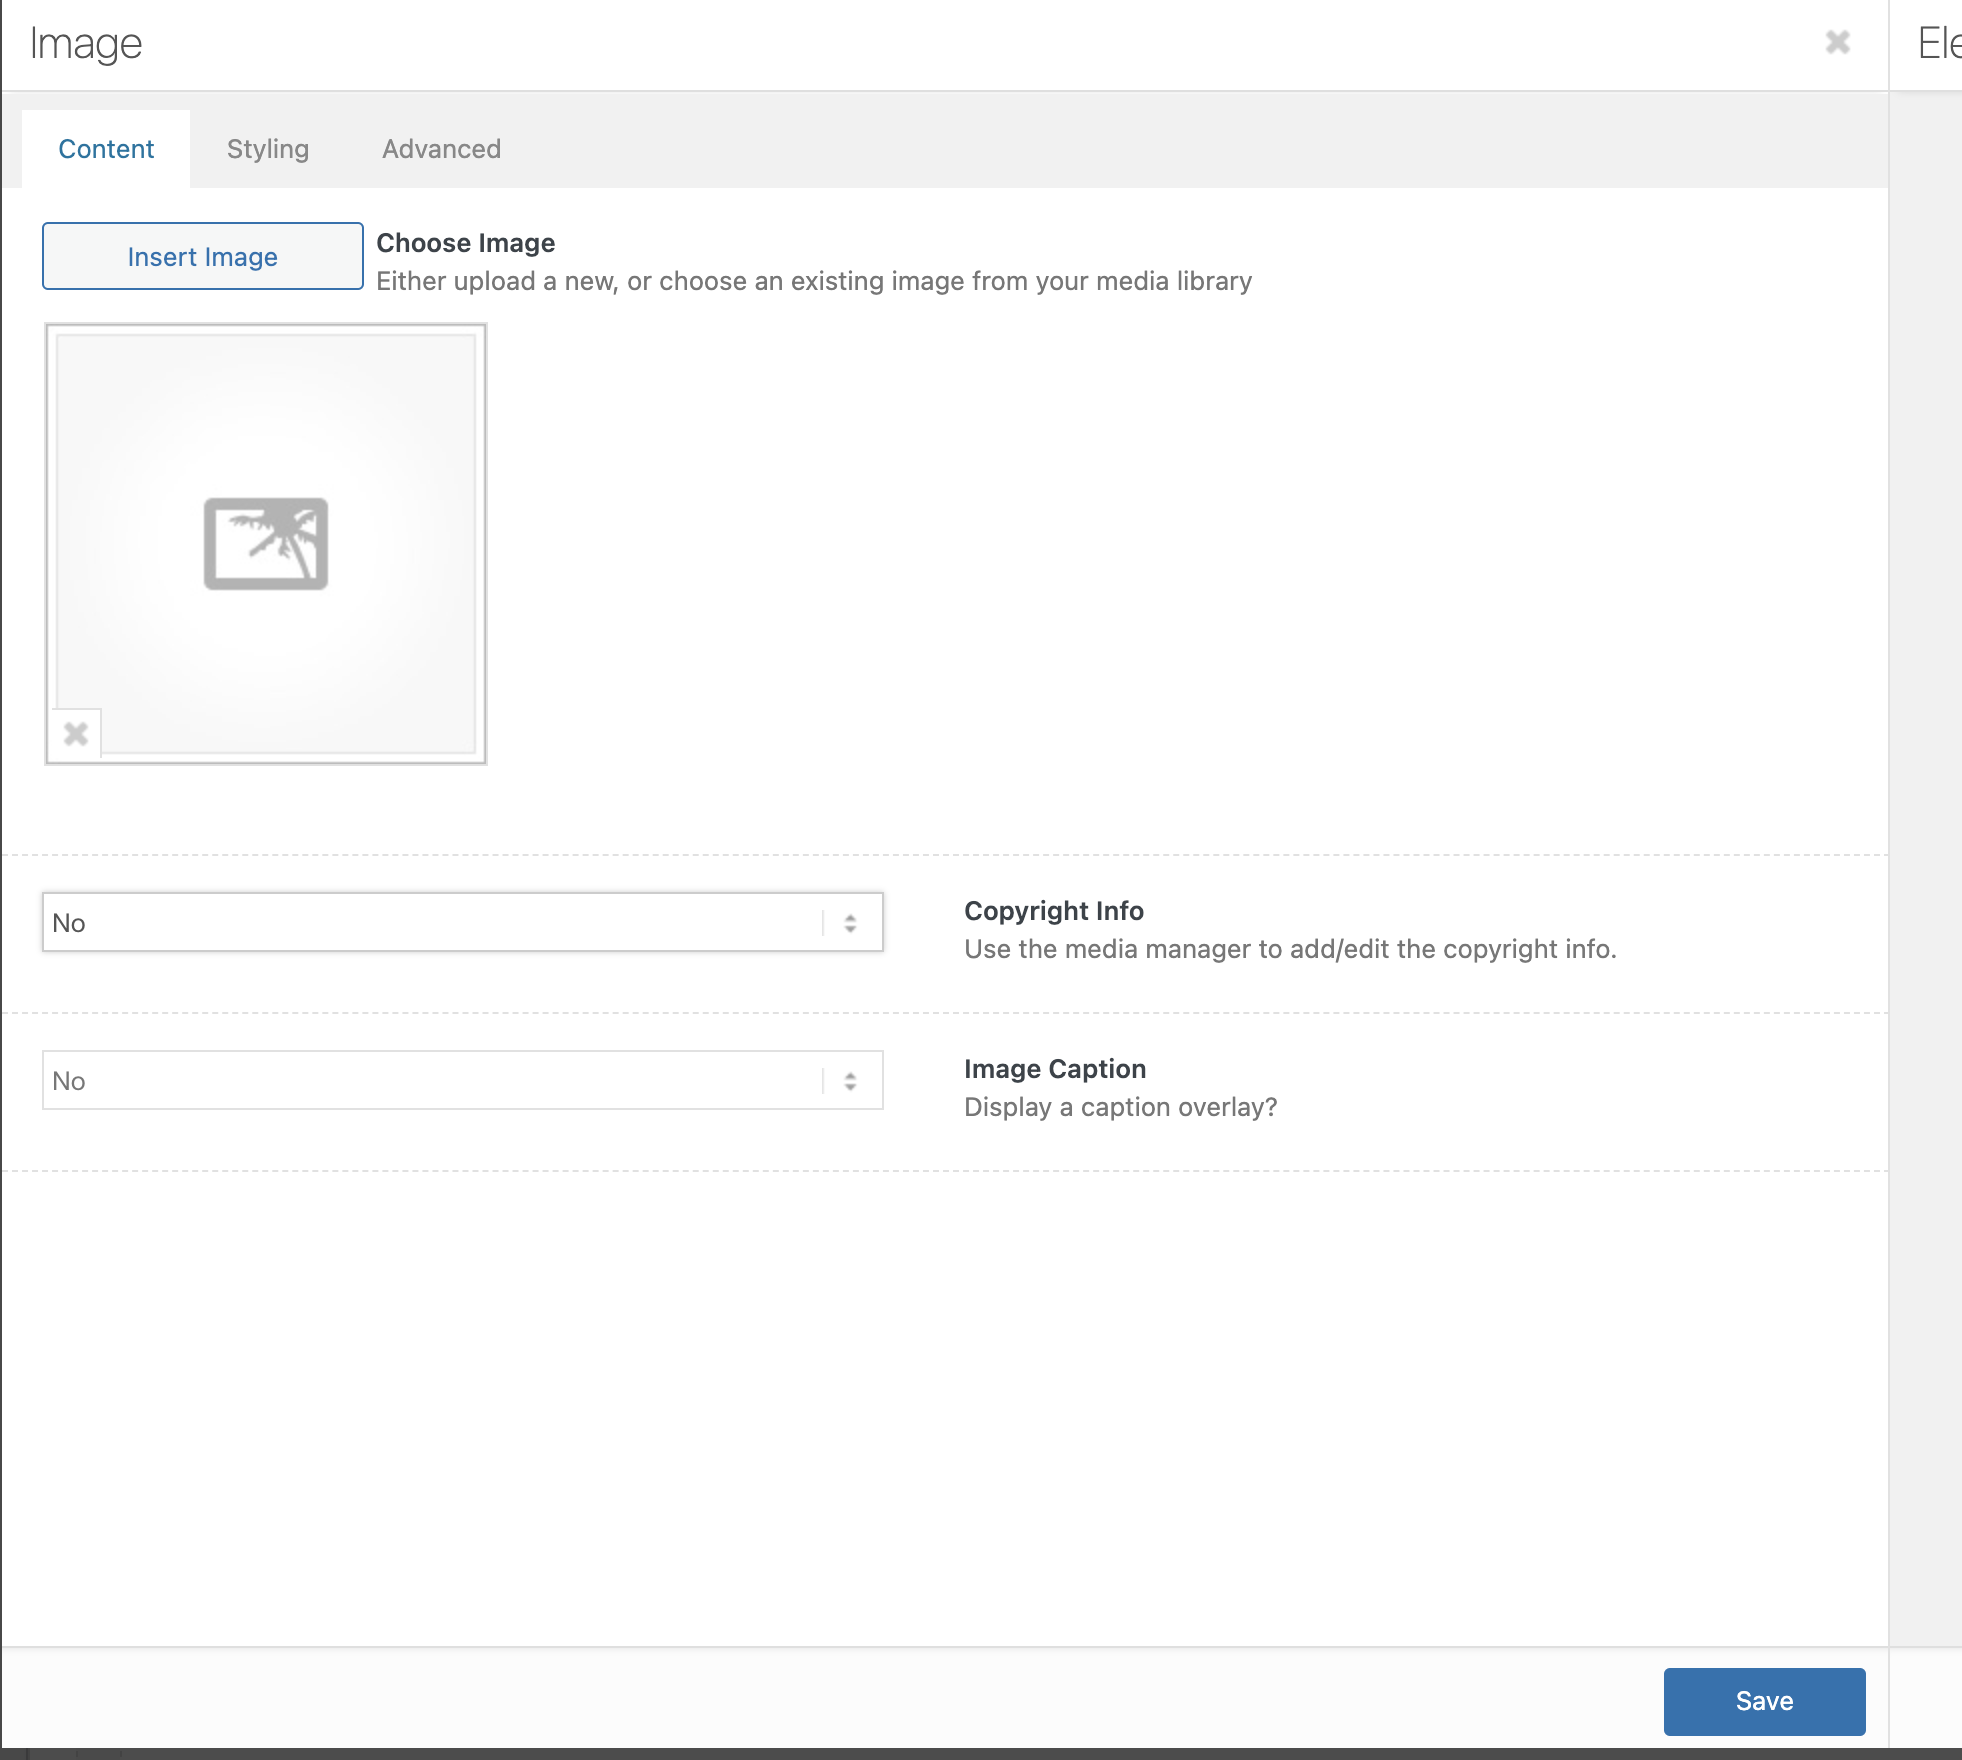
- Click on the “Image” element and this window should pop up.

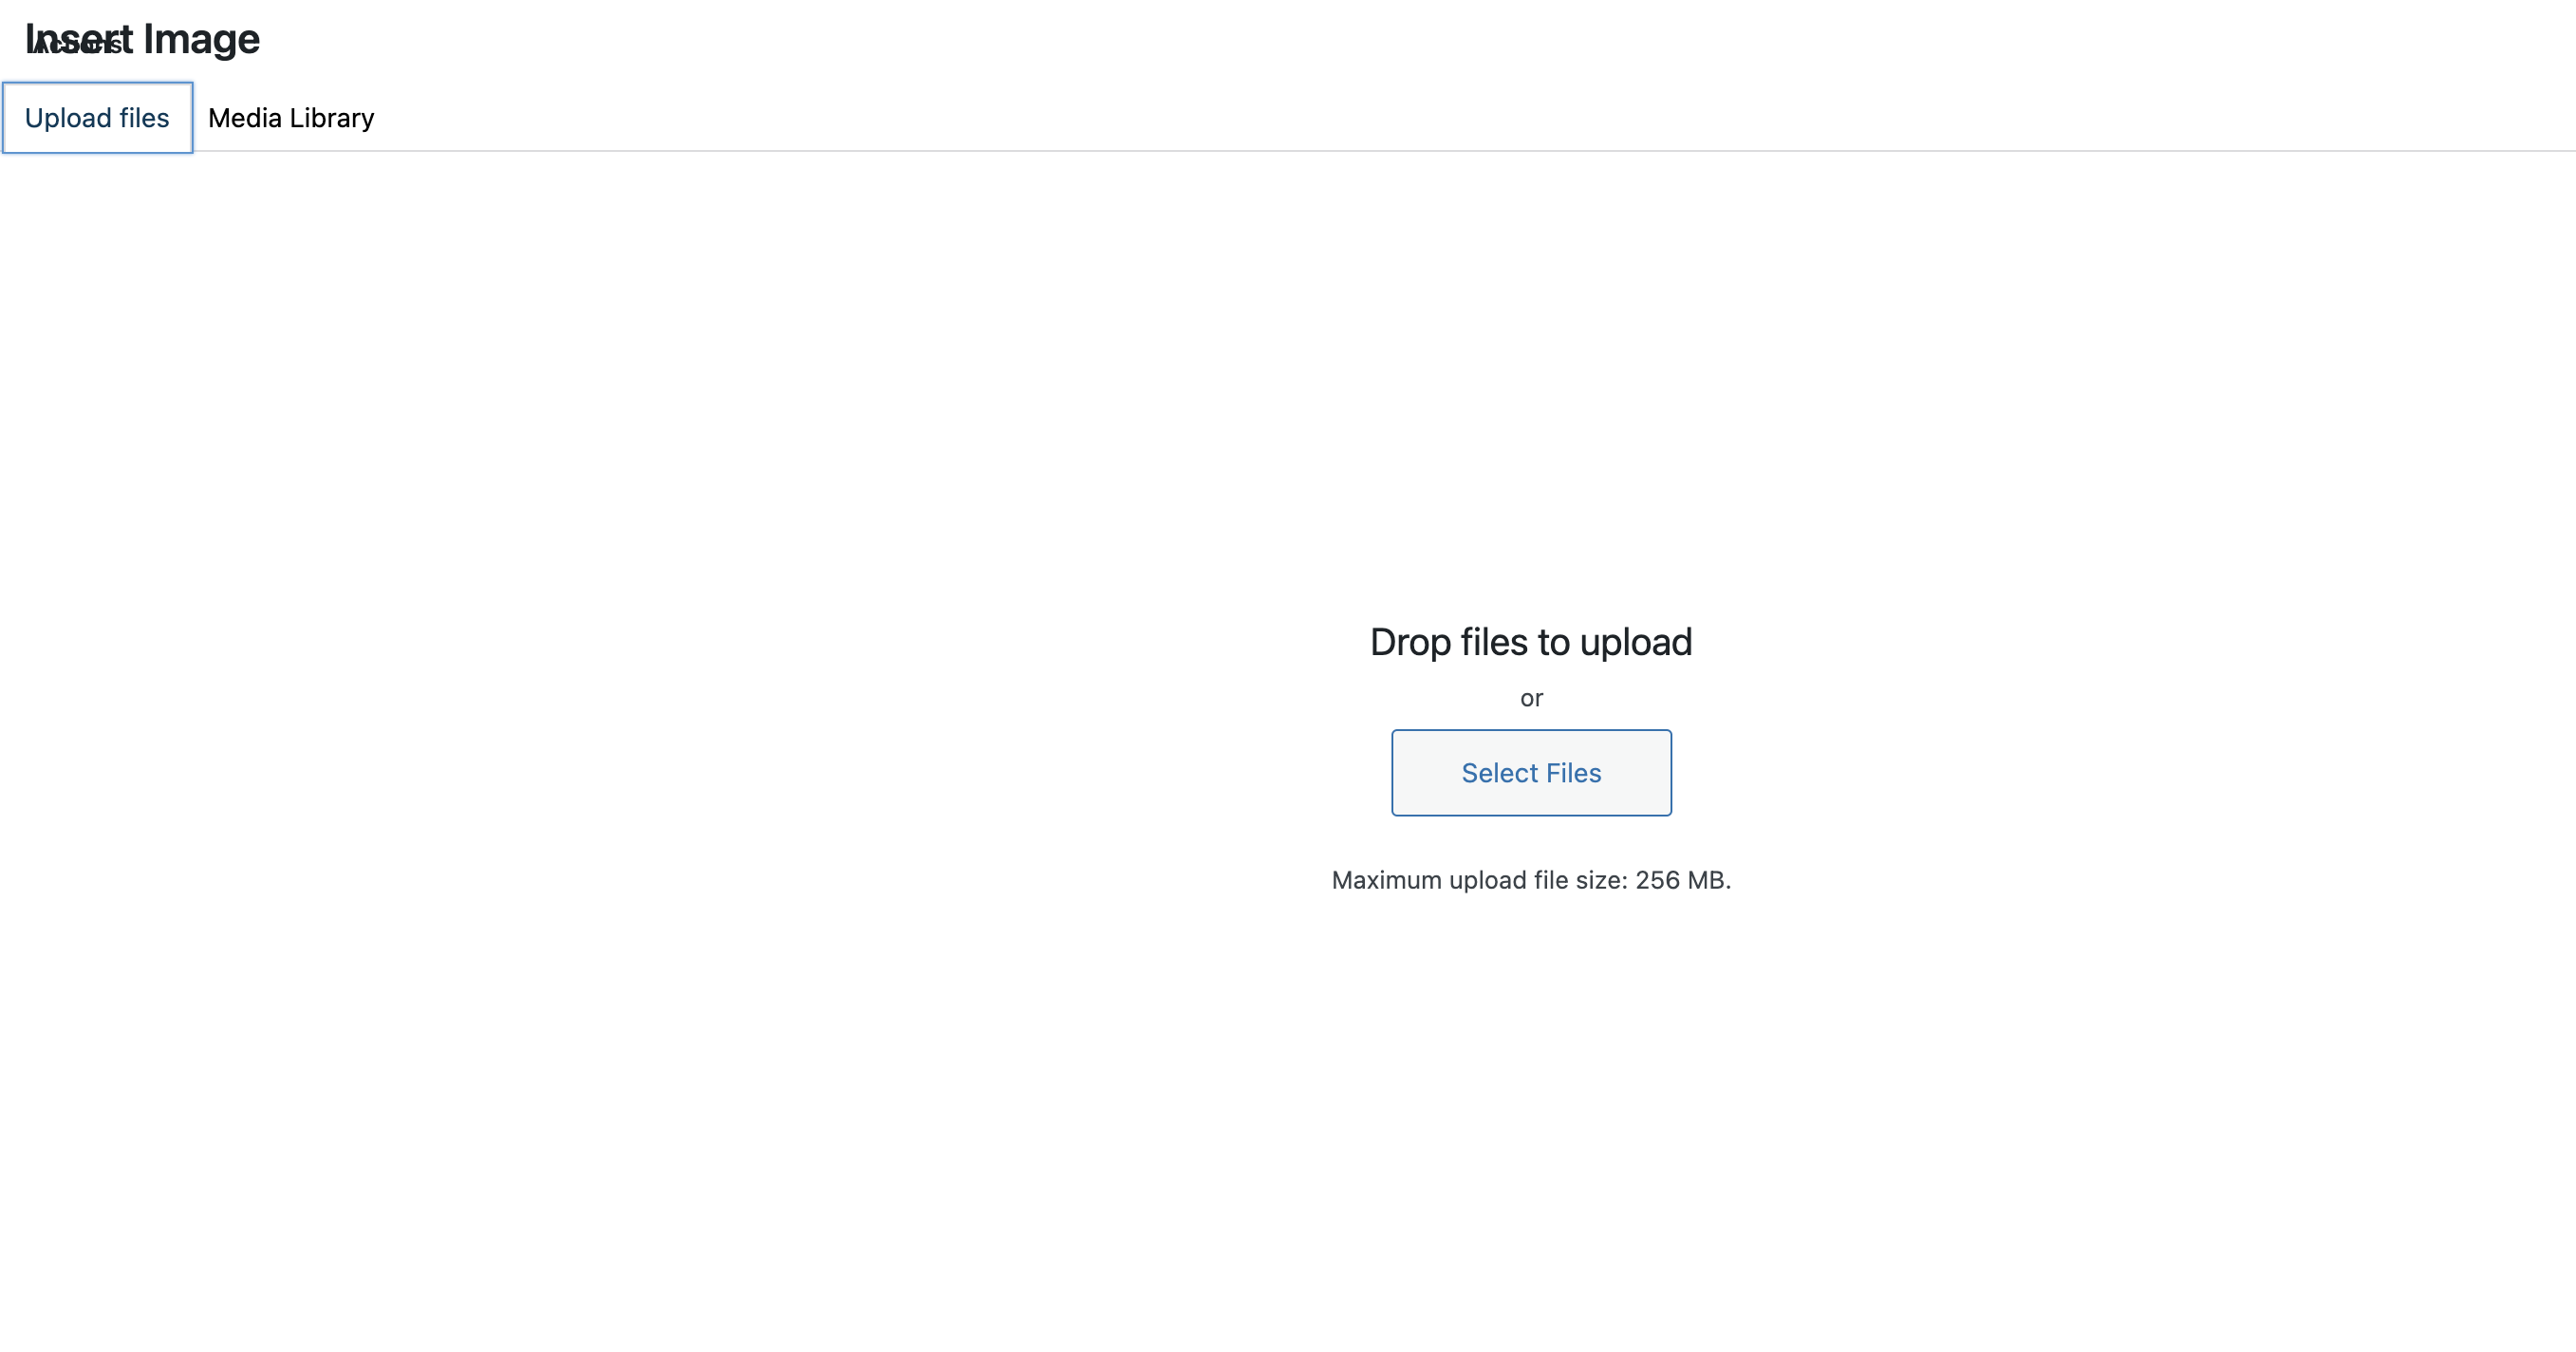
- Click on “Insert Image” and it will take you to the media library to allow you to select an image to insert.

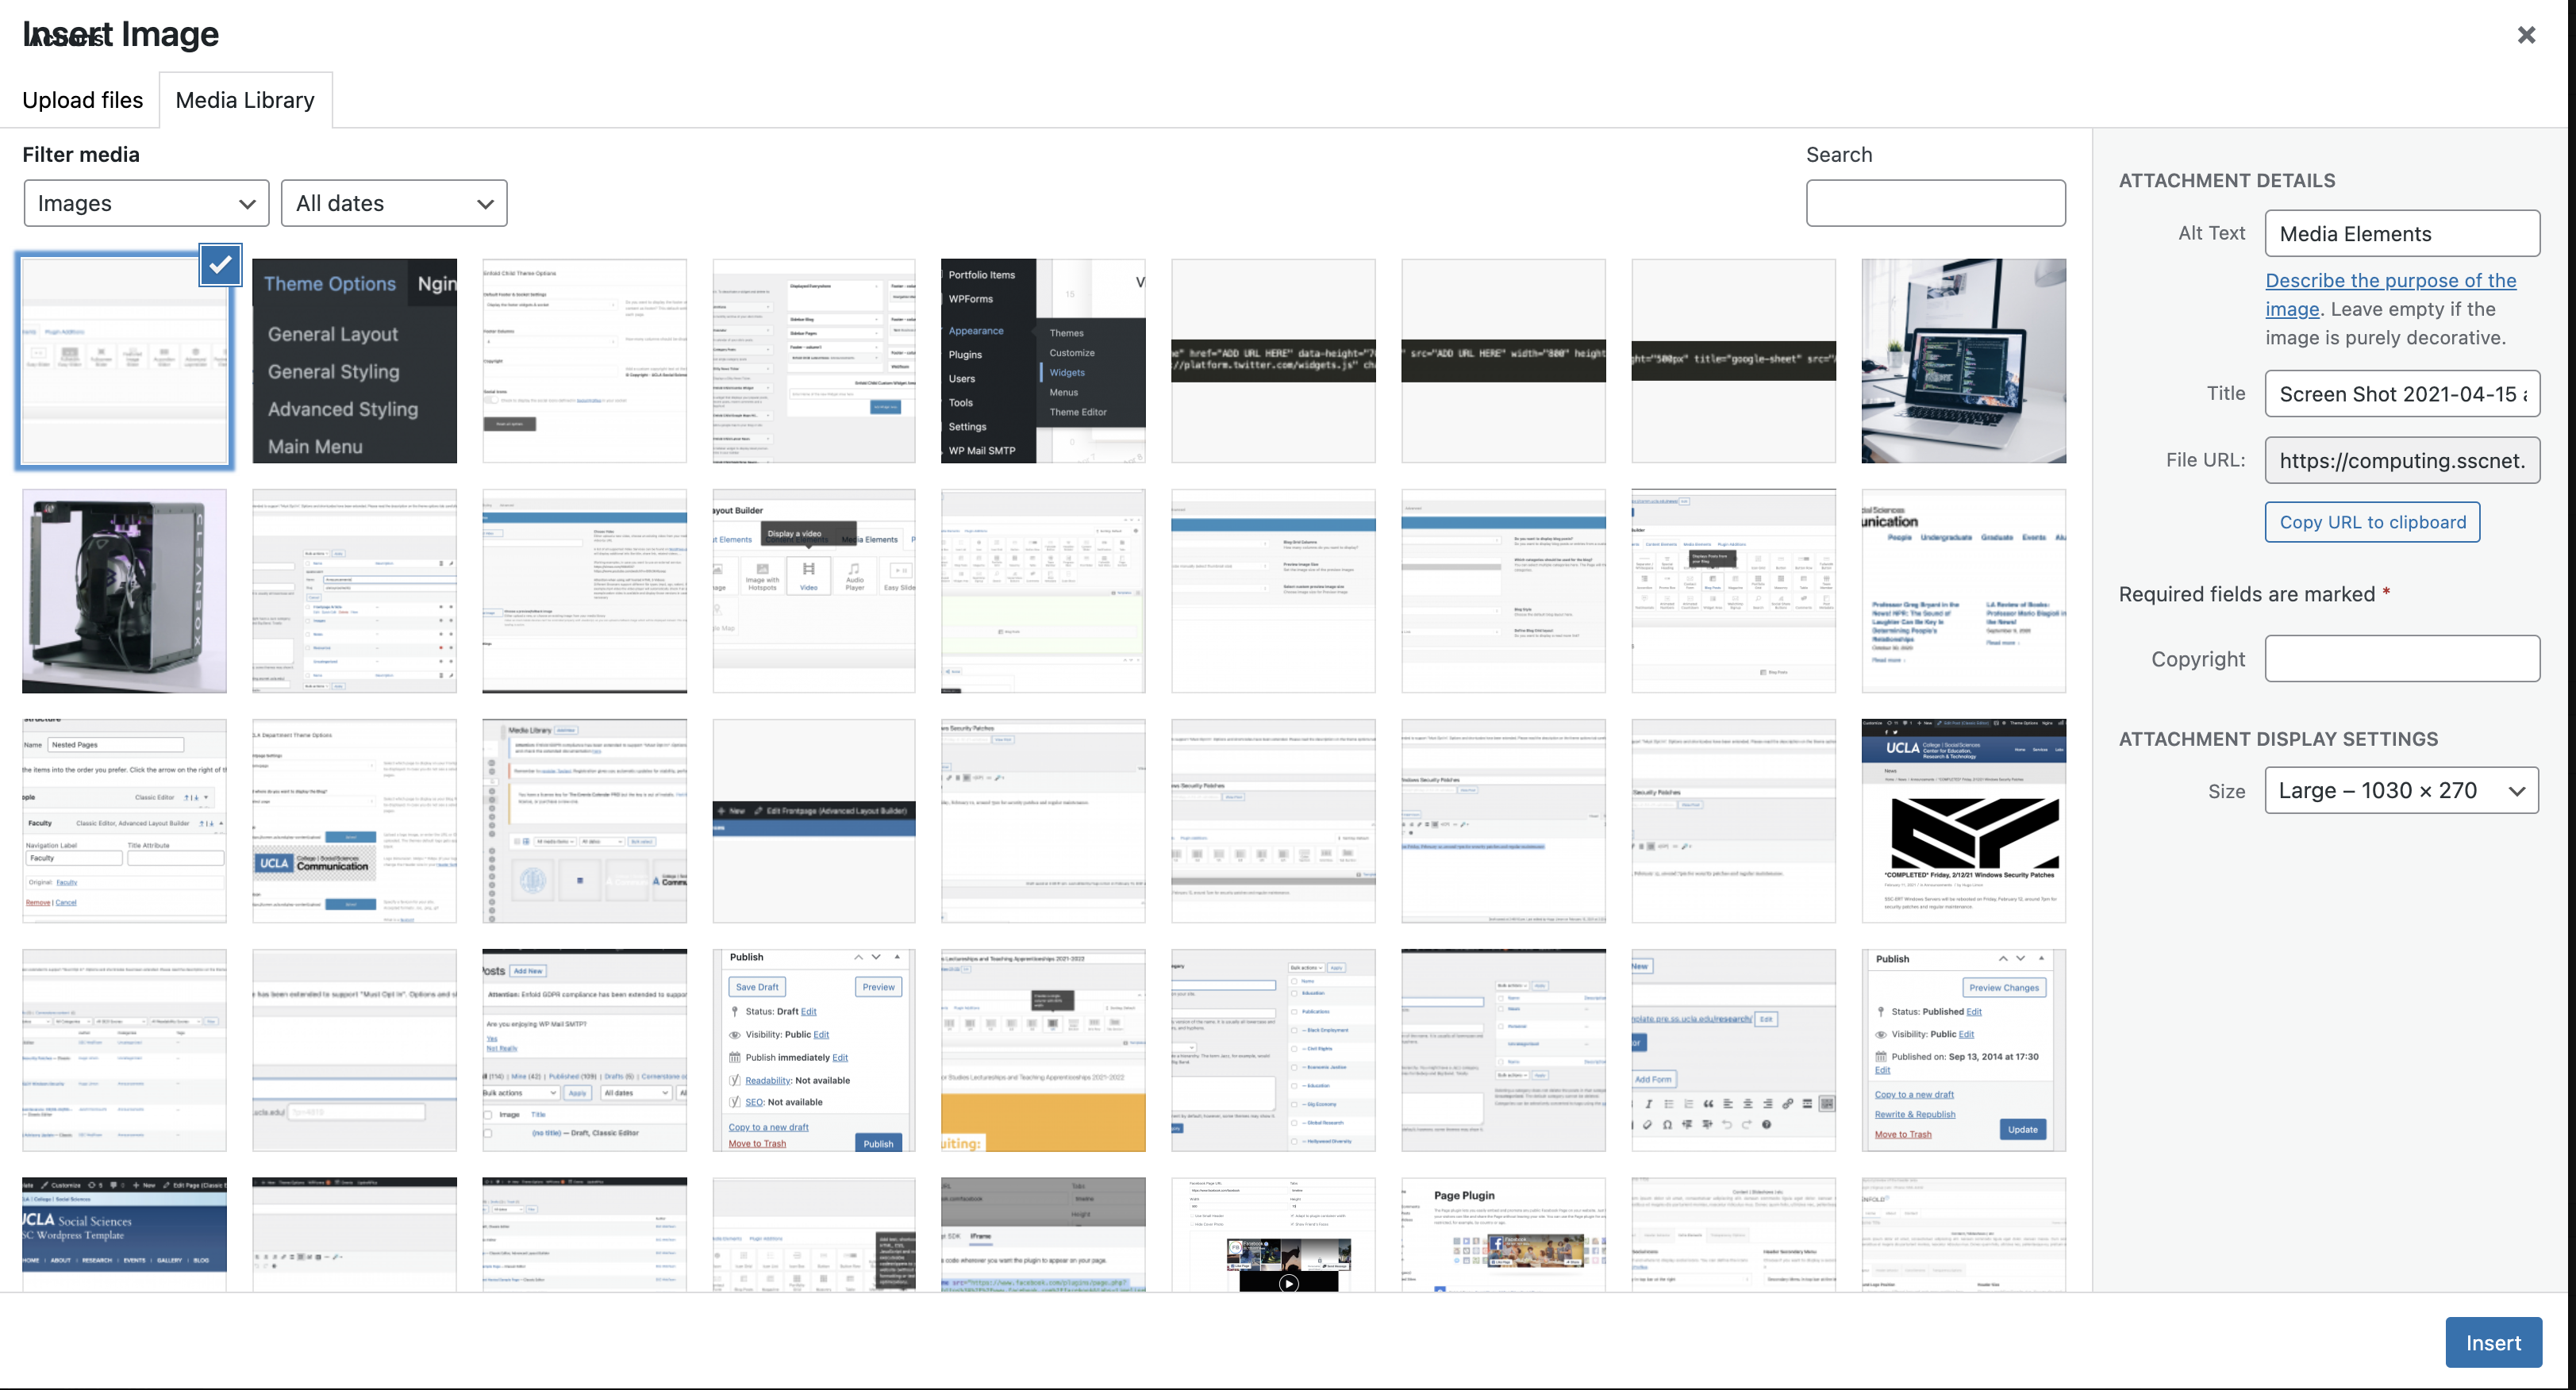
- Here you can select any images from the media library or upload an image to the library. To upload click on the “Upload files” tab and then drag and drop the image into the space or click on “Select Files” to look for the image.

- Once you selected you image, you can also choose what size you want the image to be by clicking on the size drop down menu. Once everything is done make sure to click “Insert” to insert the image into the page.
- The image should now show up in the “Image” element. Now click on “Save” to save your changes.
- Make sure to update you page in order for the image to show up on the page.


Video
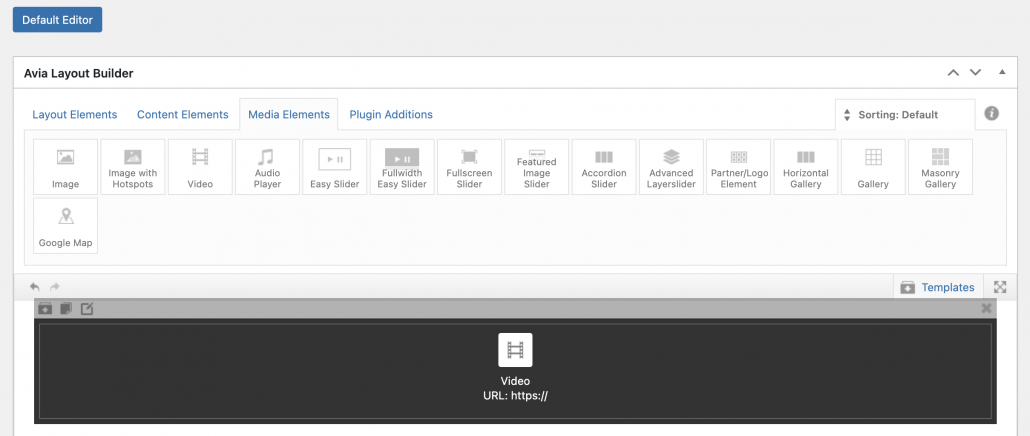
- Go to the “Media Elements” tab then drag and drop the element “Video” into the editor
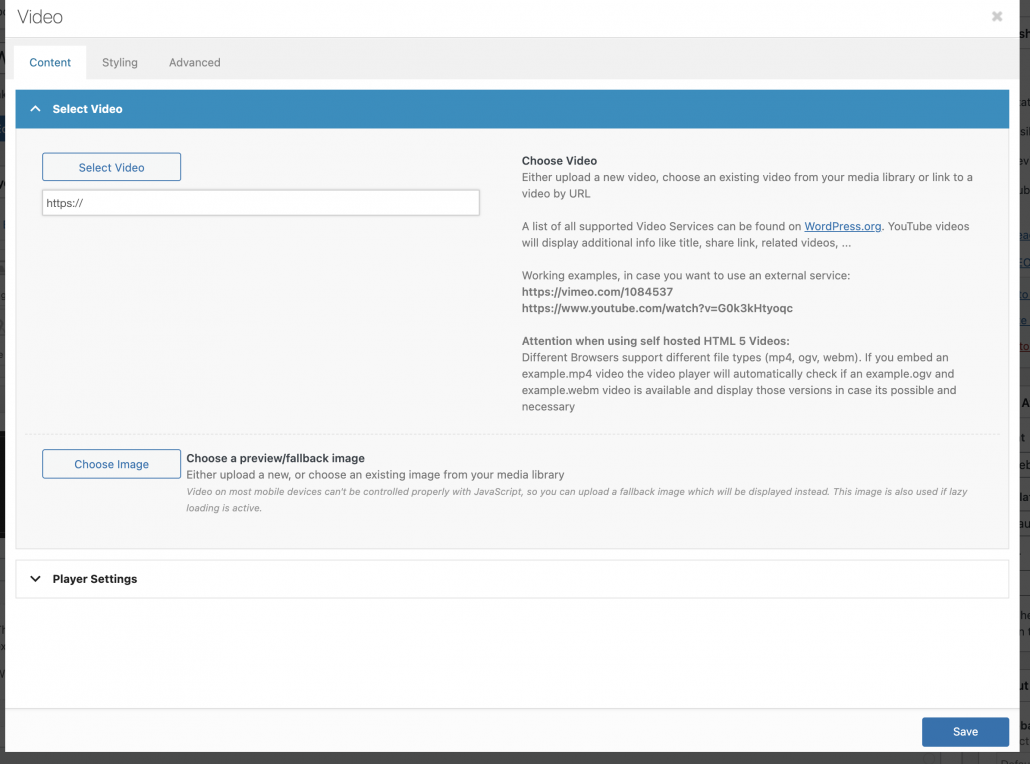
- Click on the “Video” element and a window should pop up like the image below.
- Here you can add in a url link to the video or you can upload your video into the media library. If your video size is bigger than the max media upload size, it is recommended that you use YouTube or Box to host the video.
- Once you have inserted the video click save then update for the video to show up on the page.
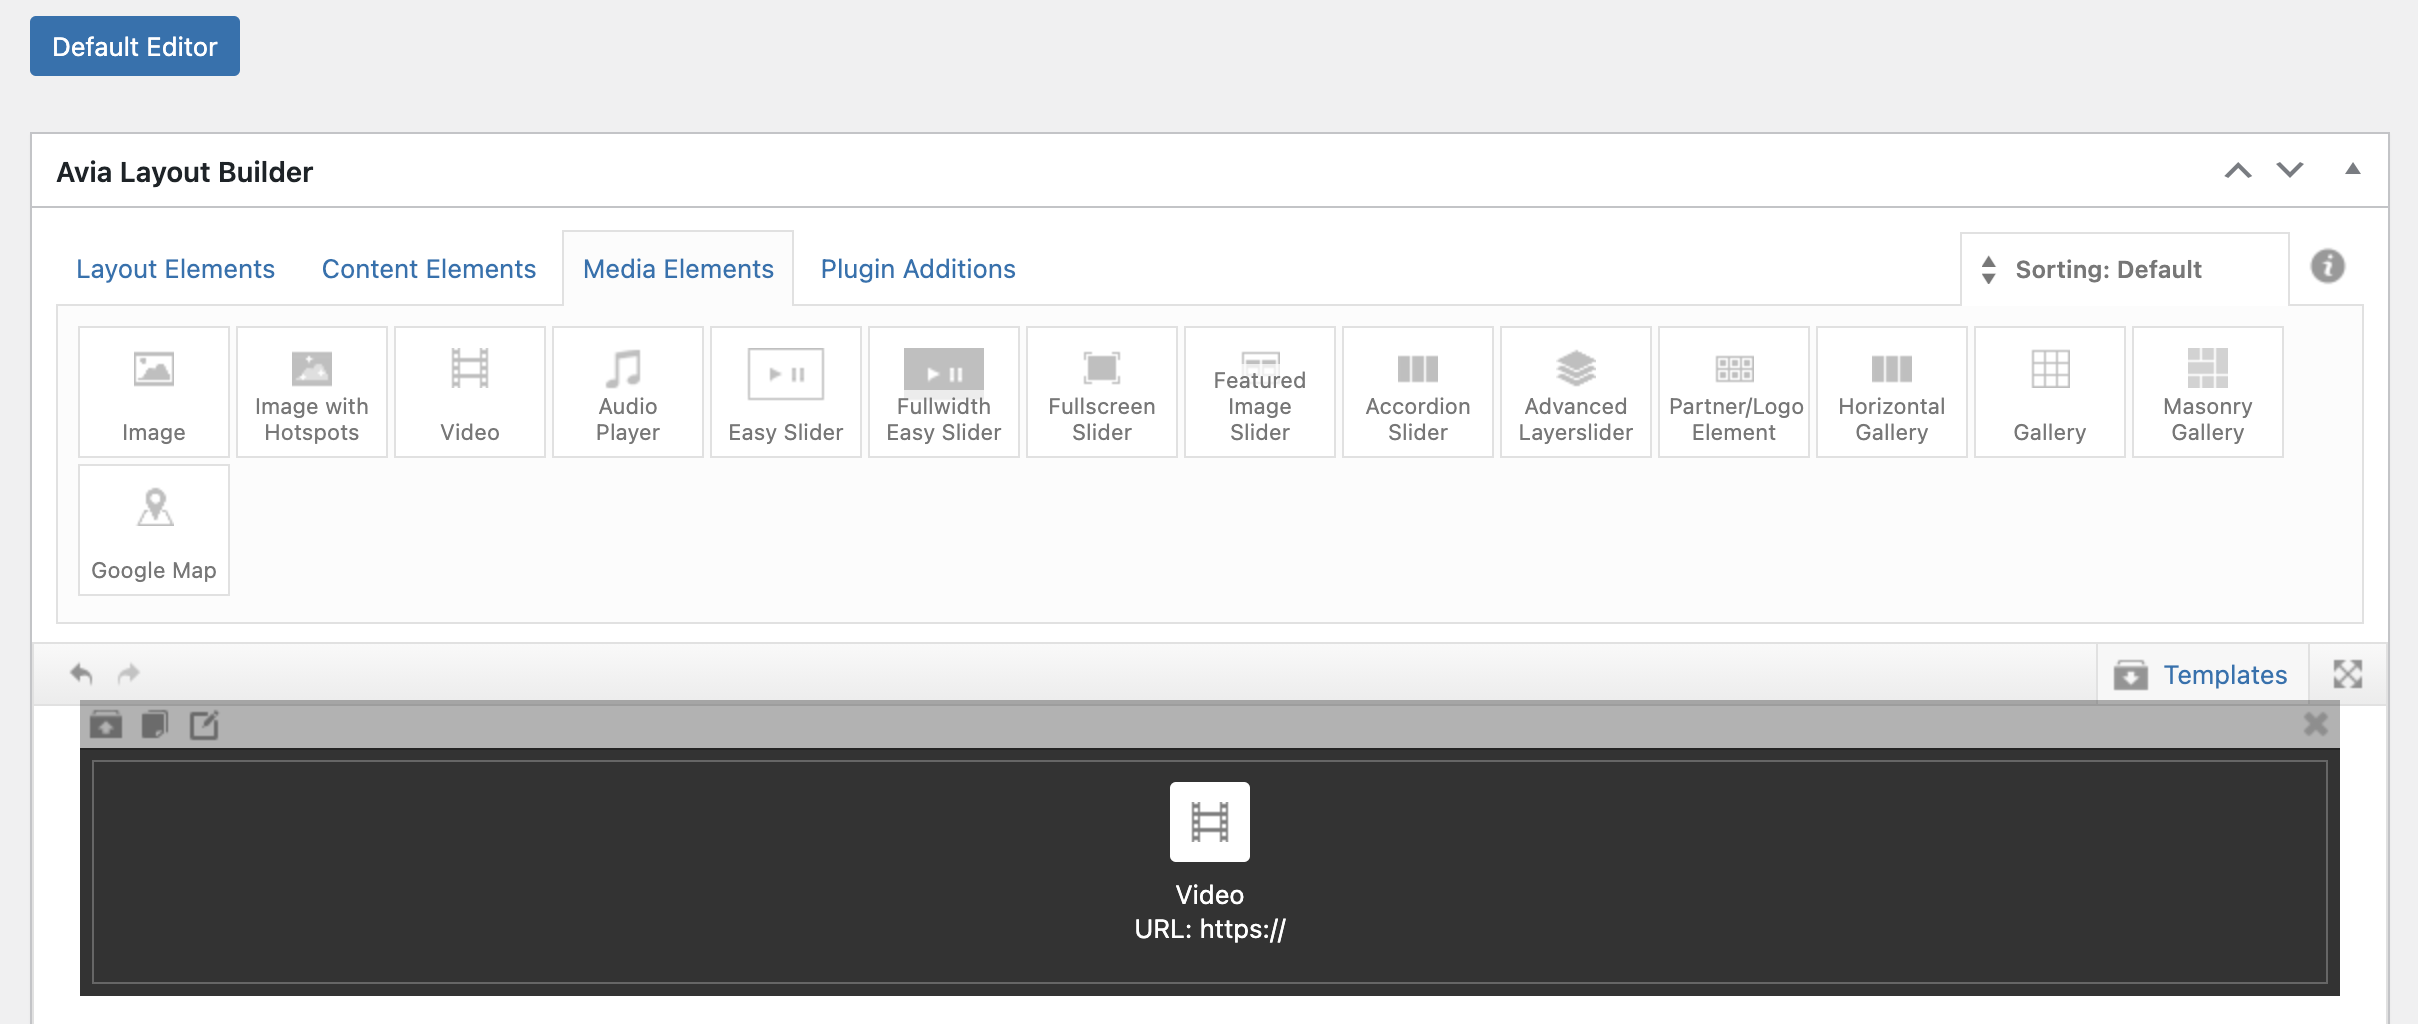
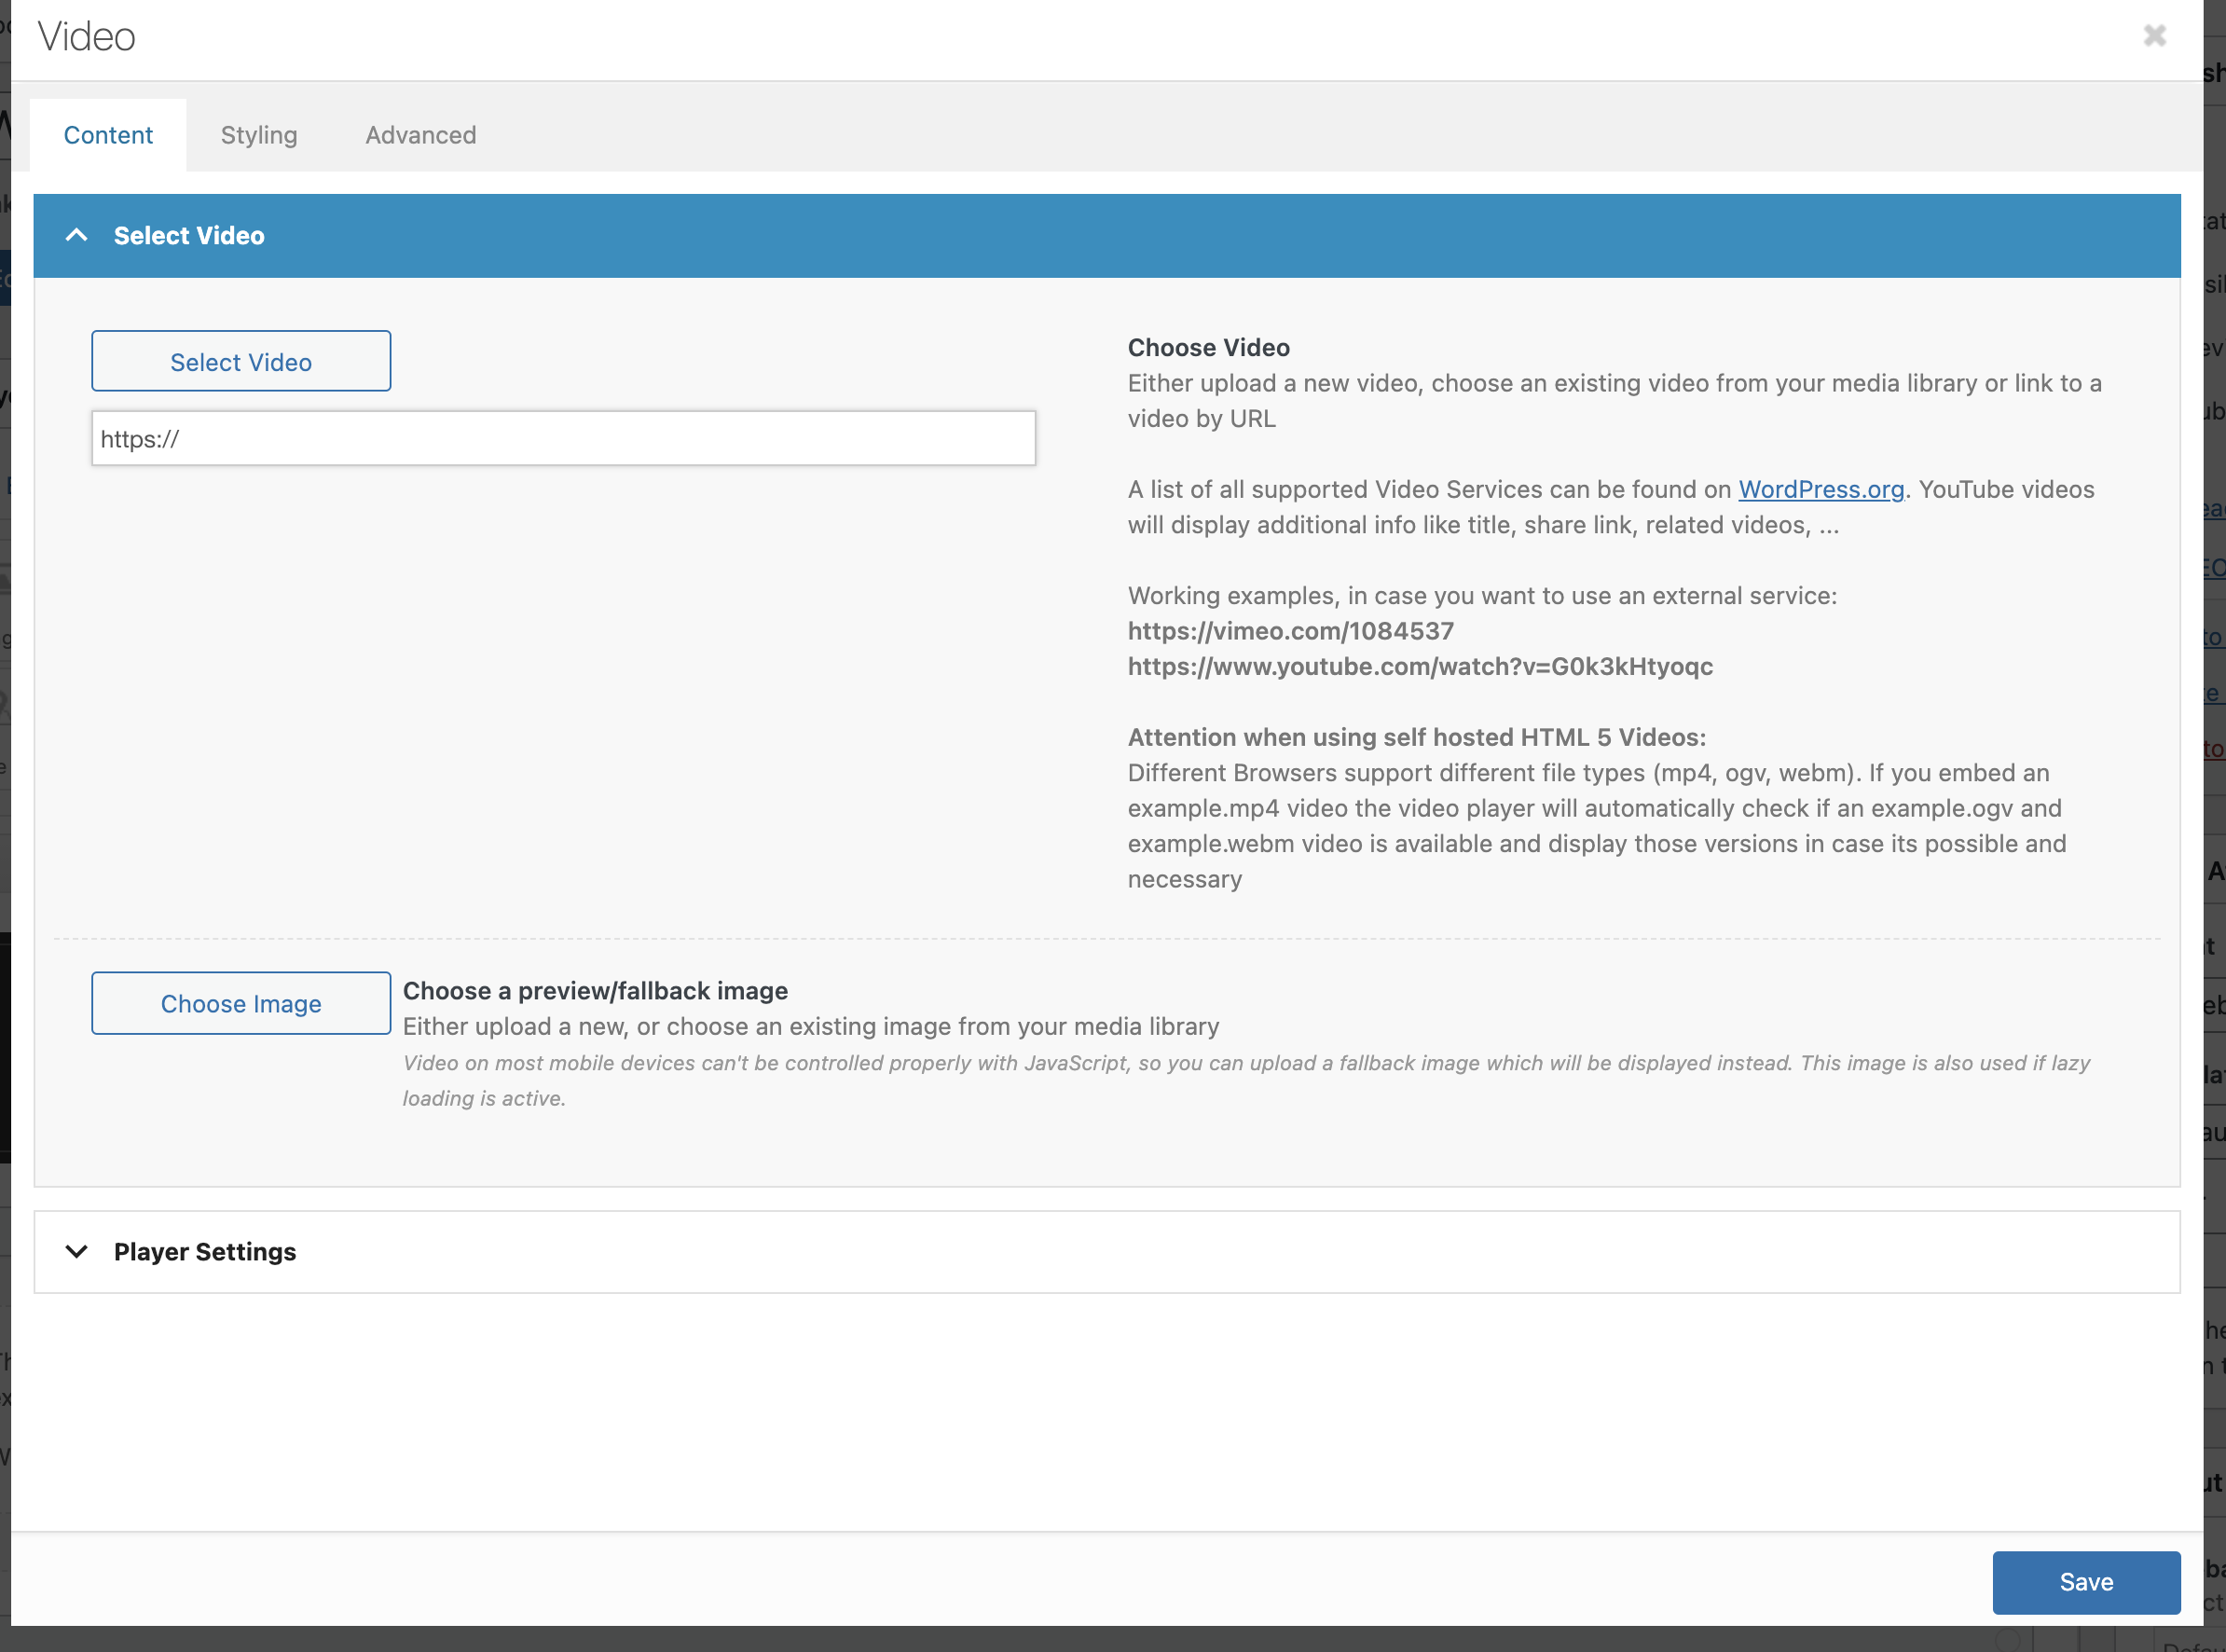
Photo Gallery
There are two ways to create a photo gallery. You can use the “Gallery” element or “Masonry Gallery” element. The difference between the two elements is the animation when the page is loaded.
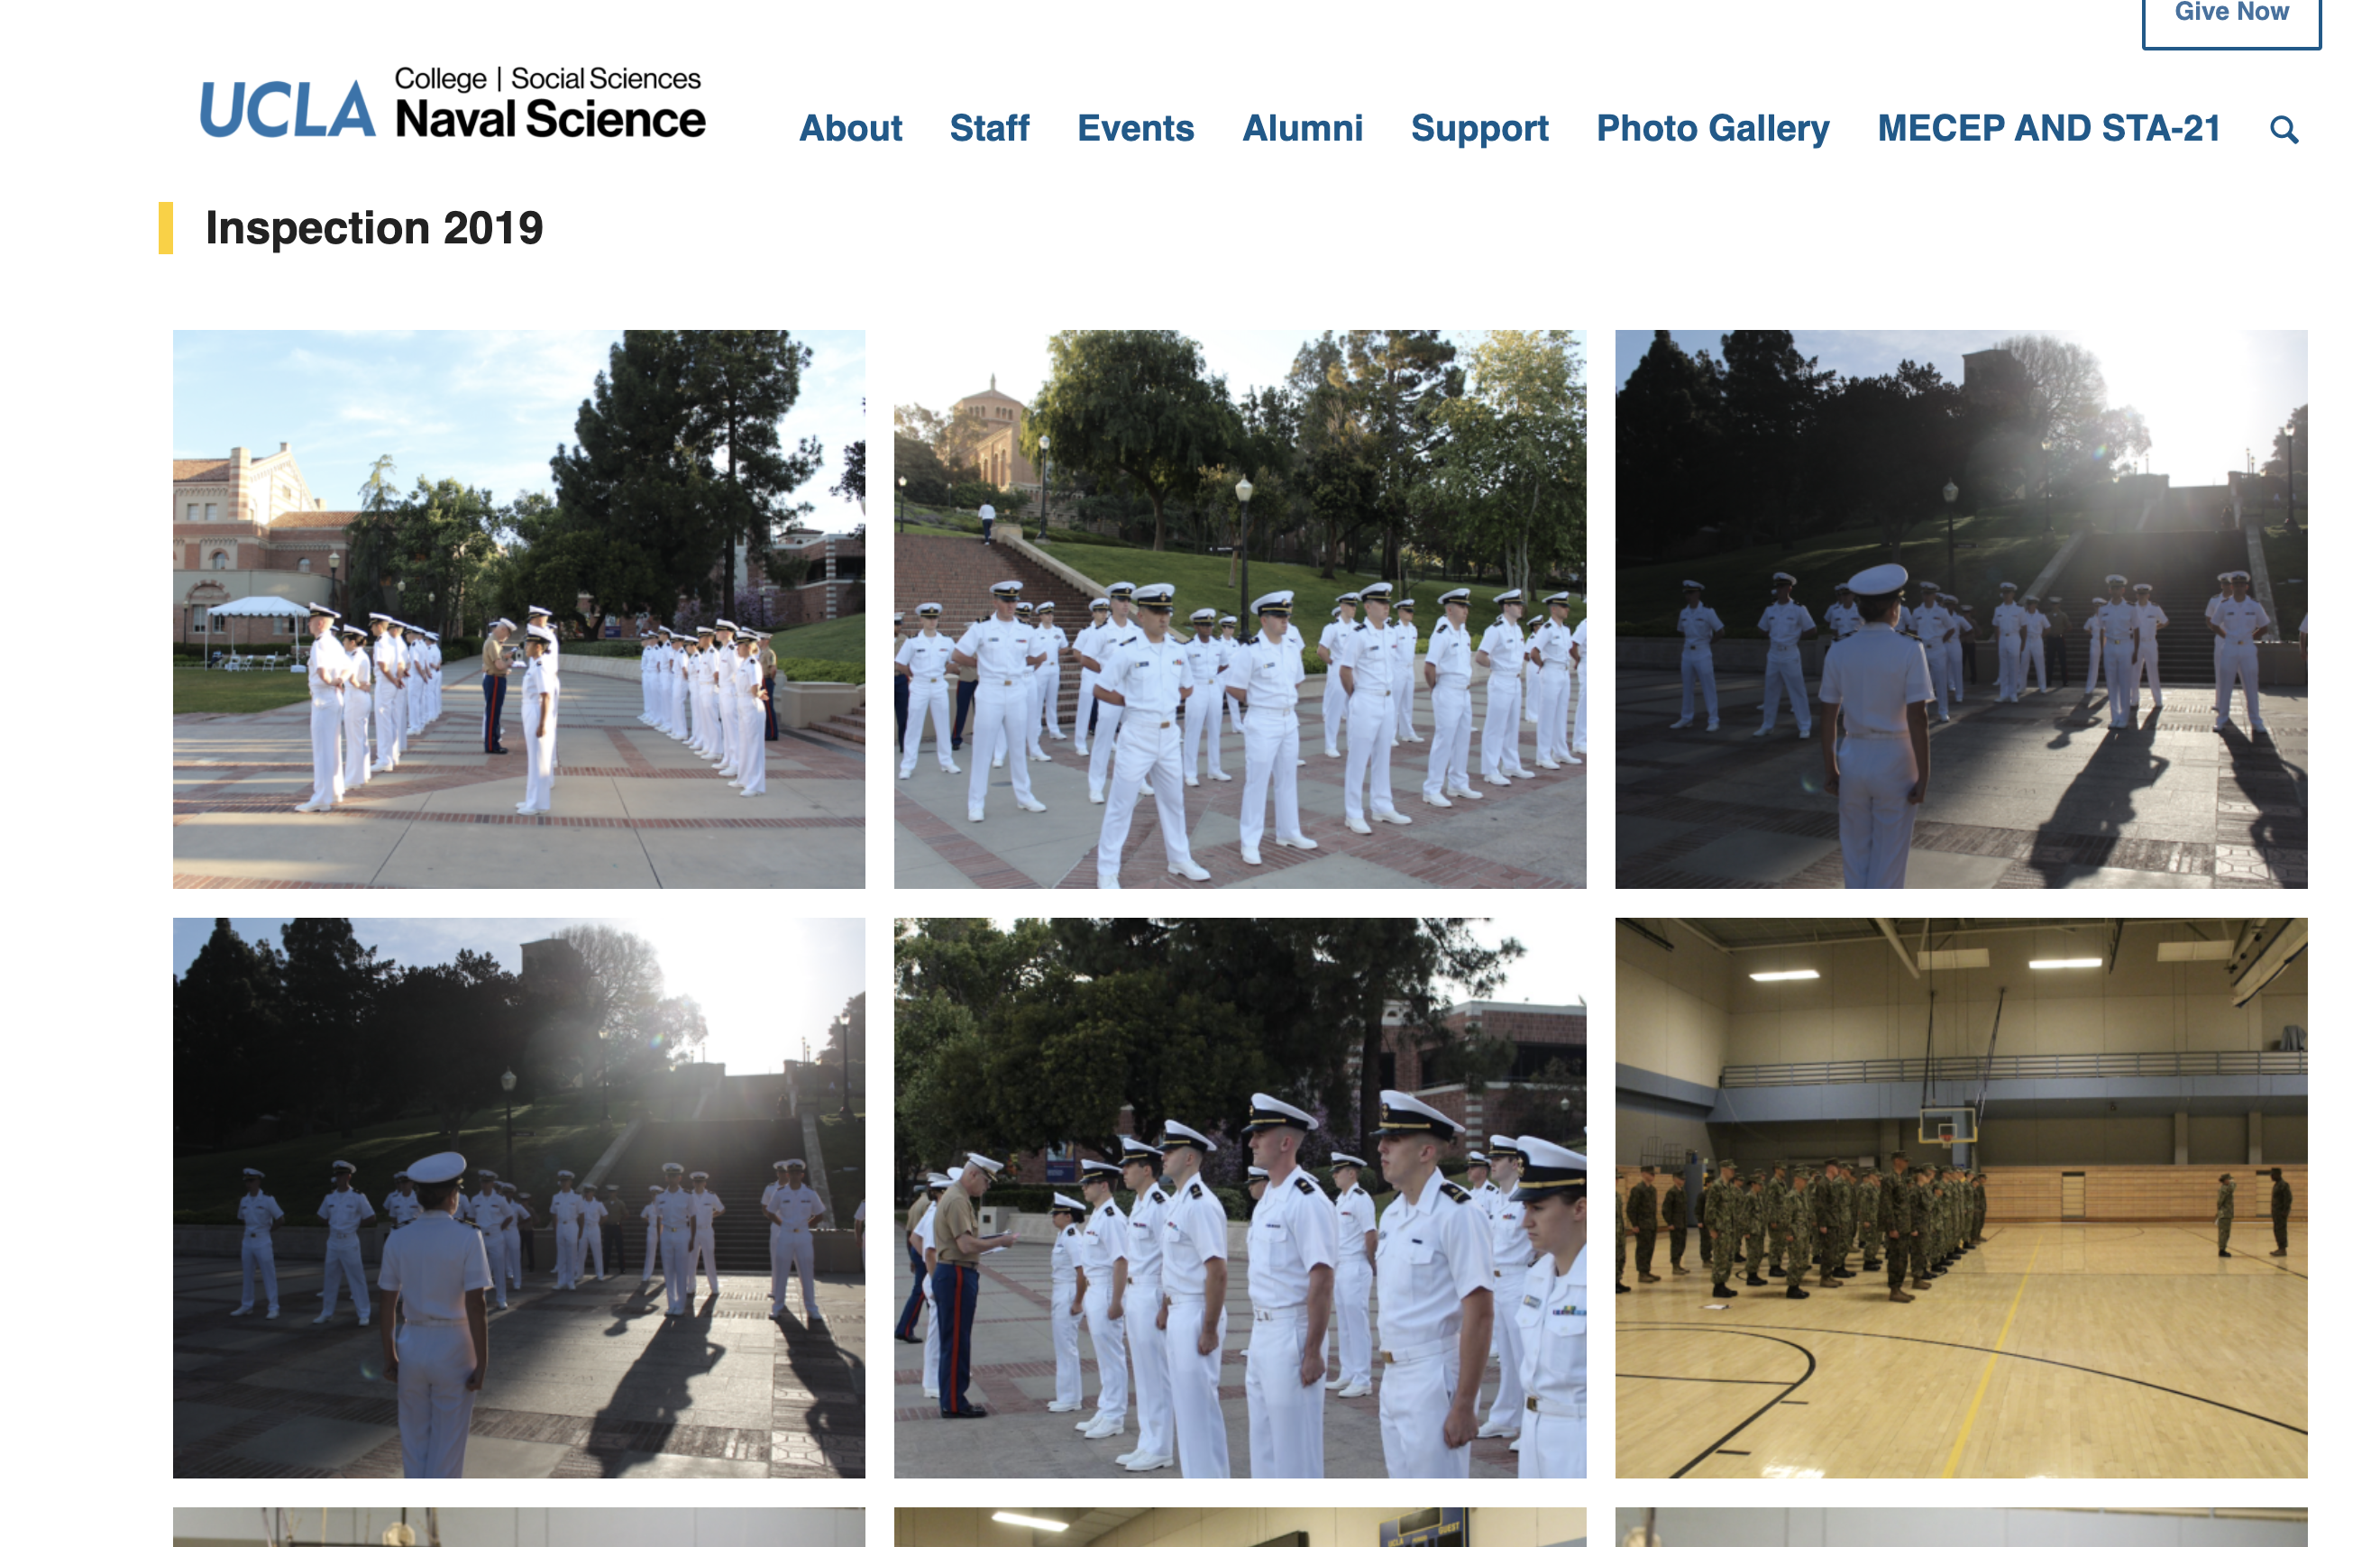
Here is an example of what a photo gallery would look like.
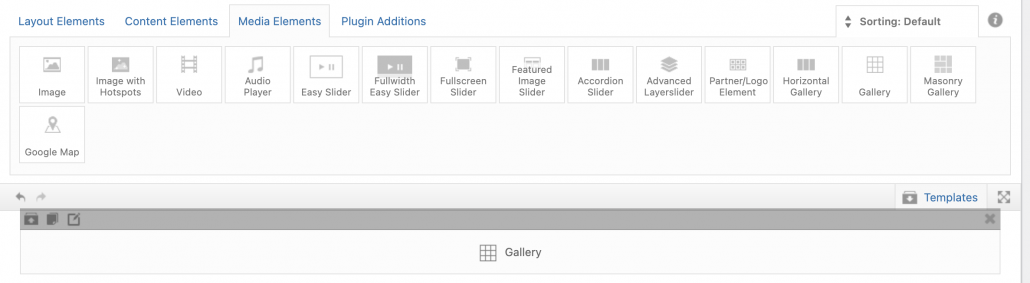
- Go to the “Media Elements” tab and drag and drop “Gallery”
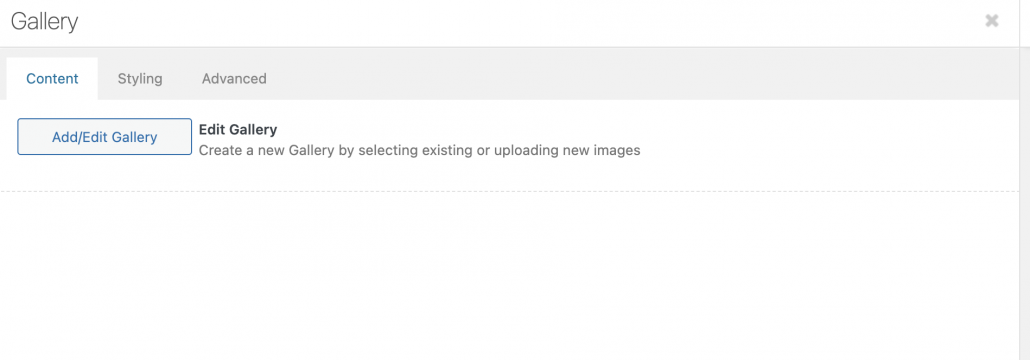
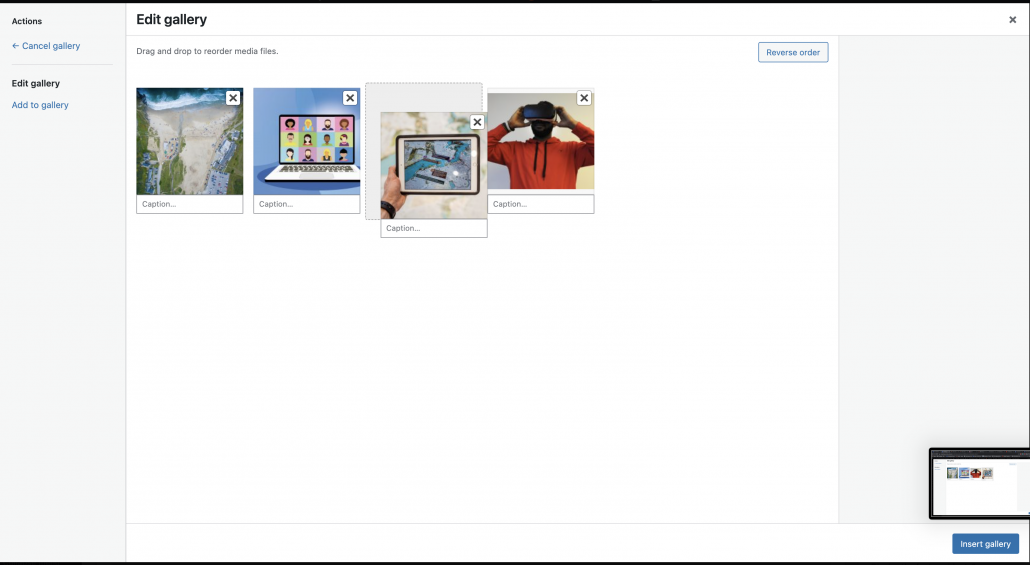
- Click on the “Gallery” element then click on “Add/Edit Gallery” to start adding in images to the gallery.
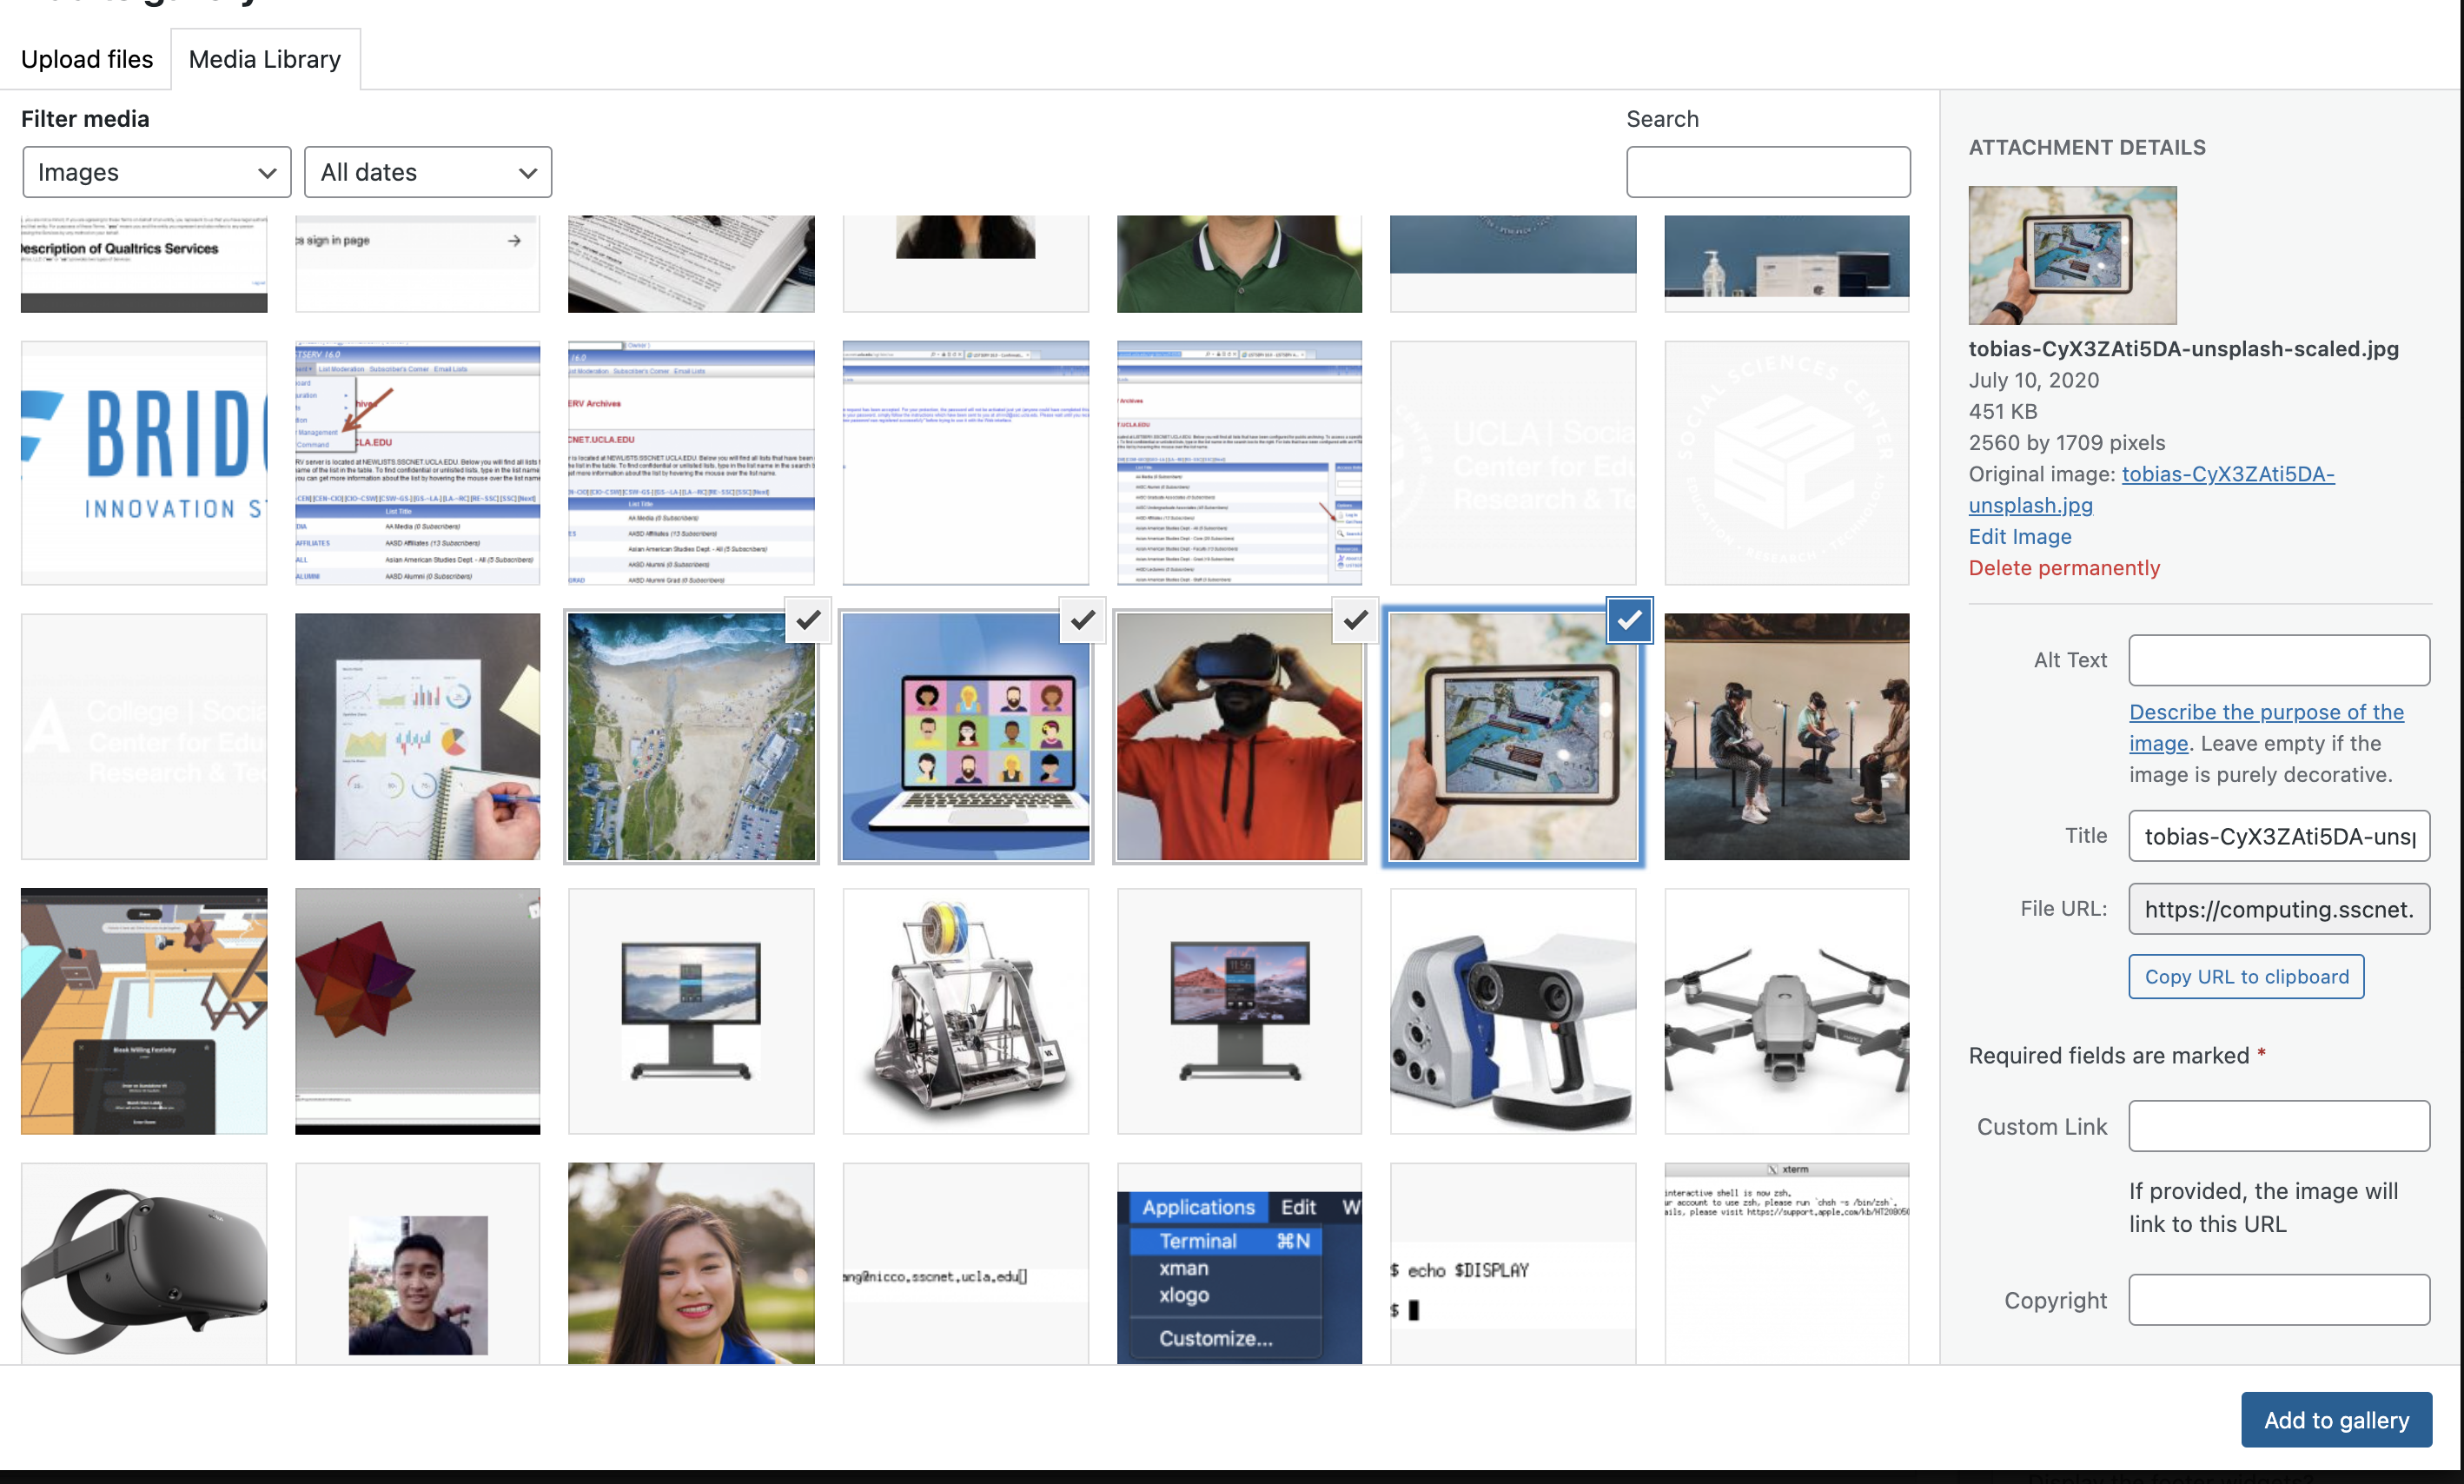
- Here you can either upload to select the images you would like to add into the gallery. Once you are done make sure to click on “Add to Gallery”.

- Once the images have been added, you can now rearrange the order of the images. Once you are done click on “Insert Gallery”.
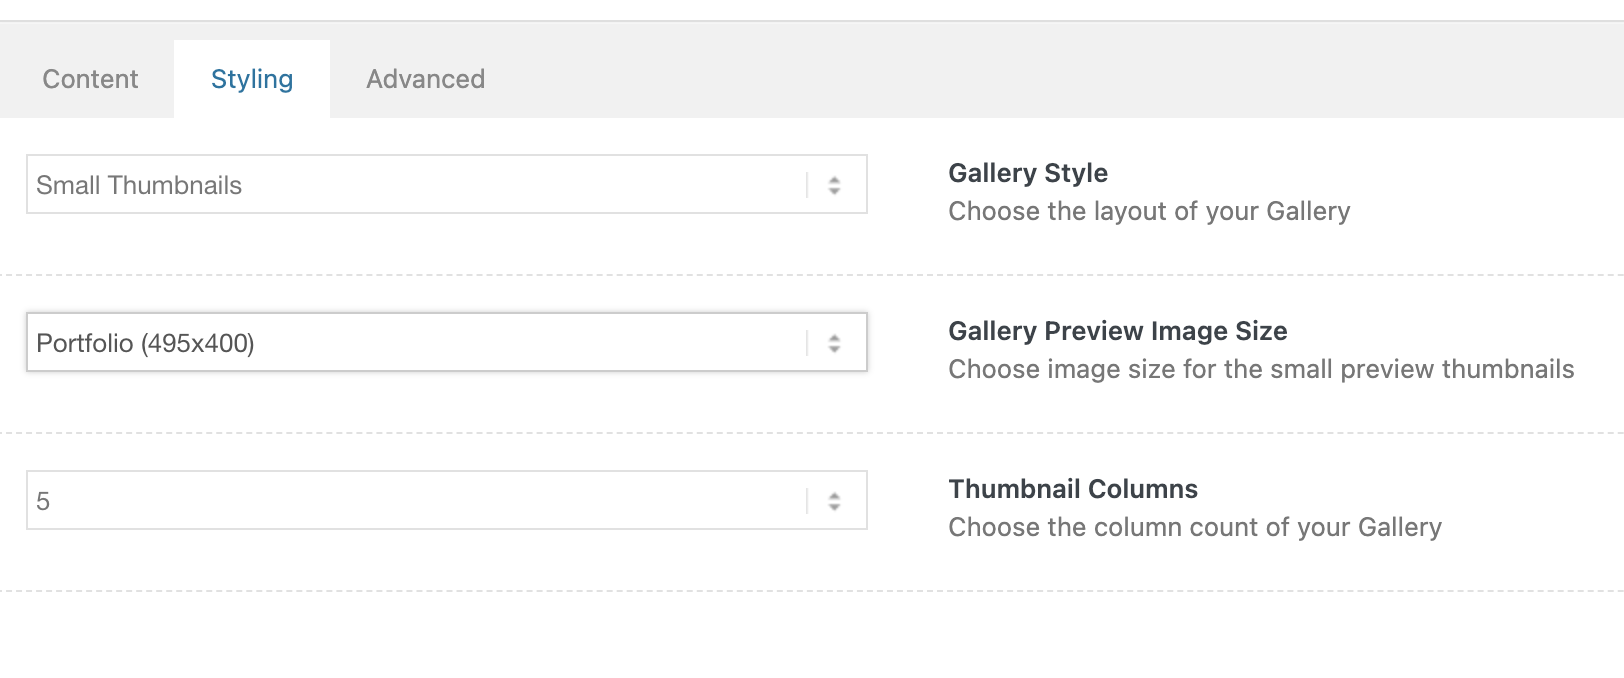
- Before saving you can go to the “Styling” tab to change the size of the images, number of columns, and Gallery style. Once you are done make sure to click save then update the page.


News & Publications
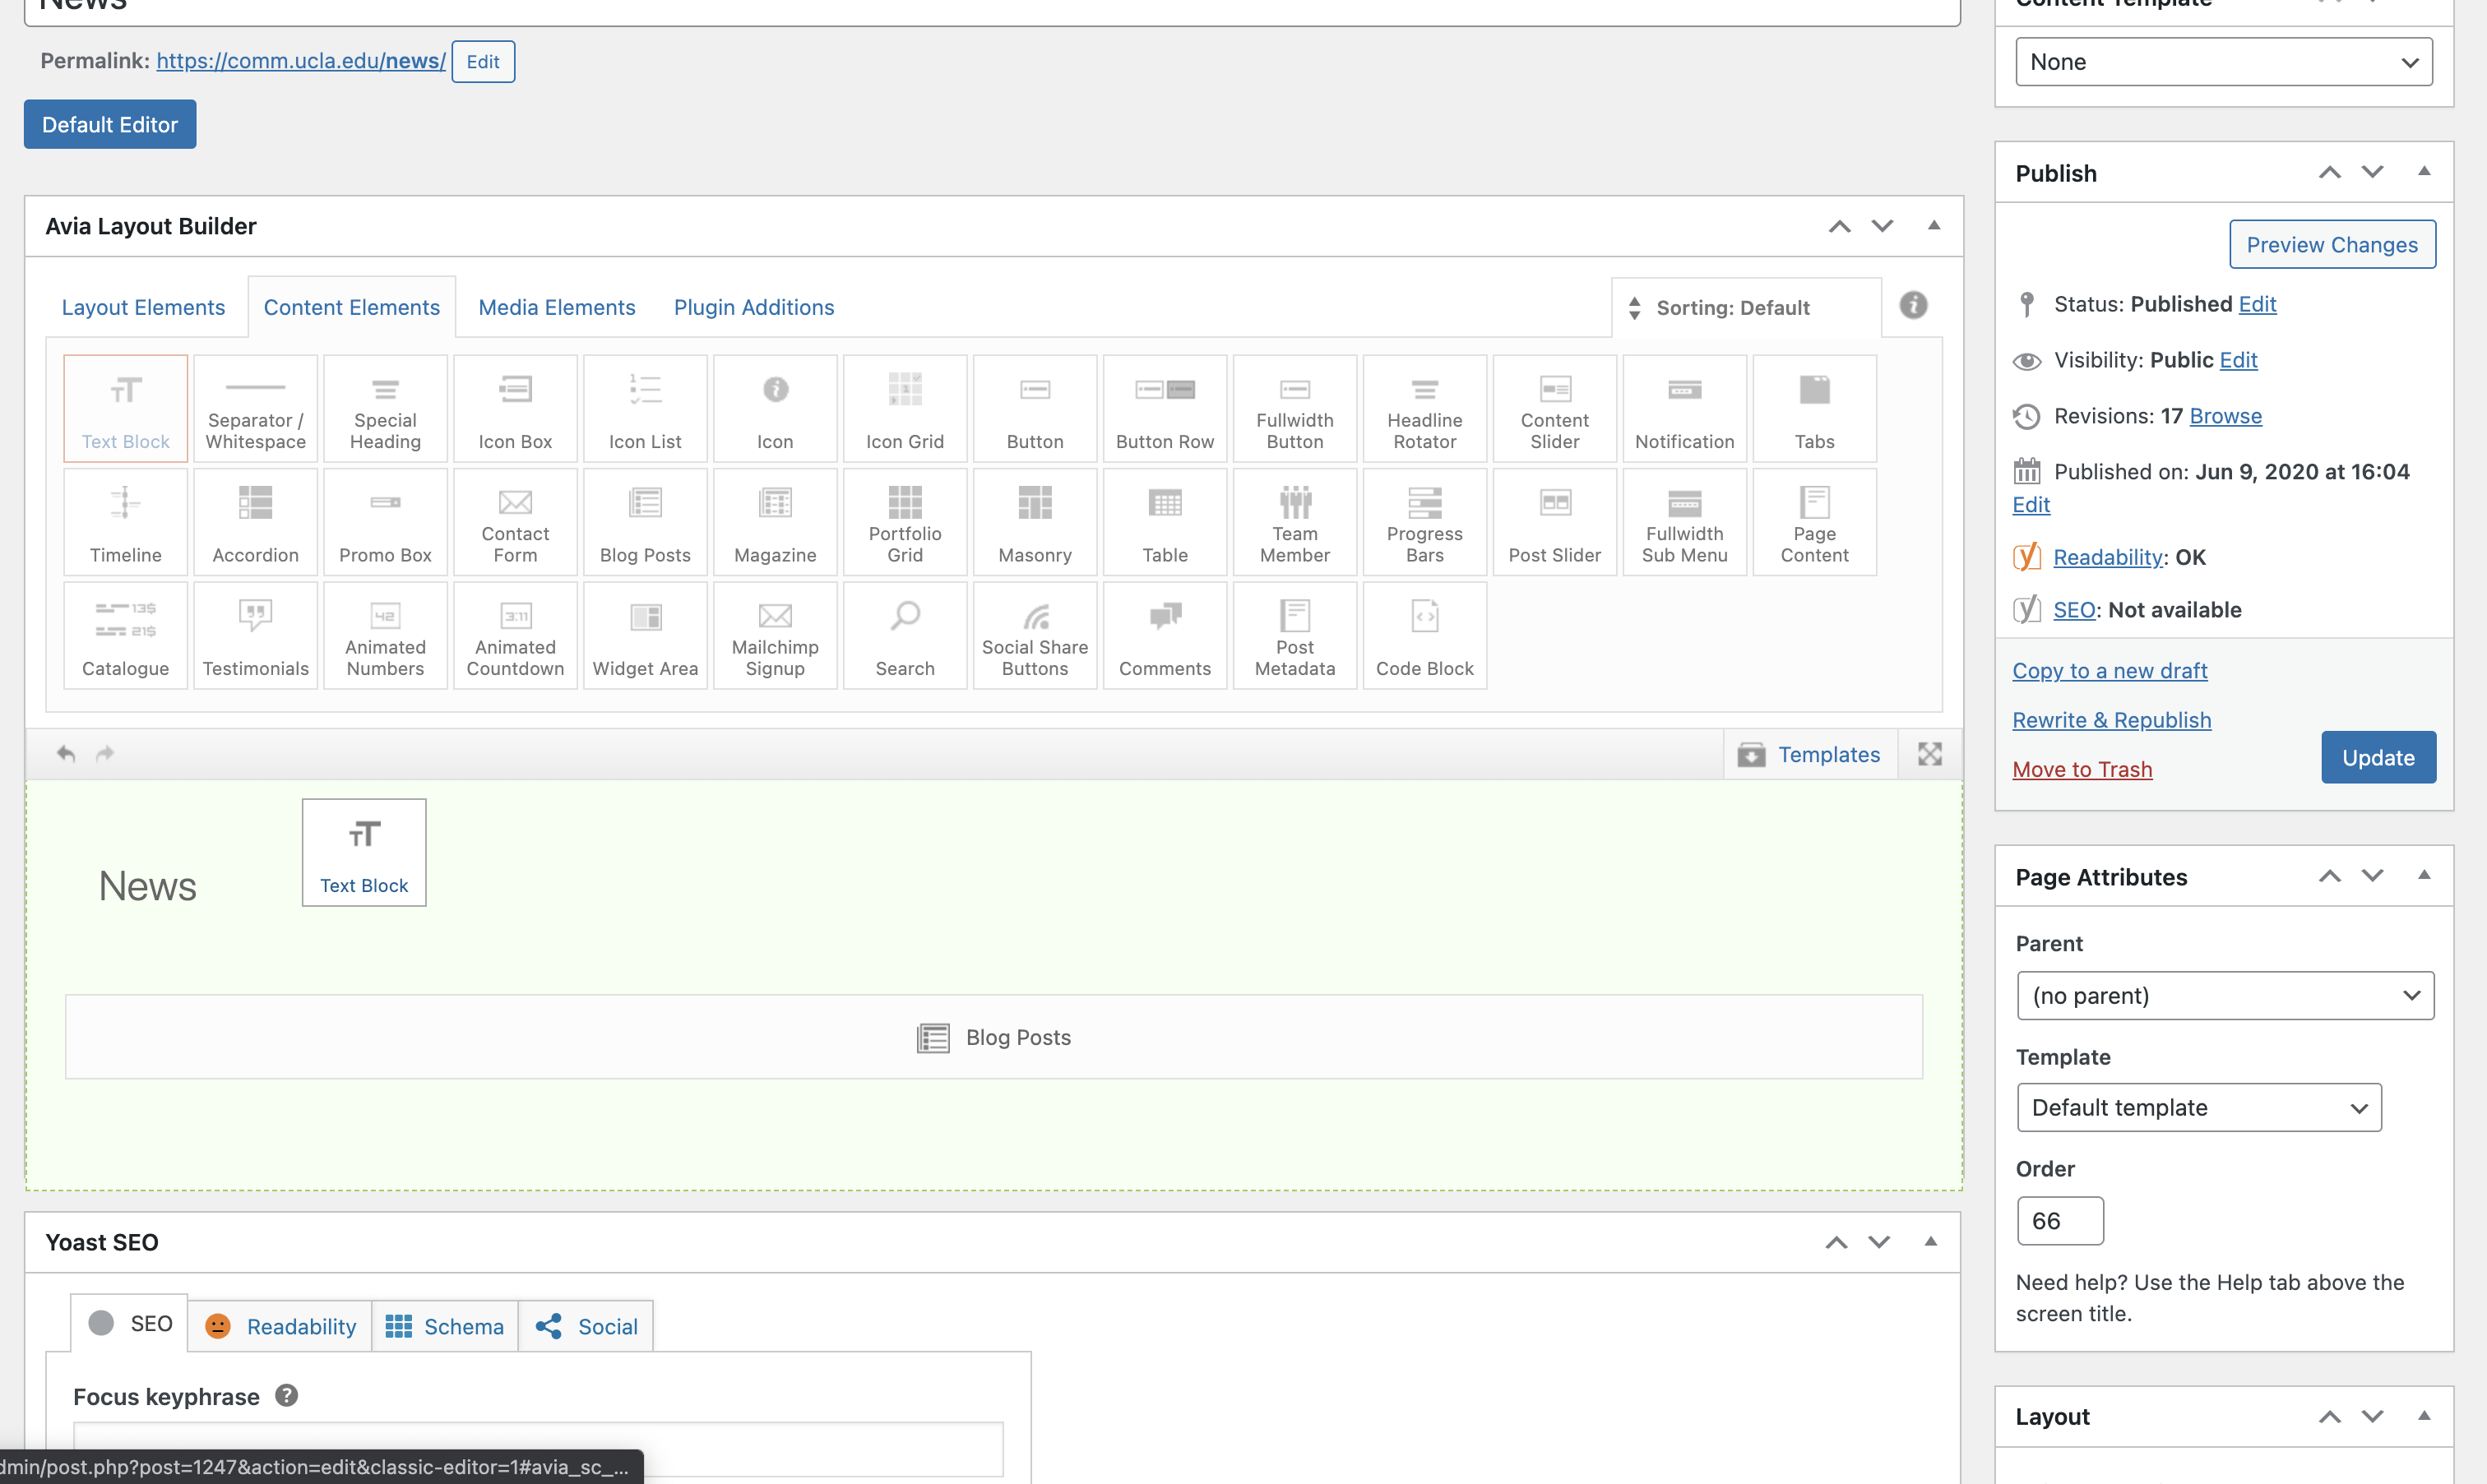
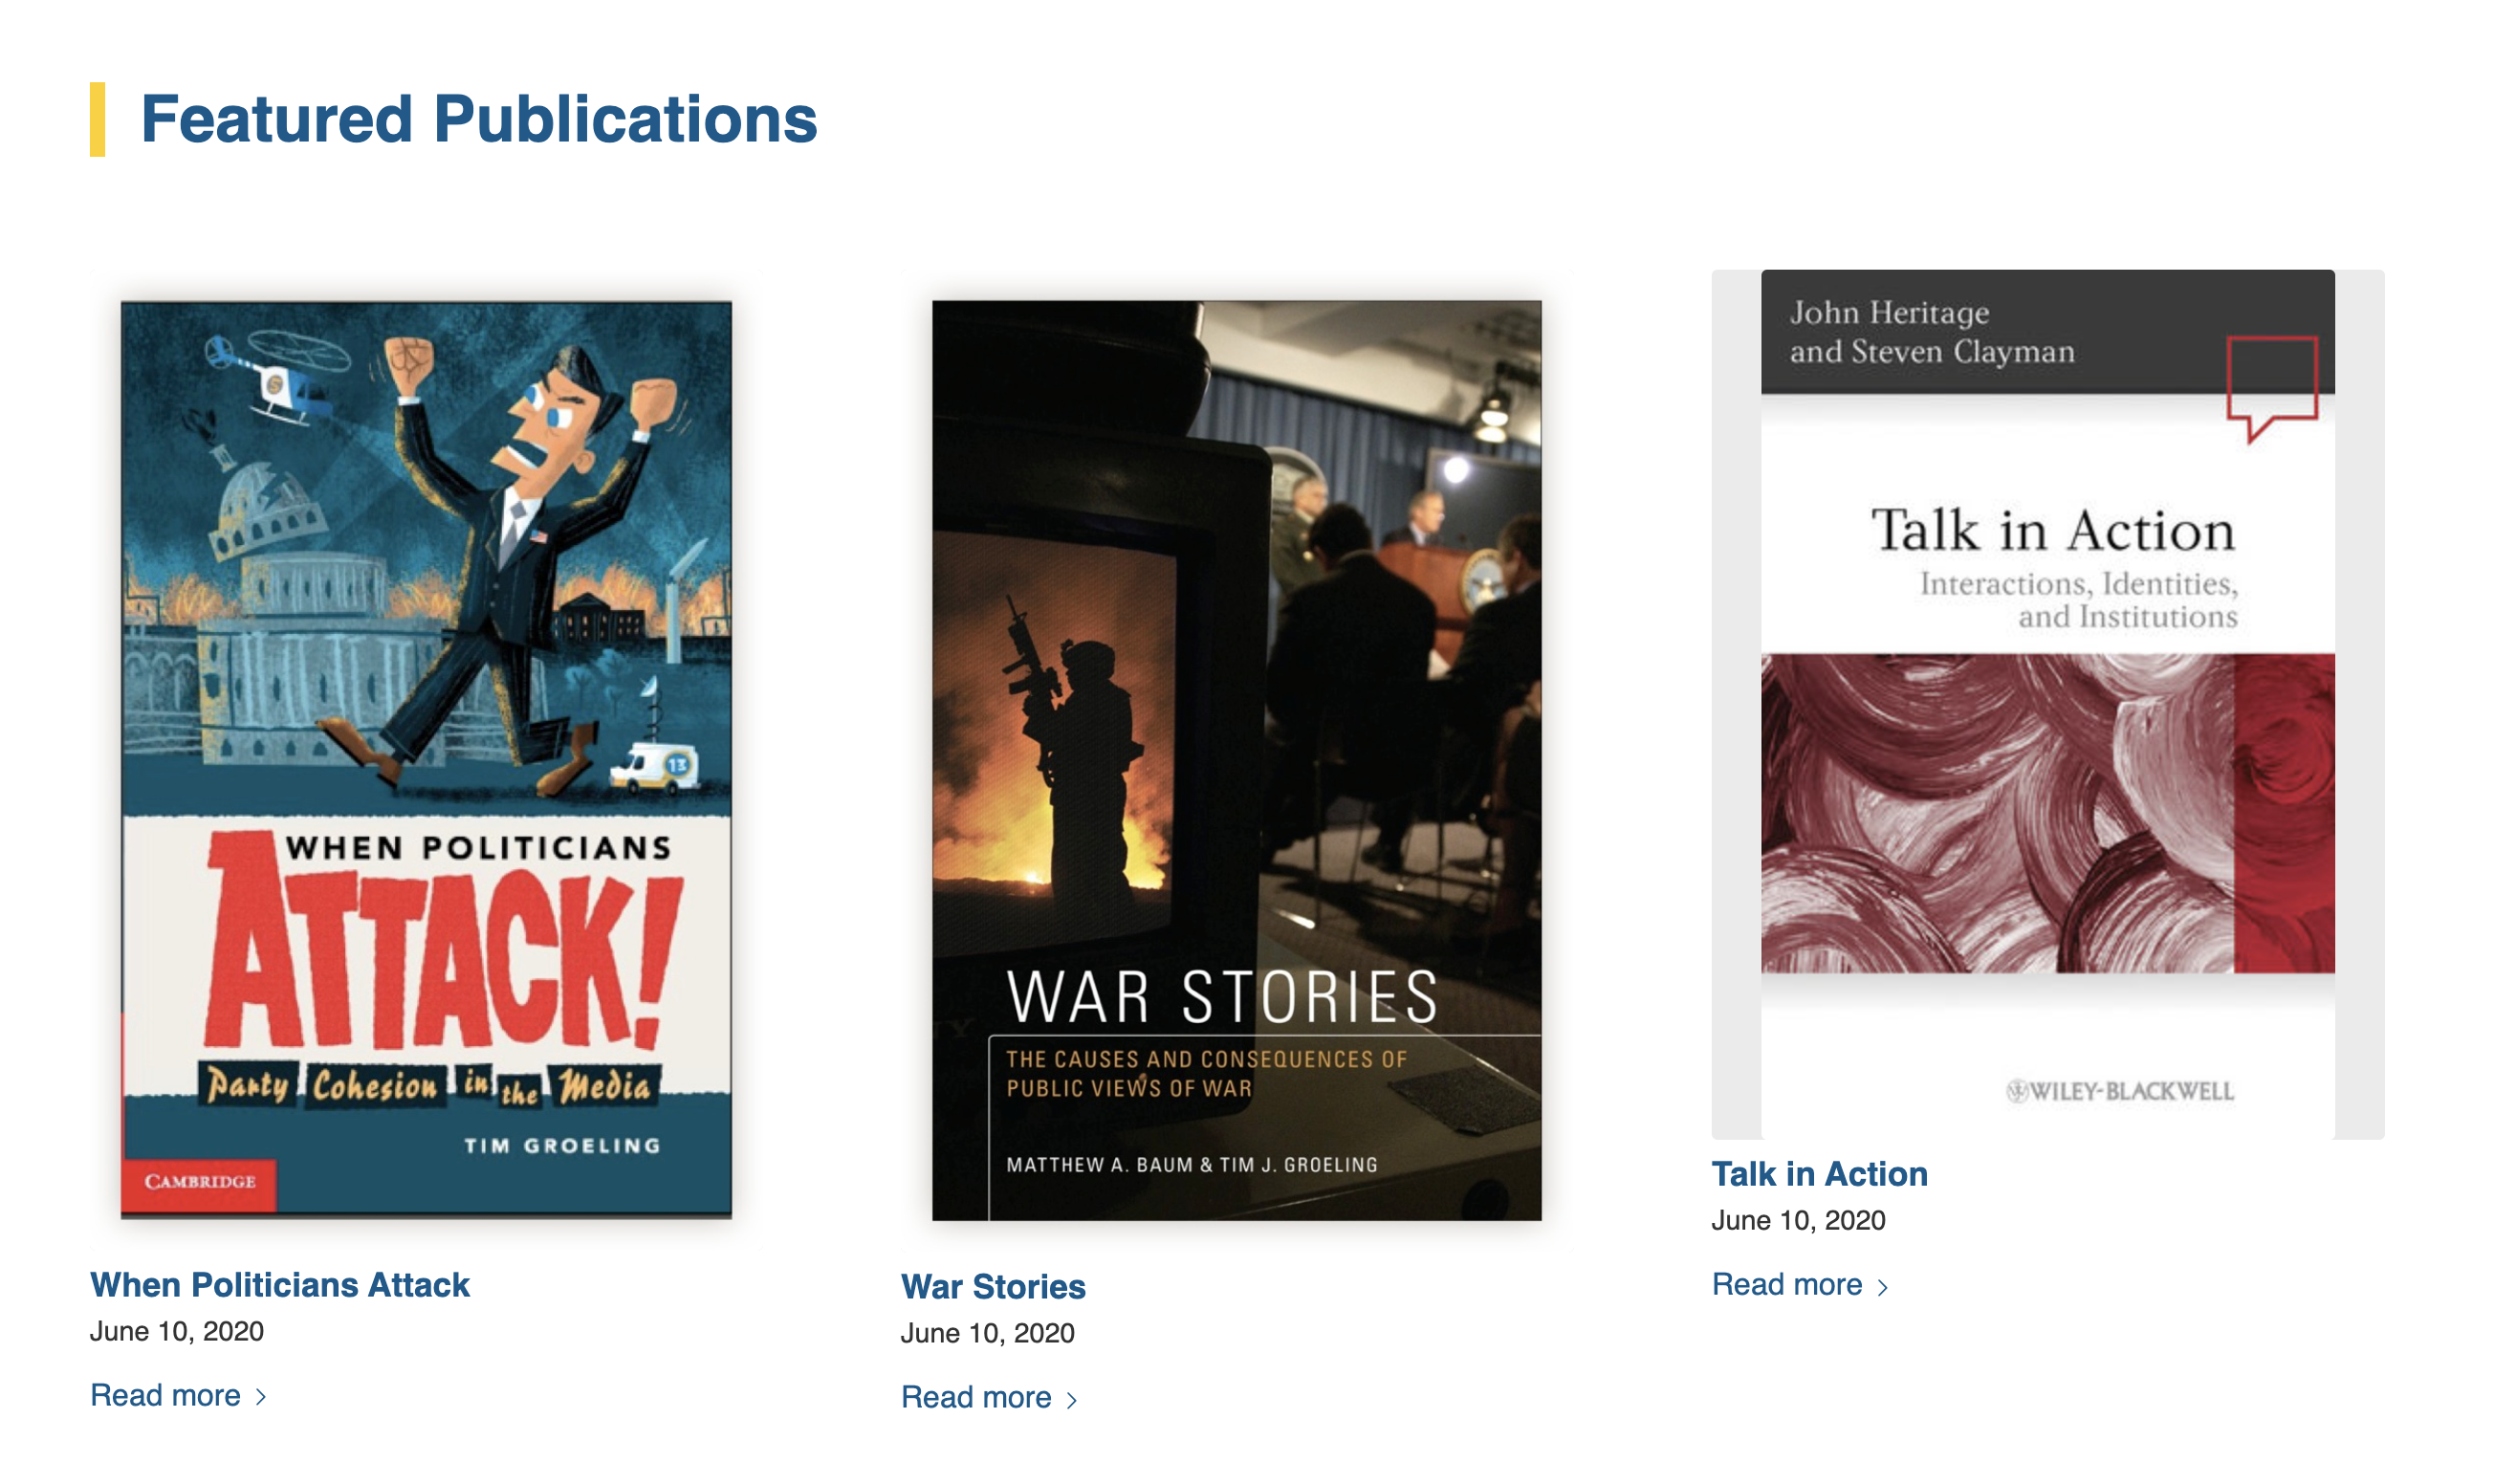
In WordPress you can have a page that displays your department’s publications or News posts as shown in the two examples below.

- Go to “Content Elements” then click on the “Blog Posts” element.
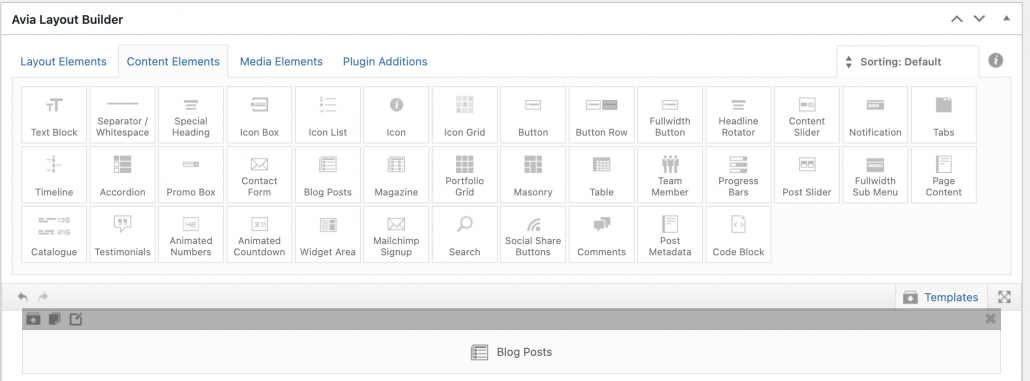
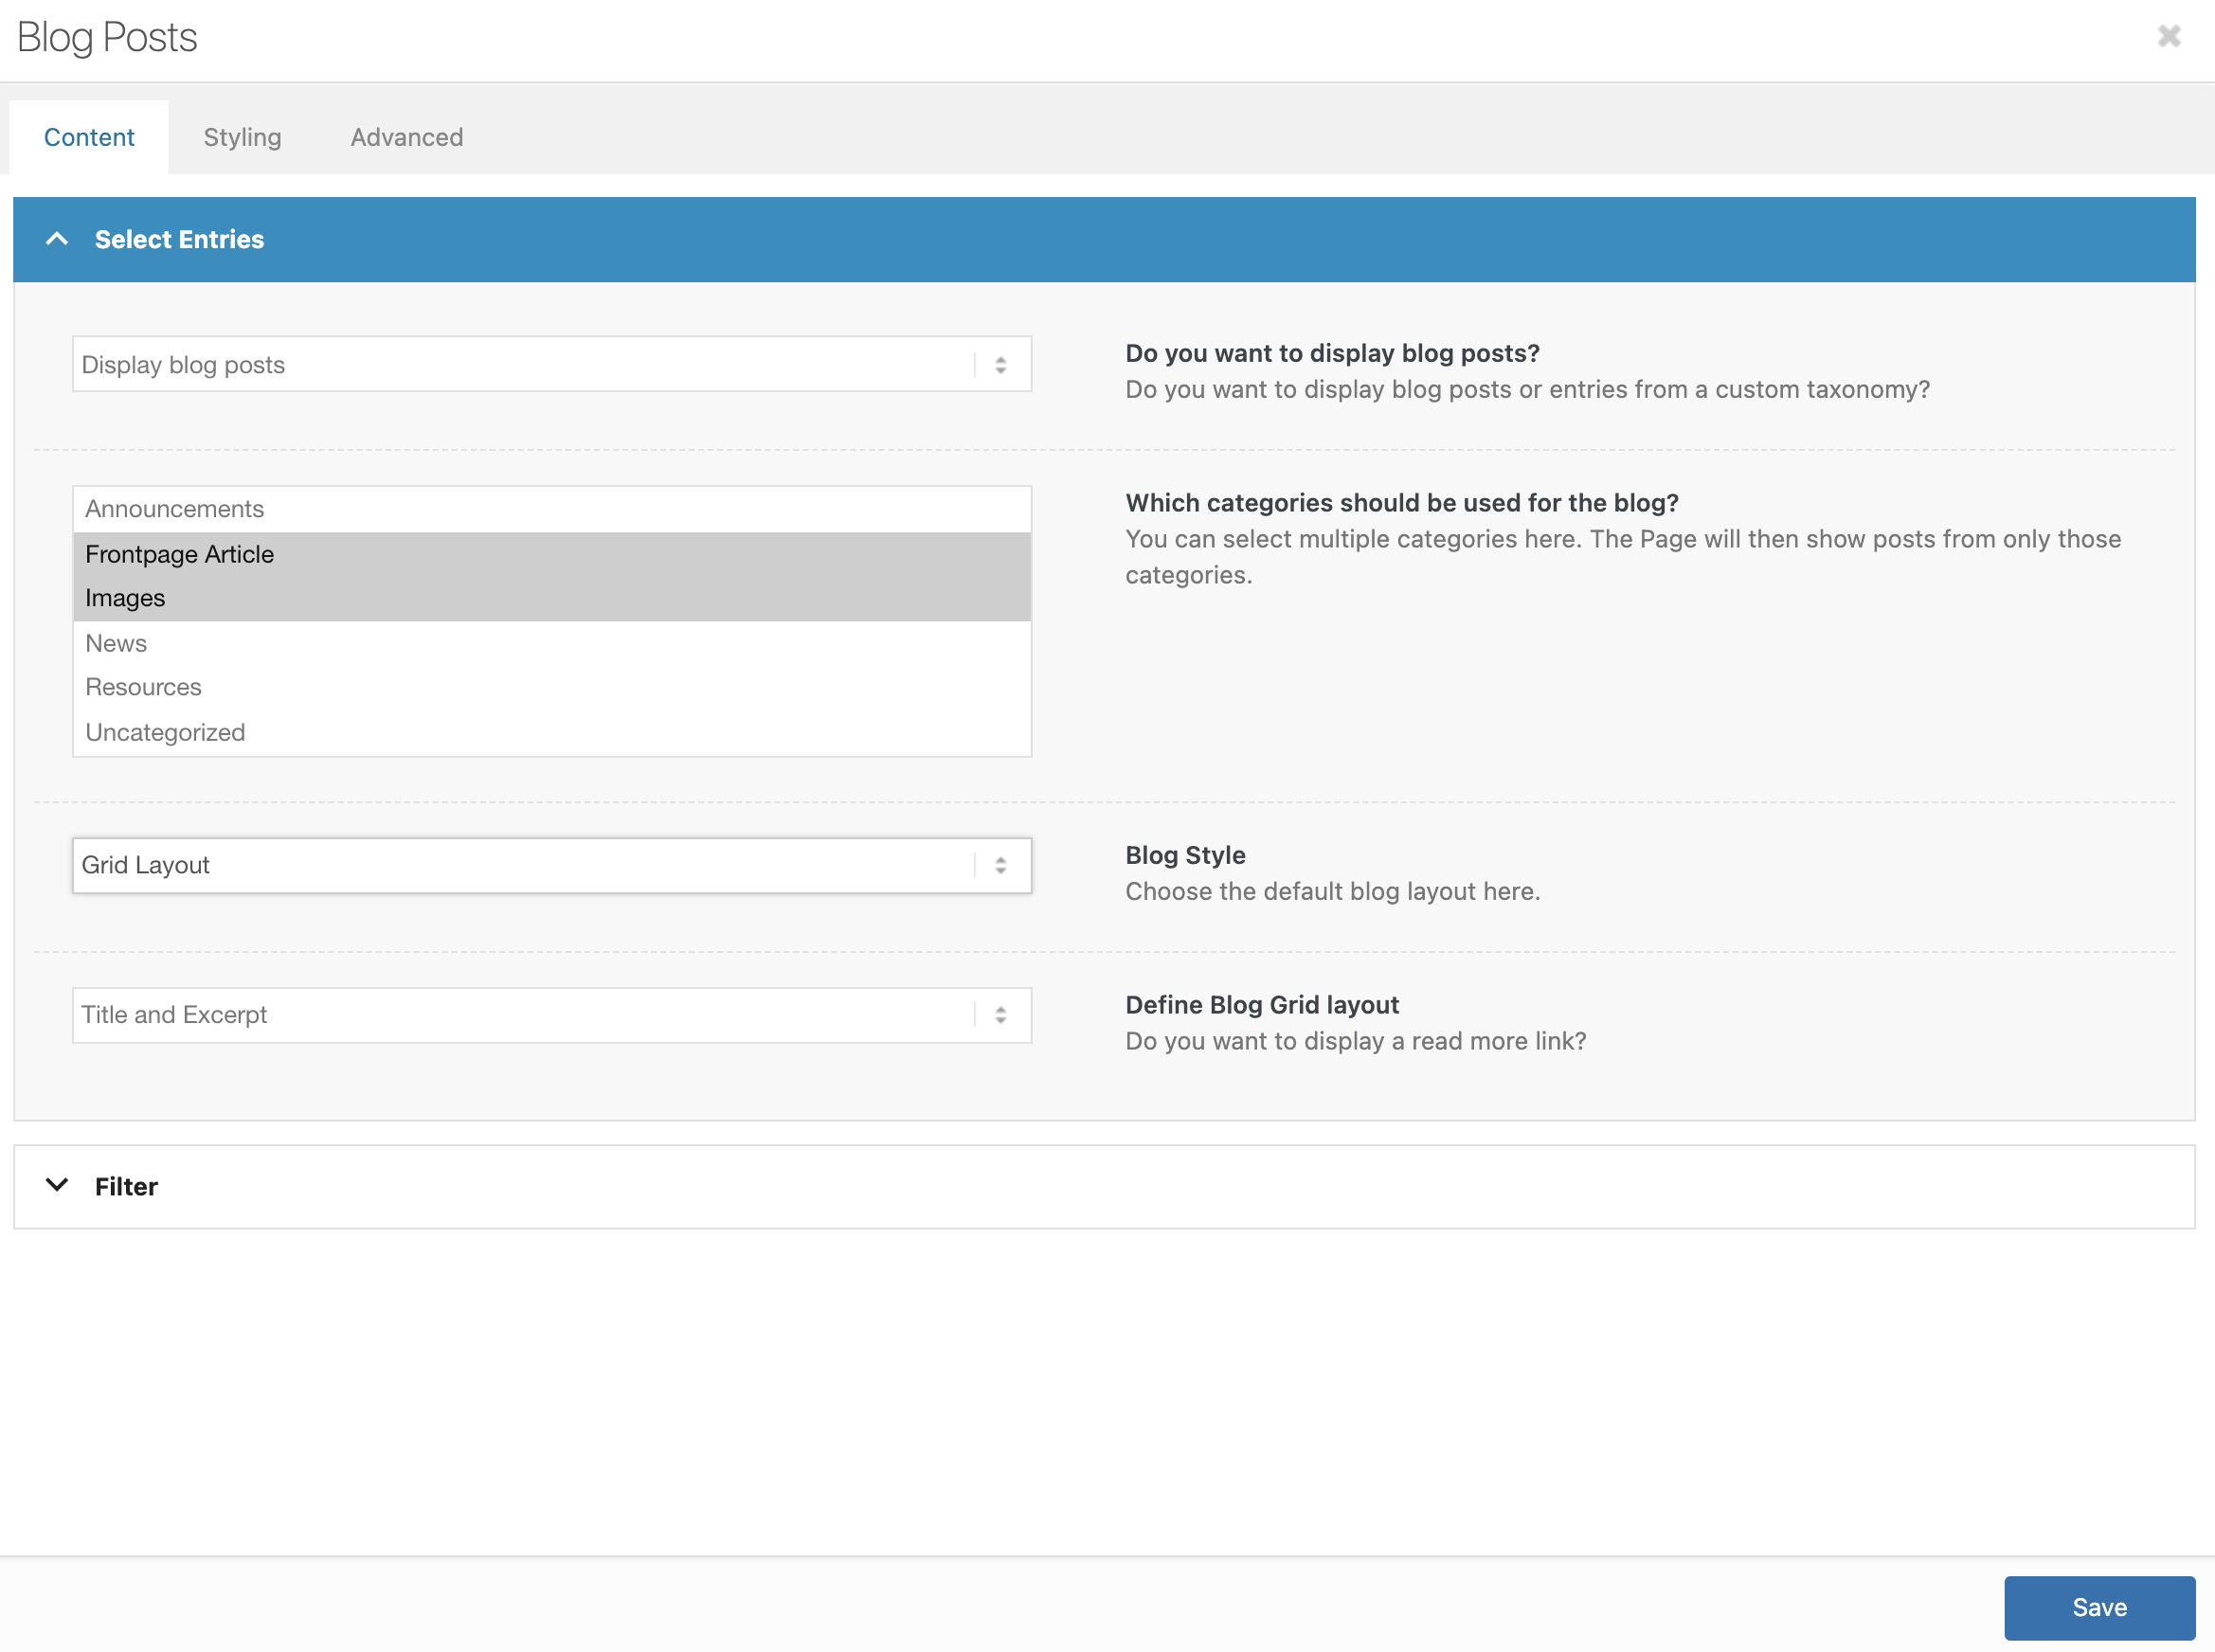
- Click on the “Blog Posts” element and it will pop up a window. In the box called, “Which categories…”, select what categories you want to display in the “Blog Posts” element. For example, I want this element to show all of the department’s News posts. So I will select “News” only.
For “Blog style” you use whatever style you want but if you want it to look like the example above you should use “Grid Layout”.

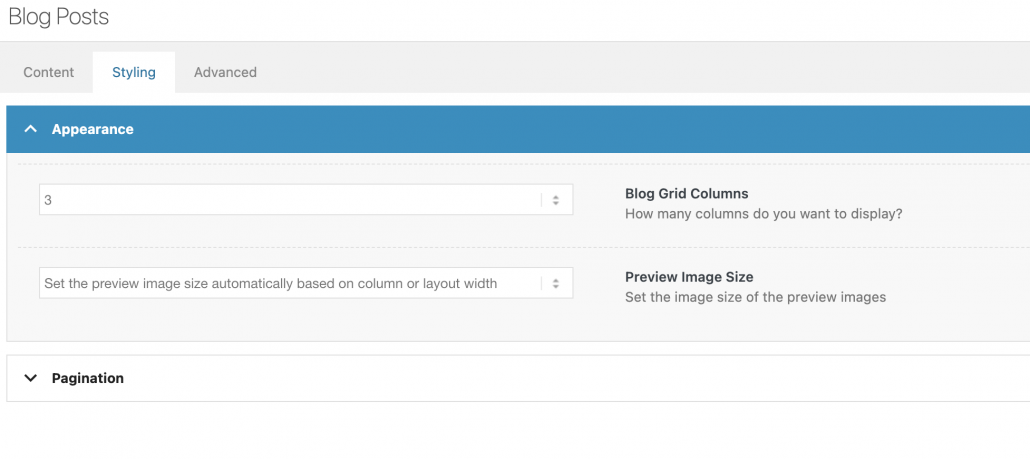
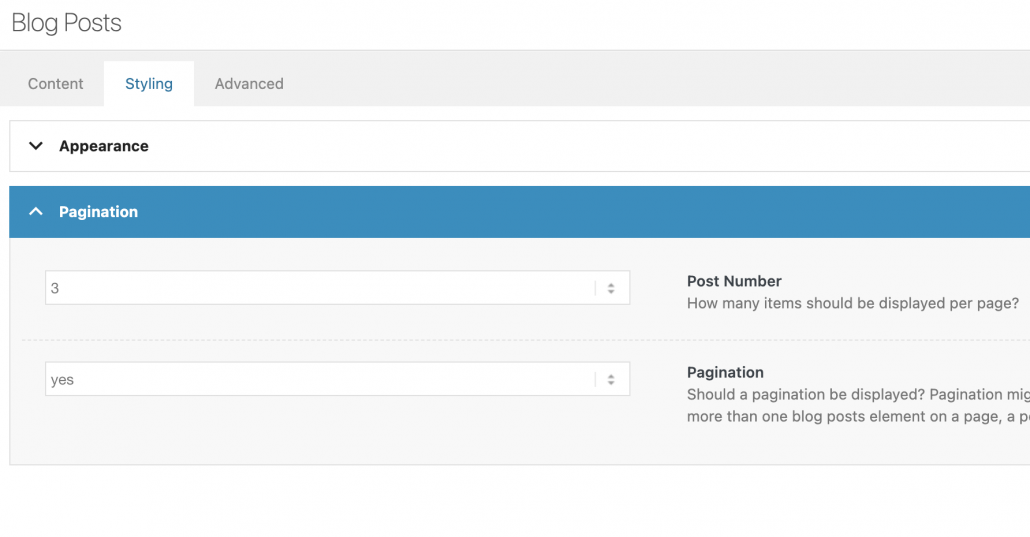
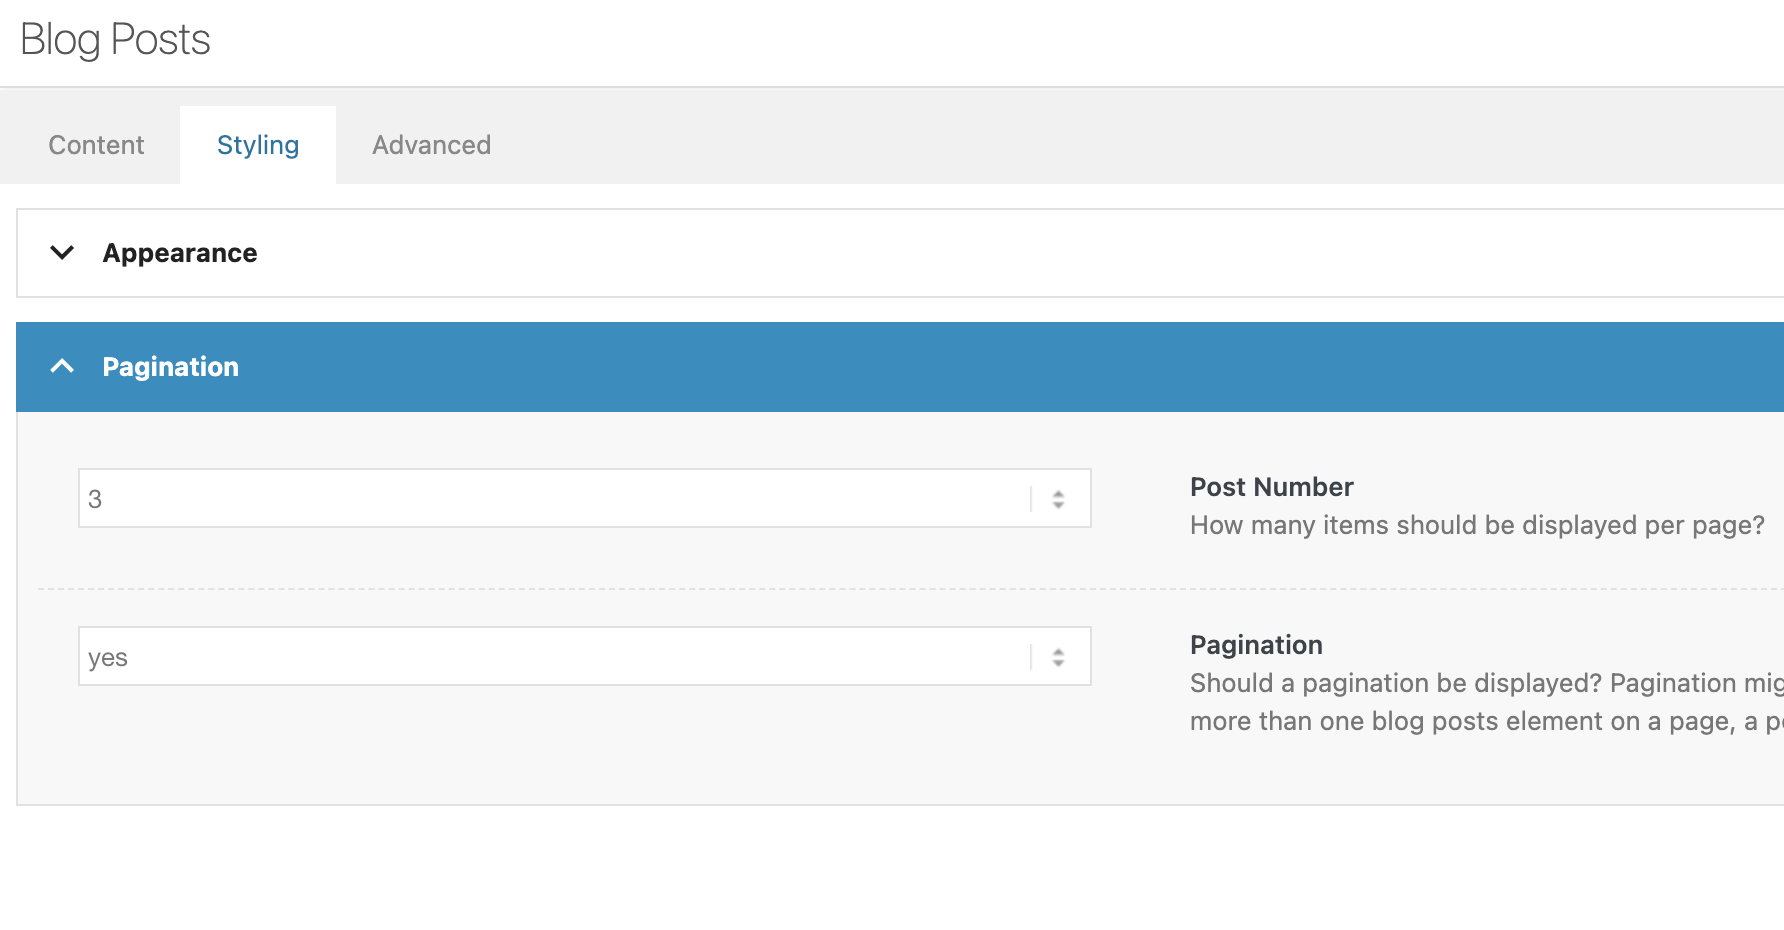
- Now go to the “Styling” tab to style your “Blog Posts” element. Pagination refers to the number of posts you want to be display on the page.

Other elements (Blog Post, Team Member, Testimonial)
Avia Layout Builder has many other content options available for your page. Simply browse the Content Elements tab and drag and drop the object you would like to add to your page.
Edit it by clicking on it, and read the descriptions available for each option to modify the content to your liking.

Posts
How to create a new post
The process of creating a new post is very similar to creating a new page.
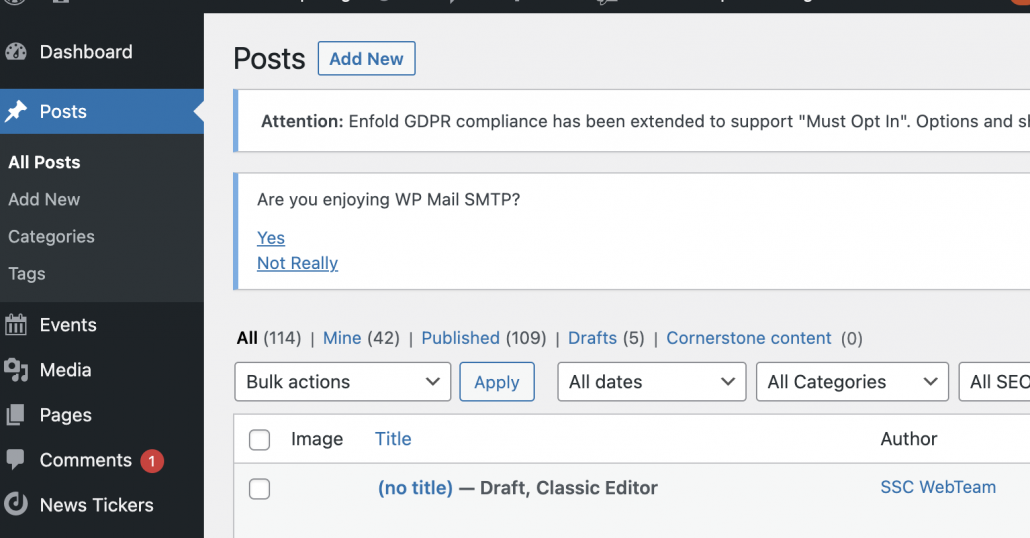
- Go to Posts then click on “Add new”.
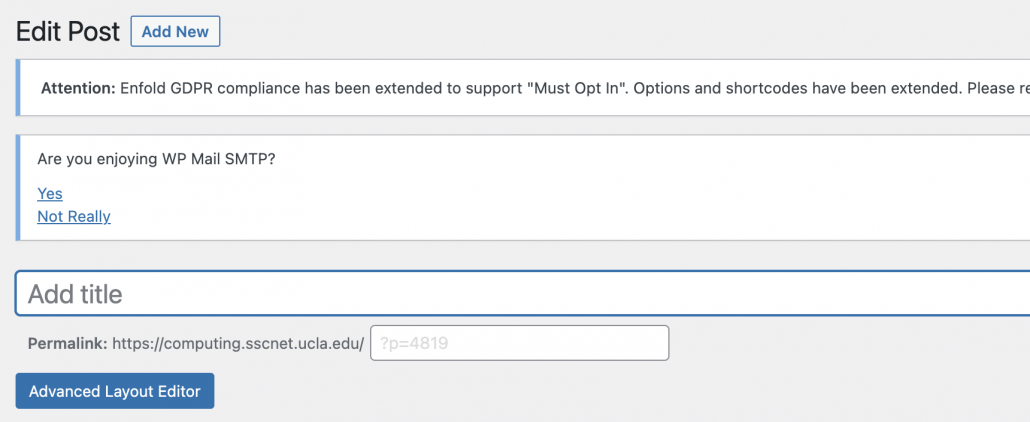
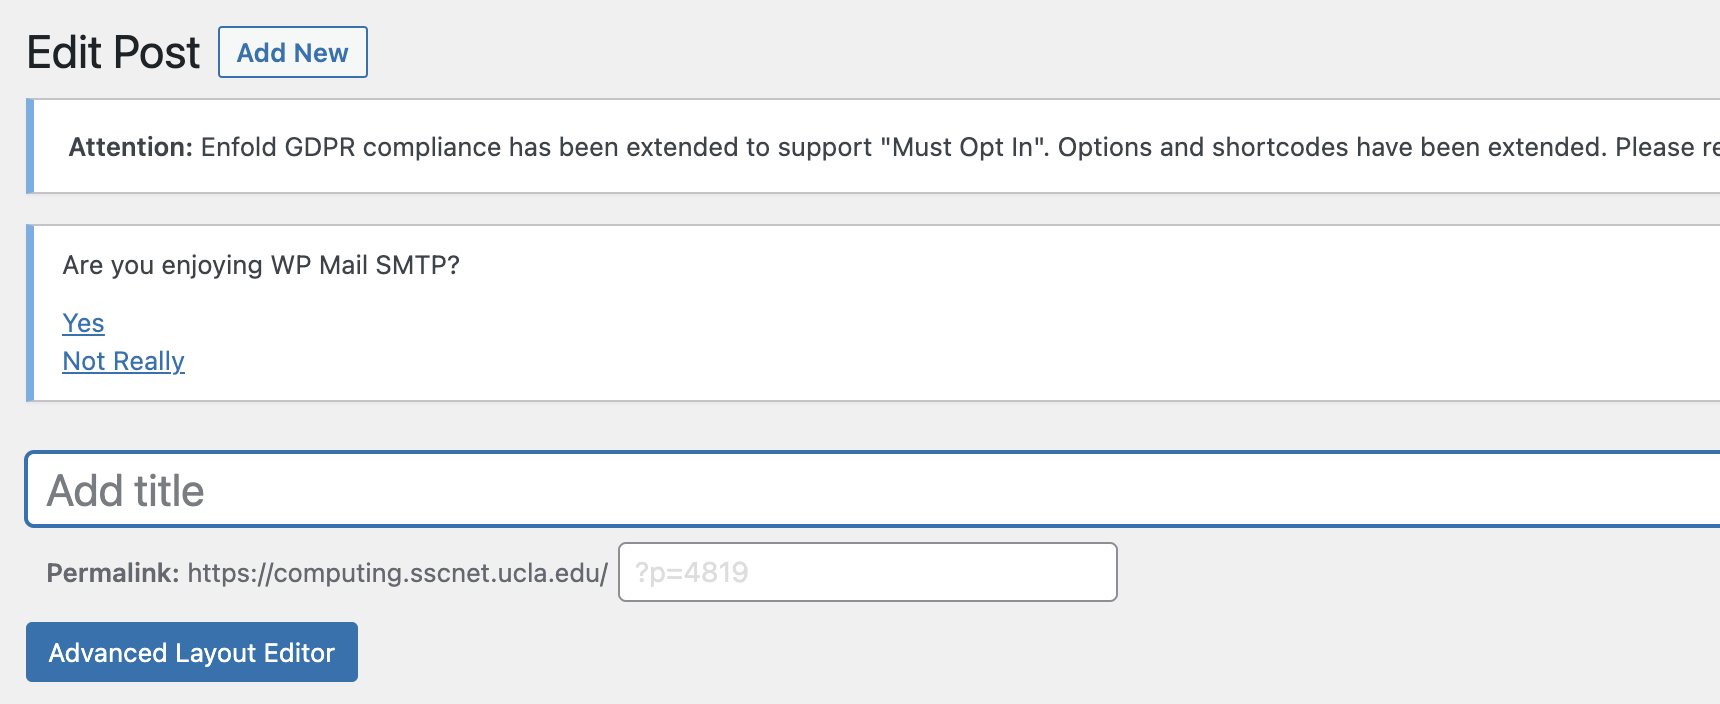
- After you have clicked on “Add new”, you can now start adding in a title for the post. You don’t have to worry about the “Permalink” because WordPress will automatically create the permalink after you save your work.
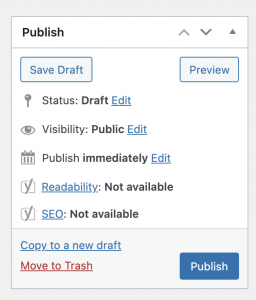
- Before you start adding in content to the new post, make sure you save your post first! Just like pages, there are two ways to save your new post. You can click on “Save Draft” or “Publish” . “Save Draft” will save your progress, but won’t make the post live on the site. While Publish will save your progress and make the post live on the site.

How to edit an existing post
- Just like pages, there are also two options on how to edit a post.
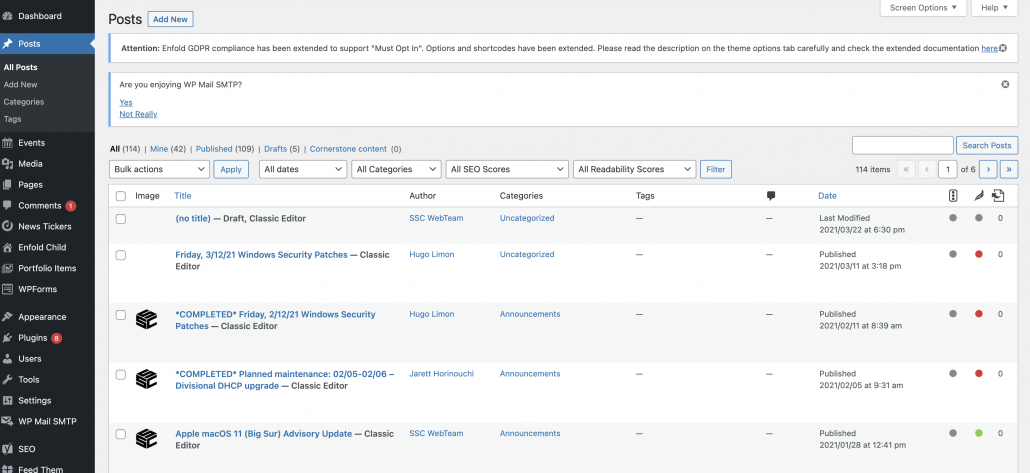
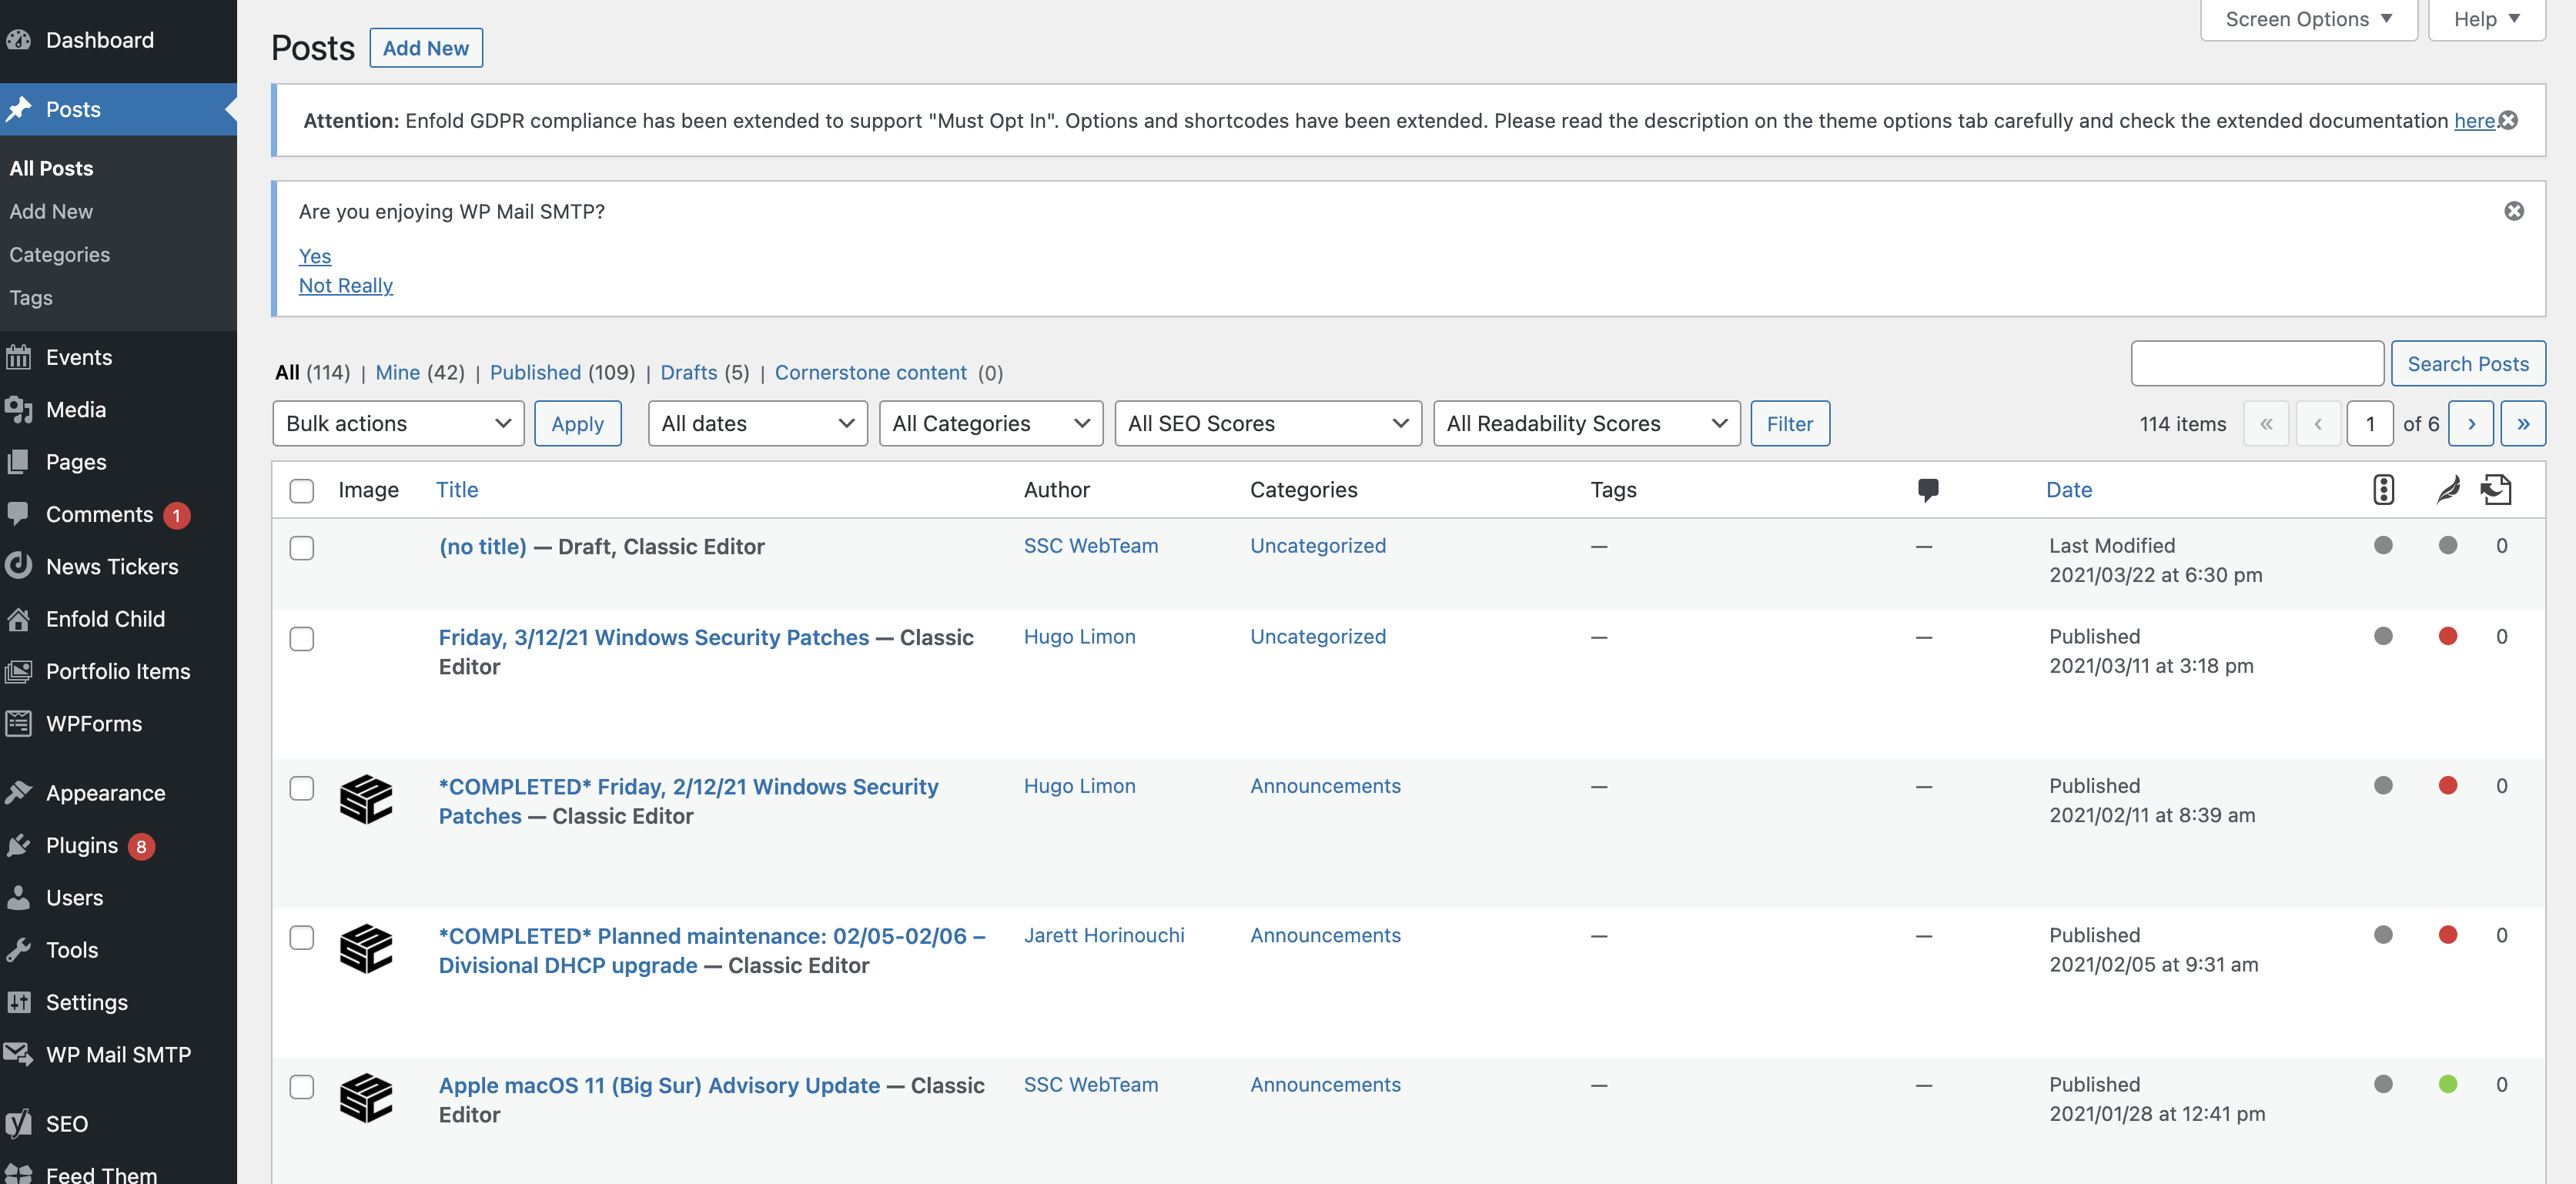
Option 1: Go to Posts and search up the post on the search bar or look through the list of posts.
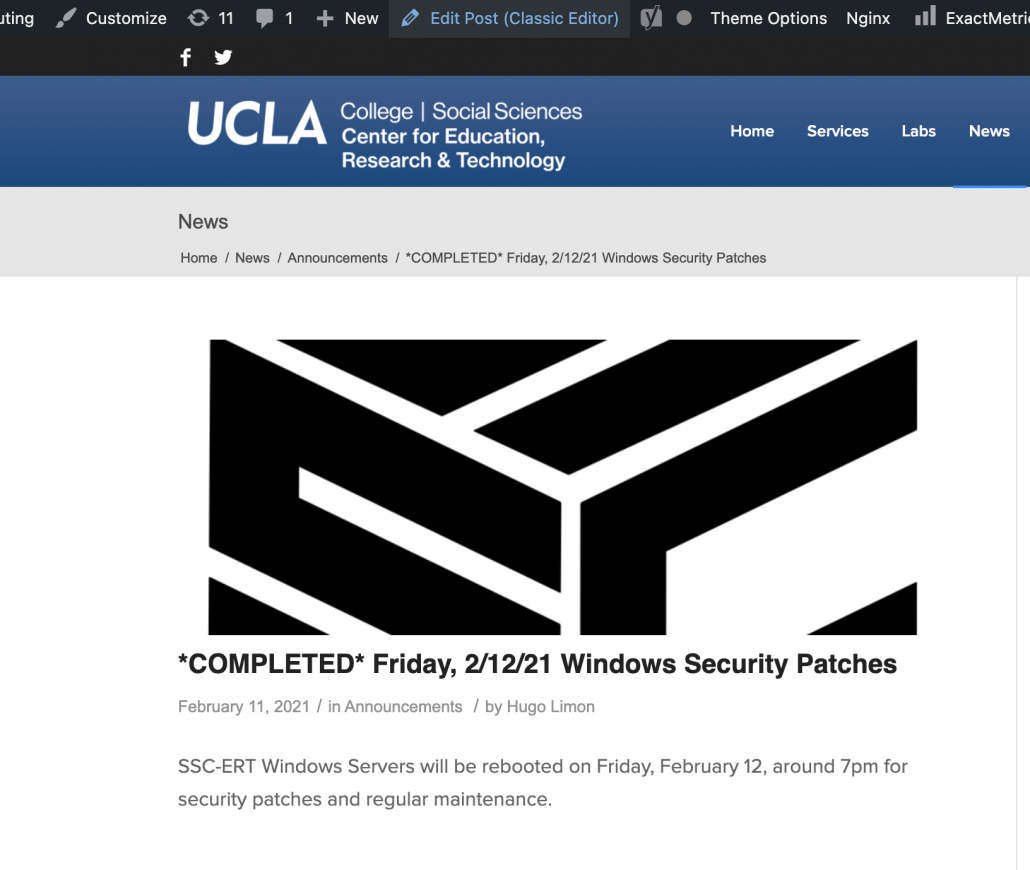
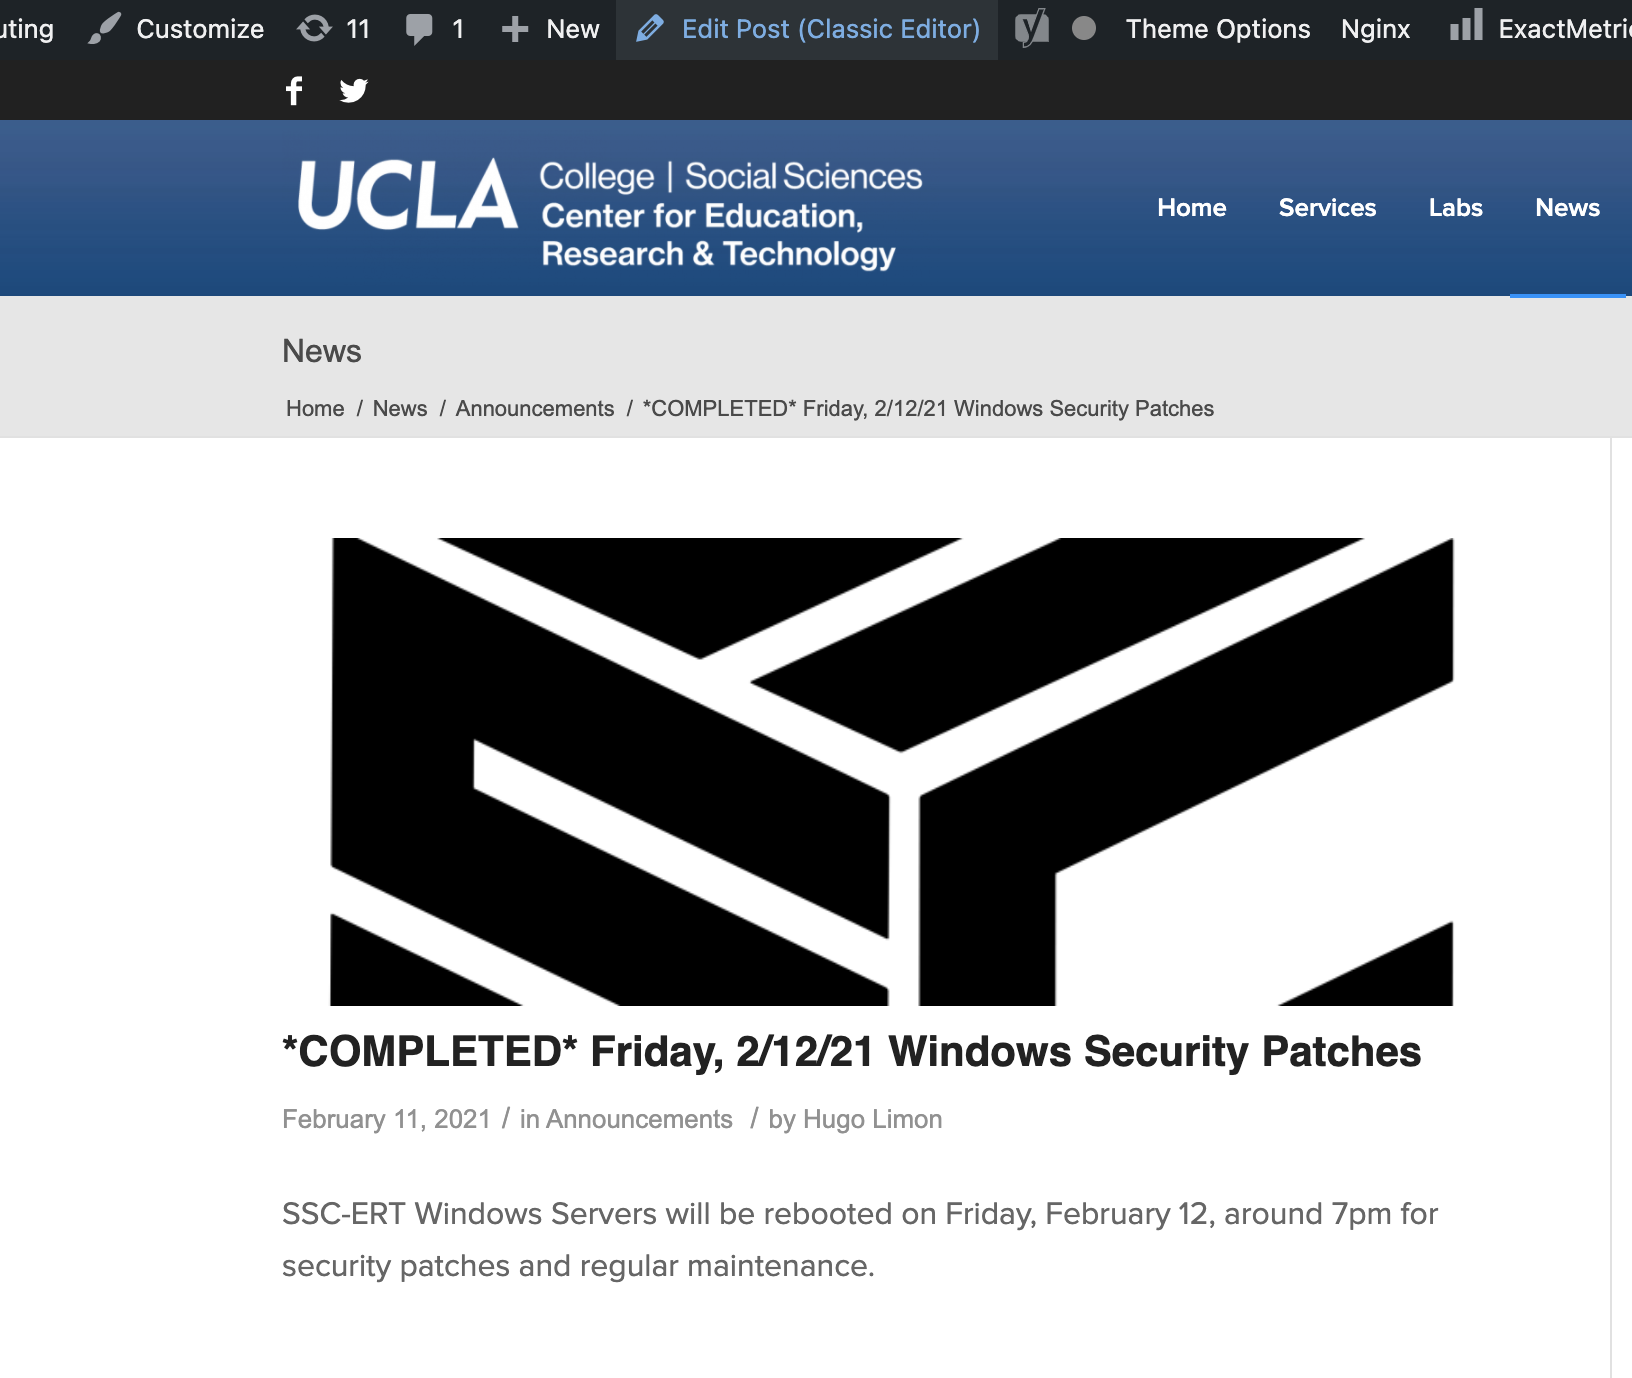
Option 2: Go to post directly on the site and then click on “Edit Post” located in the admin bar at the top of your screen.
- Once you are finished, always remember to click on “Update” to save and make the changes live on the site. If you wanted to see what the changes would look like before updating you can click on “Preview Changes” and this will open a new tab with the changes you have made.
How to restore a revision
If you made a mistake on a post you can always restore the post back to what it was originally before your changes.
- Go to the post you wish to restore.
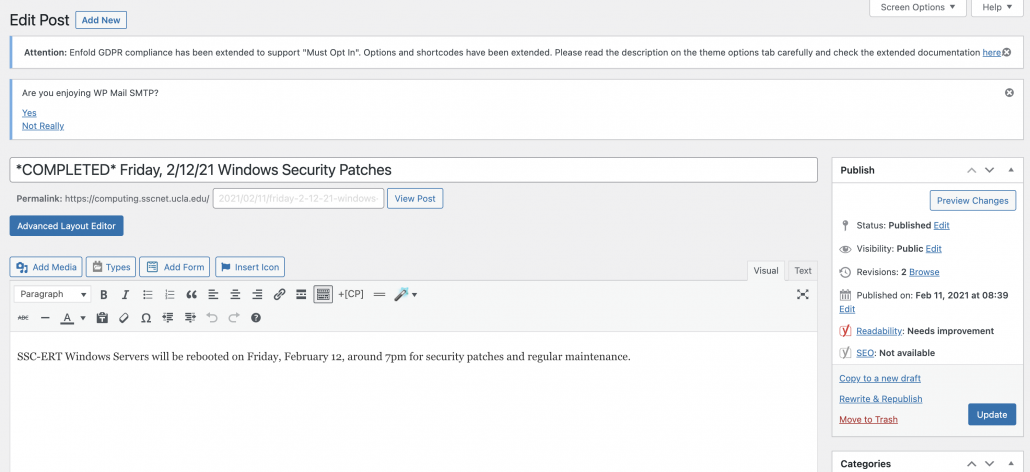
- Once you are on the editing page of the post, look for the “Publish” box located on the right side of the editing page. In the box look for “Revisions” and then click on “Browse”.
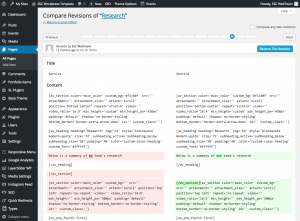
- Using the slider at the top of the page, you can slide it to the previous version of the post. The slider is a timeline of all changes that have been made to this post. You don’t need to worry about understanding the HTLM code that is shown. It is there to show users a comparison of changes made from different time stamps. Once you are on the version you want to restore click on “Restore This Revision” to restore your post.


How to remove content from a post
Delete content from a post is very similar to deleting content from a page.
- First navigate to the post you want to delete content from. Click on “Edit Post” in the admin menu bar located on the top of the page.
- There are two ways to delete content.
Option 1 (Default Editor):
If the post is using the Default Editor, simply select all the content inside the white box and erase it with ‘backspace’ or ‘delete’ on the keyboard.
Option 2 (Advanced Layout Editor):
If the post is using the “Advanced Layout Editor” hovering over the elements in the ‘Avia Layout Builder.’ Each element, when hovered over, has a small red ‘X’ in the top right-hand corner that will delete that element from the page. In our example below, hitting ‘X’ will result in the ‘About Us’ text to disappear.
- If you would like to completely remove the page from your website, find the ‘Publish’ box on the right hand side of the editing page. Select ‘Move to Trash’ to delete the page from your website.
Adding other elements (Blog Post, Team Member, Testimonial)
Adding other elements for Posts are exactly the same as adding extra elements in Pages.
- On the editing page make sure you are using “Advanced Layout Editor”. If not, click on the “Advanced Layout Editor” button.
The “Advanced Layout Editor” should look like the image below.
- In “Advanced Layout Editor” you can now add in elements such as Videos, Blog Posts, Team Member, and many more to your page. Adding these elements are very simple. You can either click on the element itself or drag and drop it to where you want the element to be. When dragging in the elements make sure the editor highlights in green to indicate that it is okay to add in the element. If the green doesn’t show you can just click on the element and it will add the element to the bottom of the editor.
- After you have added the element you can now click on the element in the editor to add in content. When you click on the element a window should pop up to allow you to insert your content.
Categories
Create a category
The use of categories are very useful in helping you stay organize with your posts.
Creating a new Category
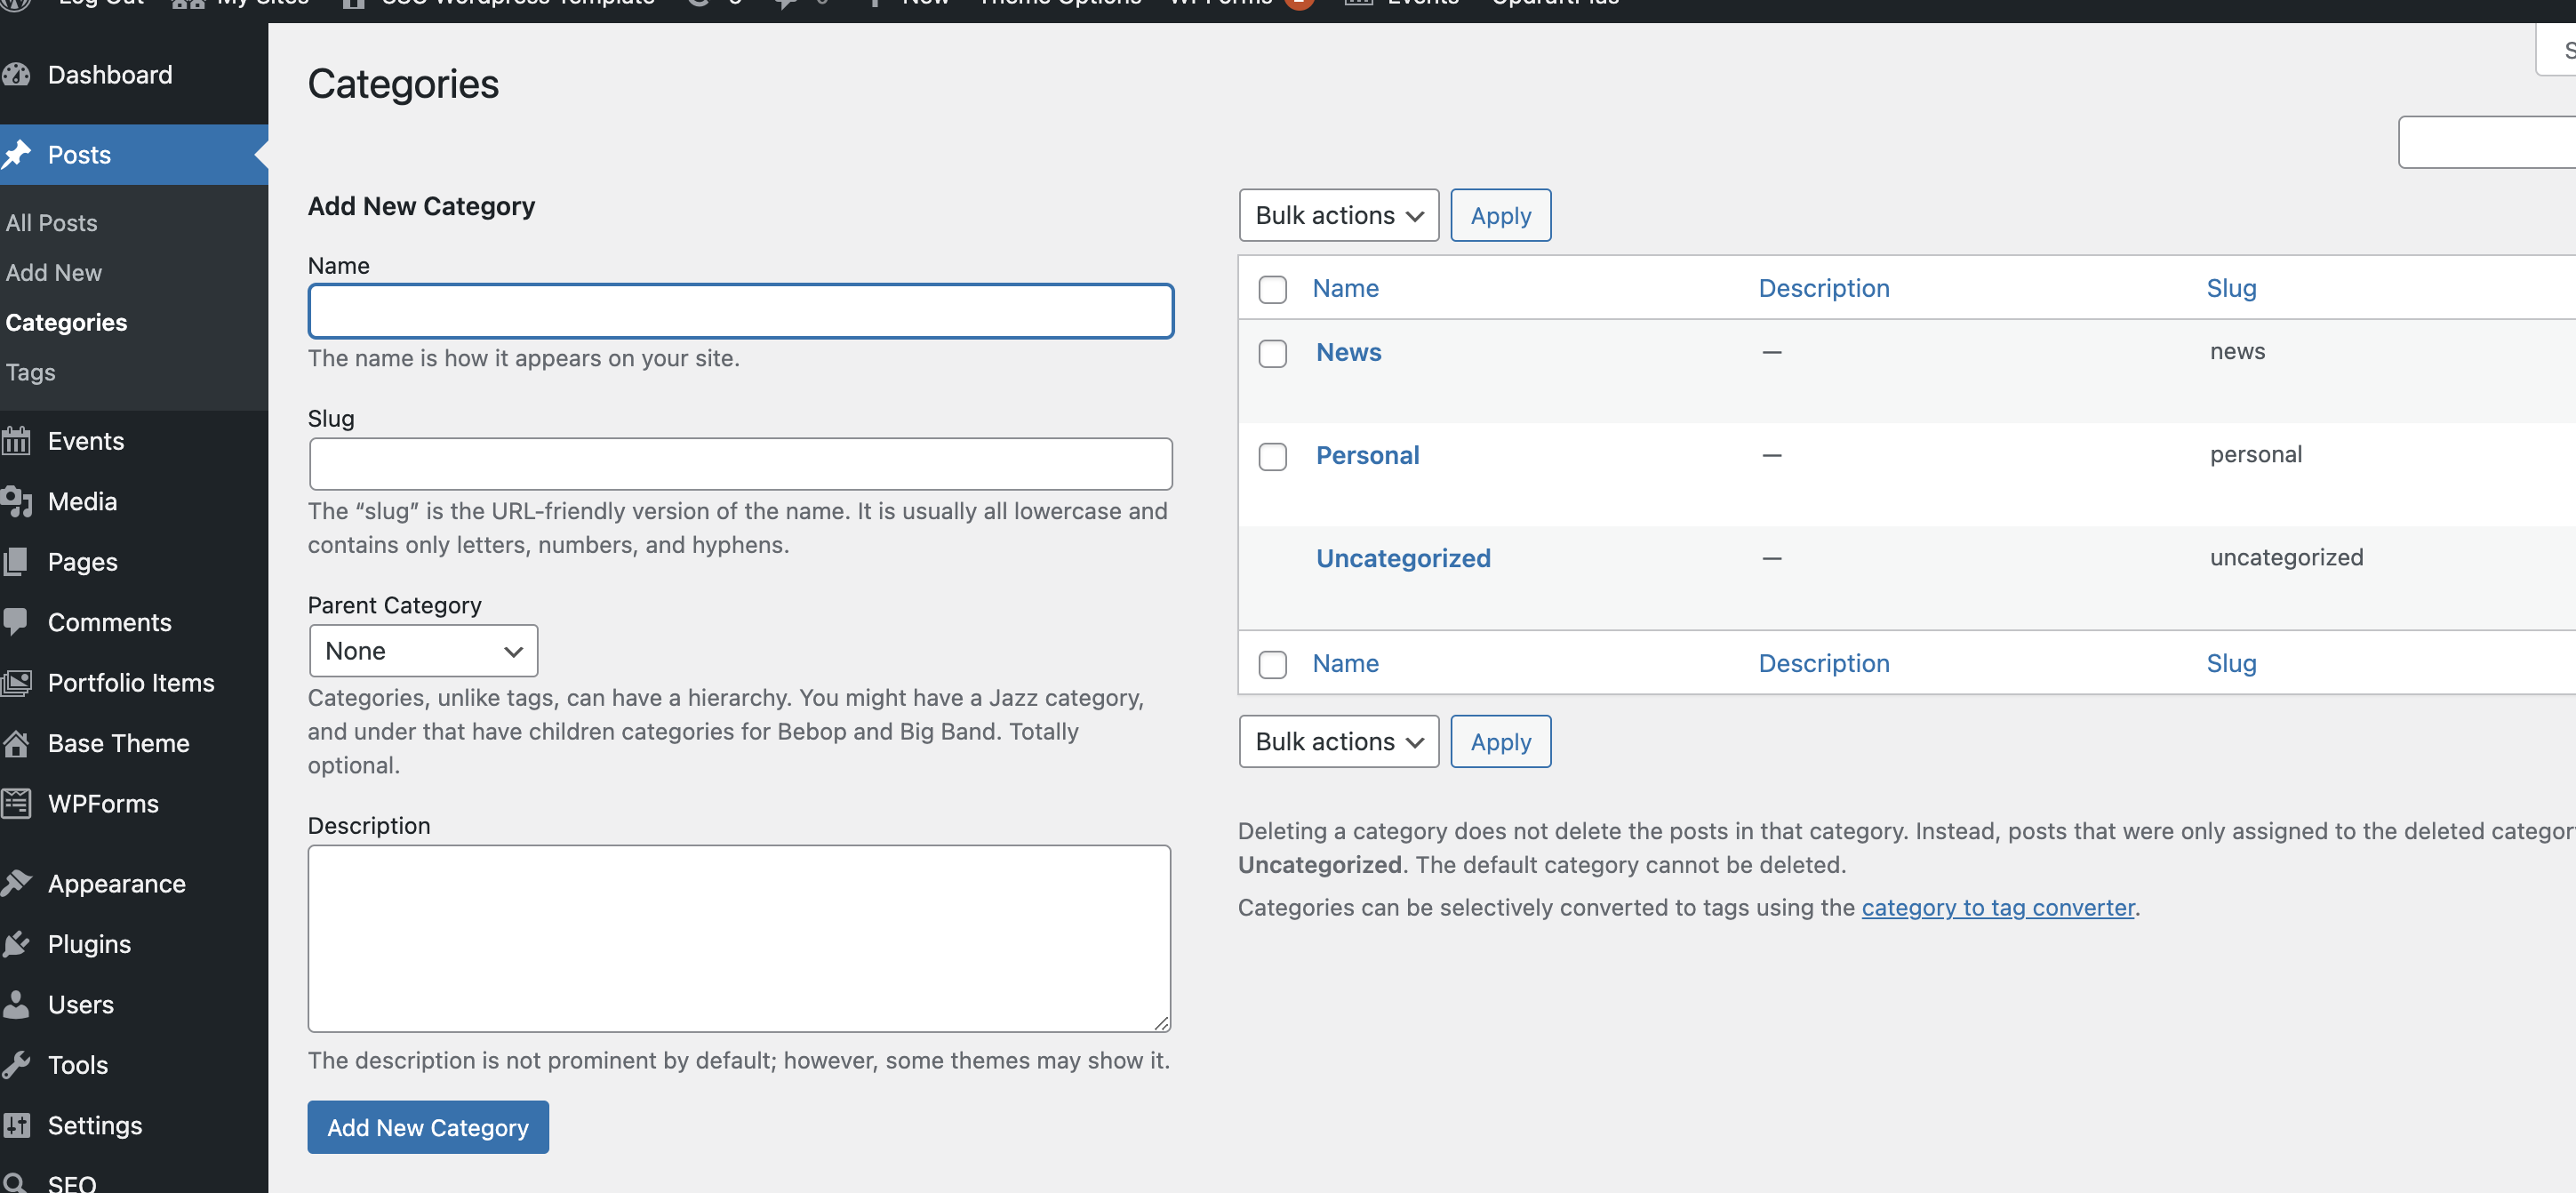
- To create a new category go to Post > Categories.
- Name your new category. The slug can be left empty because WordPress will automatically create the slug for you.
- Now click “Add New Category” and it should show up on the right.
Creating a subcategory
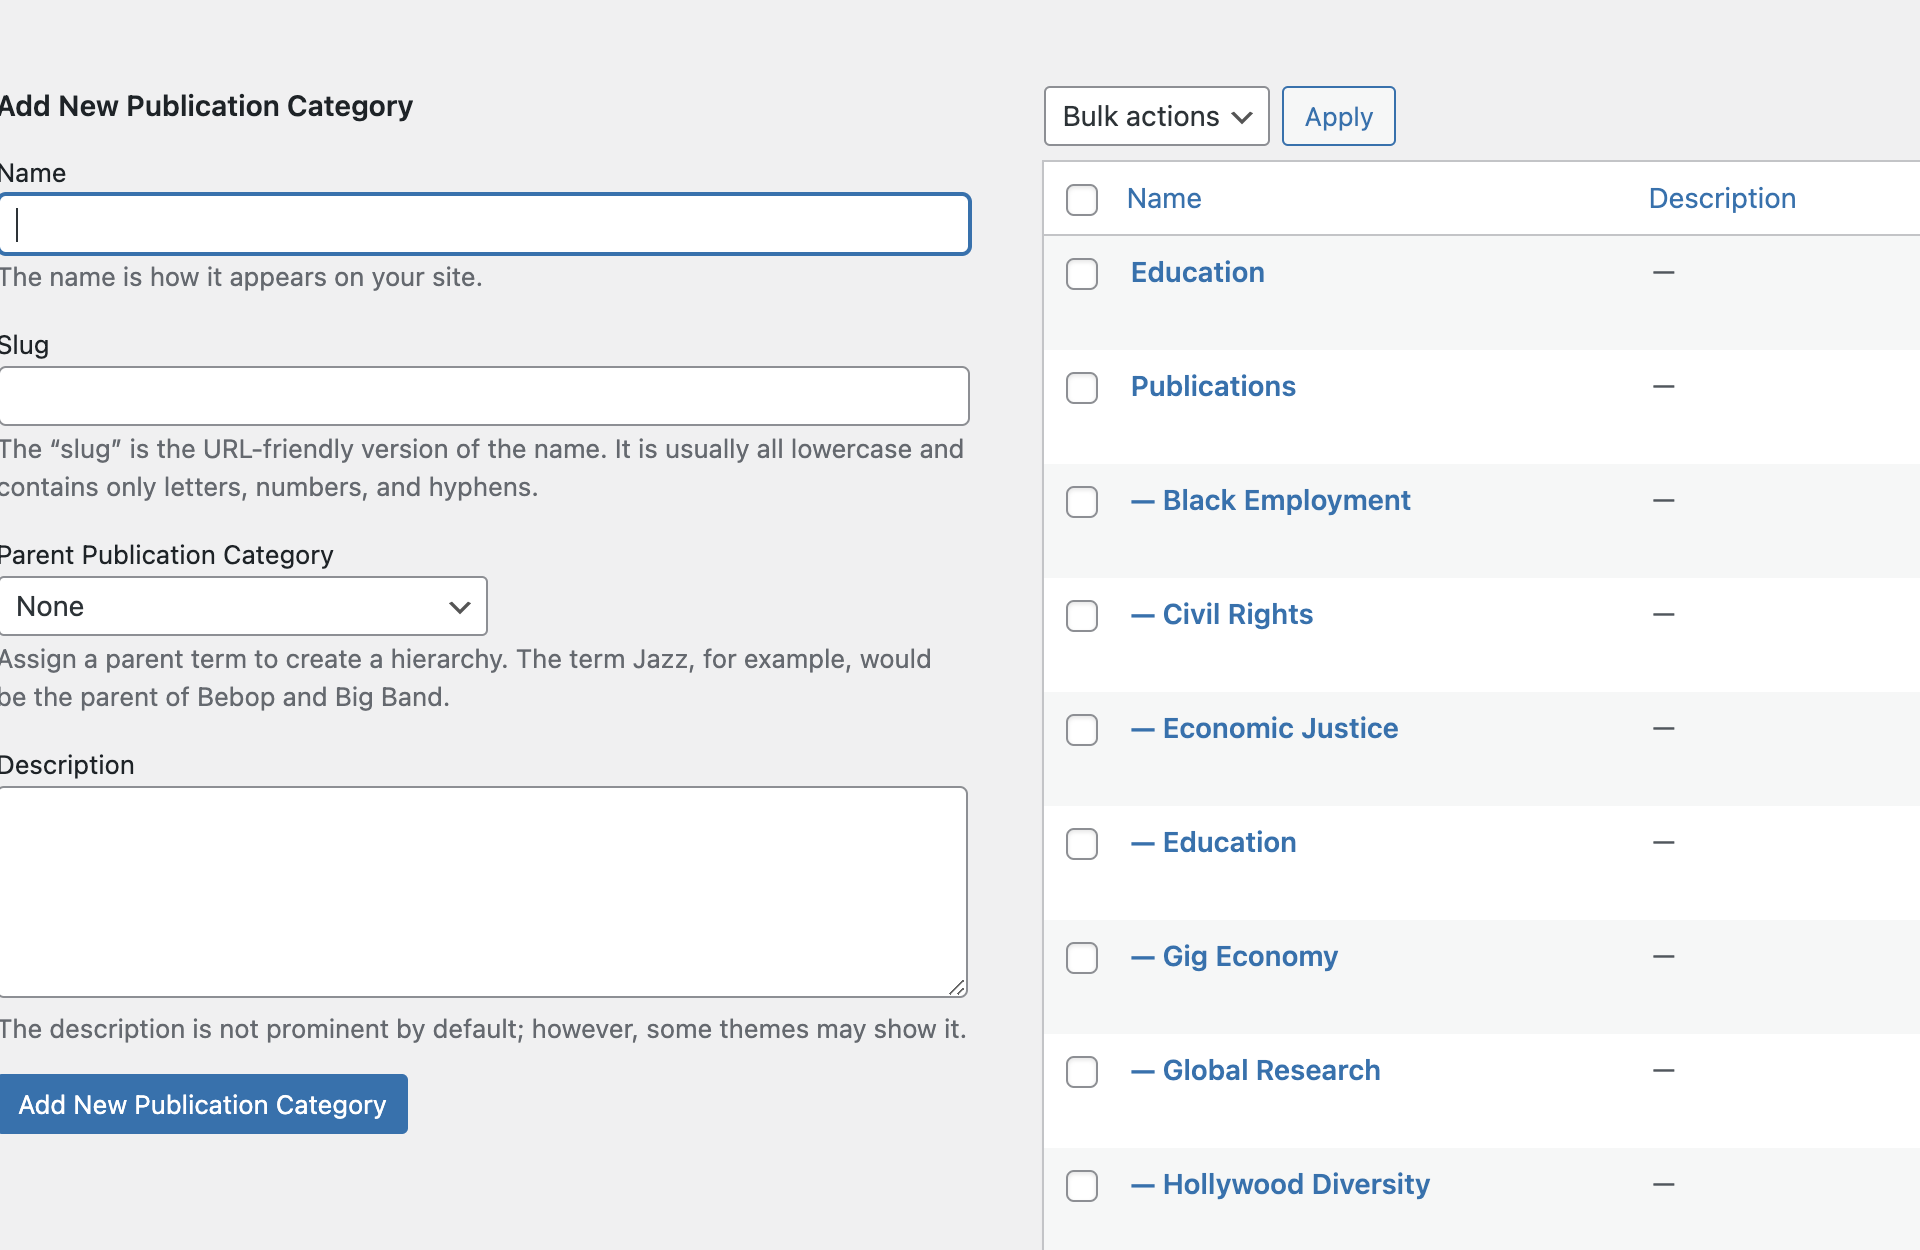
You can also have subcategories under one main category. For example in the image below, the parent category is “Publications” and the subcategories are “Black Employment, Civil Rights, and etc.”.
- To create a subcategory first name the category.
- Go to the drop down menu called “Parent Publication Category” and select where you want the subcategory to be under.
- Click “Add New Category” and it should show up on the right.
- To add more subcategories under one parent category, repeat steps 1-3.
Edit Category
To edit a category or subcategory hover over the category and there should be options to “Edit”, “Delete”, etc. When you click on “Quick Edit” this will allow you to quickly edit (shown in image) the title of the category without having to reload the whole page just to edit the category. If you want to change the “Parent Category”, then you would have to click on “Edit” to change the parent.

Events
How to add Events
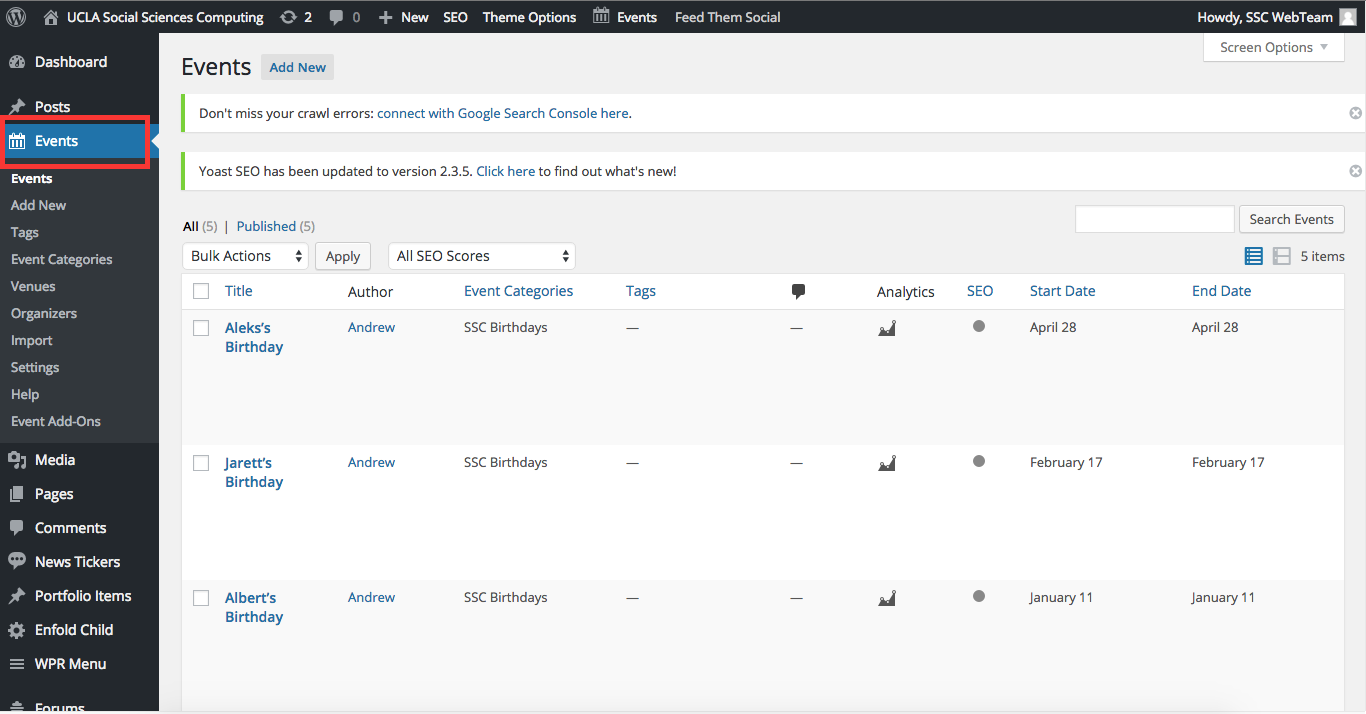
- To add an event first make sure you are in the Dashboard page. If you are not in Dashboard go to the admin bar on the top of the page and hover over the website’s name then click on “Dashboard”.
- Look to the left side of the dashboard then click on “Events”. This will redirect you to the Events Menu of the website.
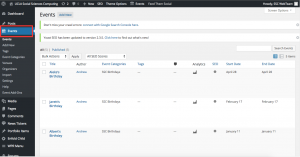
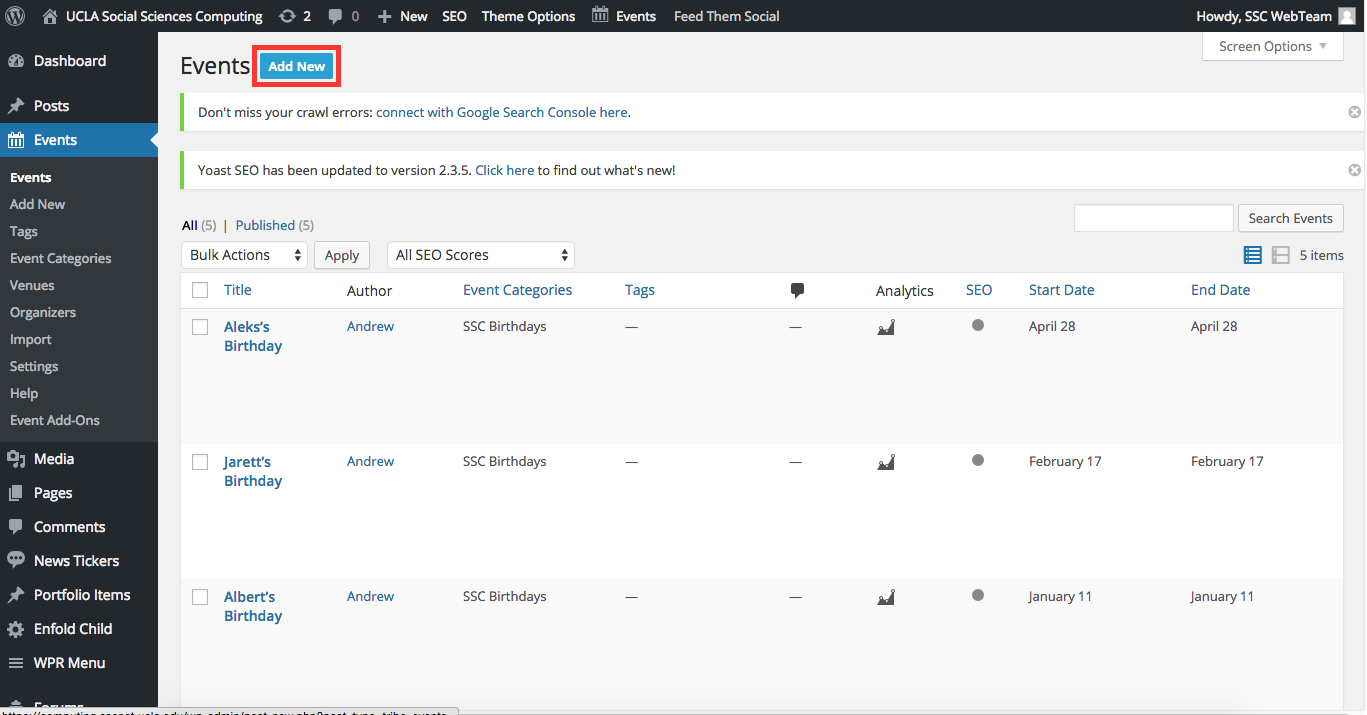
- To add a new event, select “Add New” at the top of the screen.

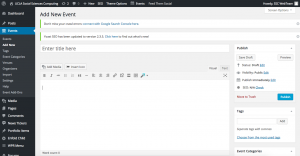
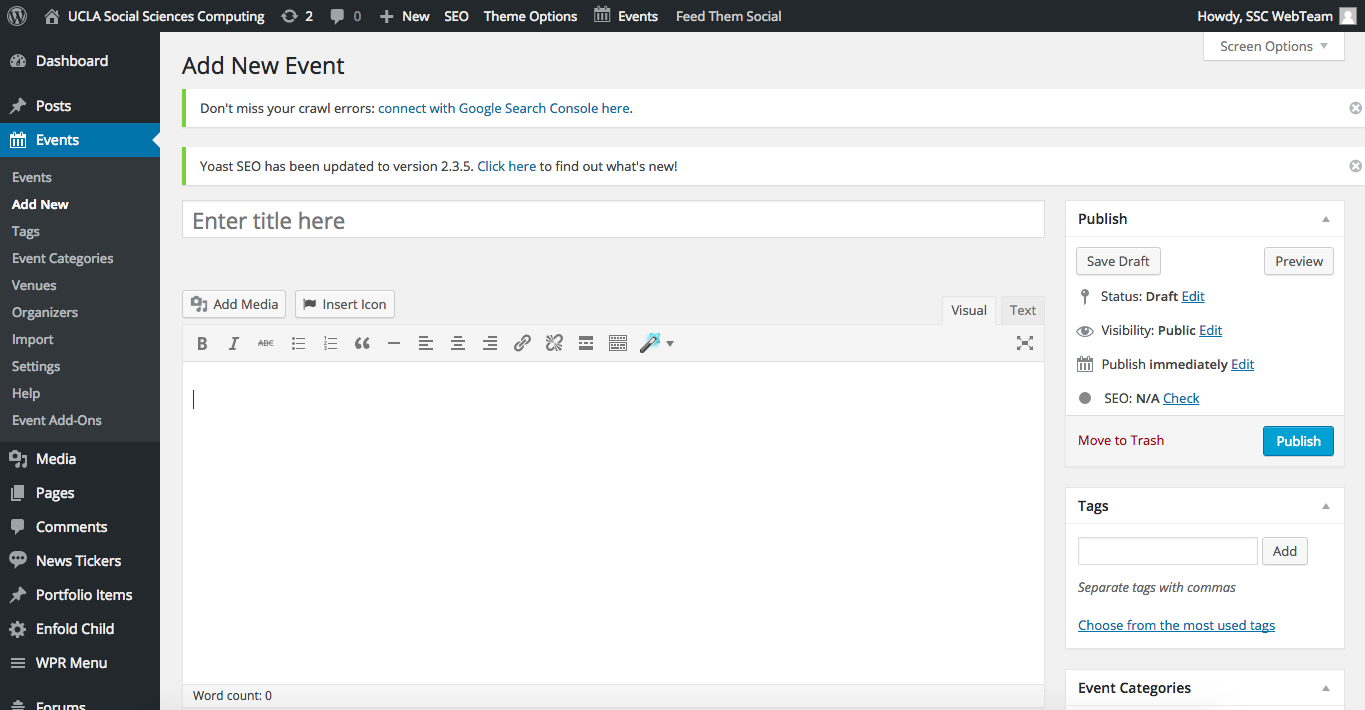
- Displayed on your screen is a new event page. On this page, you can add an event title, event description, time & date, location, and all other relevant event information.
- Once finished, locate the “Publish” button on the right side of the screen. Click on “Publish” to publish your event. In the Publish box you may also preview your event before publishing. Once the event has been publish, it should show up on the “Events” page.
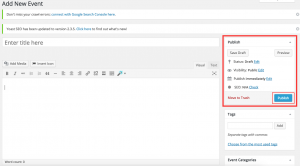
- If you wanted to save the event changes but not make the event live on the site yet, you can save the event as “Draft”. When you are ready to change this event to publish you can do so by clicking on the “Publish” button.


How to edit an event
- To edit an event first make sure you are in the Dashboard page. If you are not in Dashboard go to the admin bar on the top of the page and hover over the website’s name then click on “Dashboard”.
- Look to the left side of the dashboard then click on “Events”. This will redirect you to the Events Menu of the website.
- Now you can use the search bar on the right to search for the event or scroll through the list of events to look for the event.
- Once you are done editing on the right of the “Publish” box there should be a button called “update”. Make sure you click on “update” to update the changes and make it live on the site.
Media Gallery
How to create a media gallery
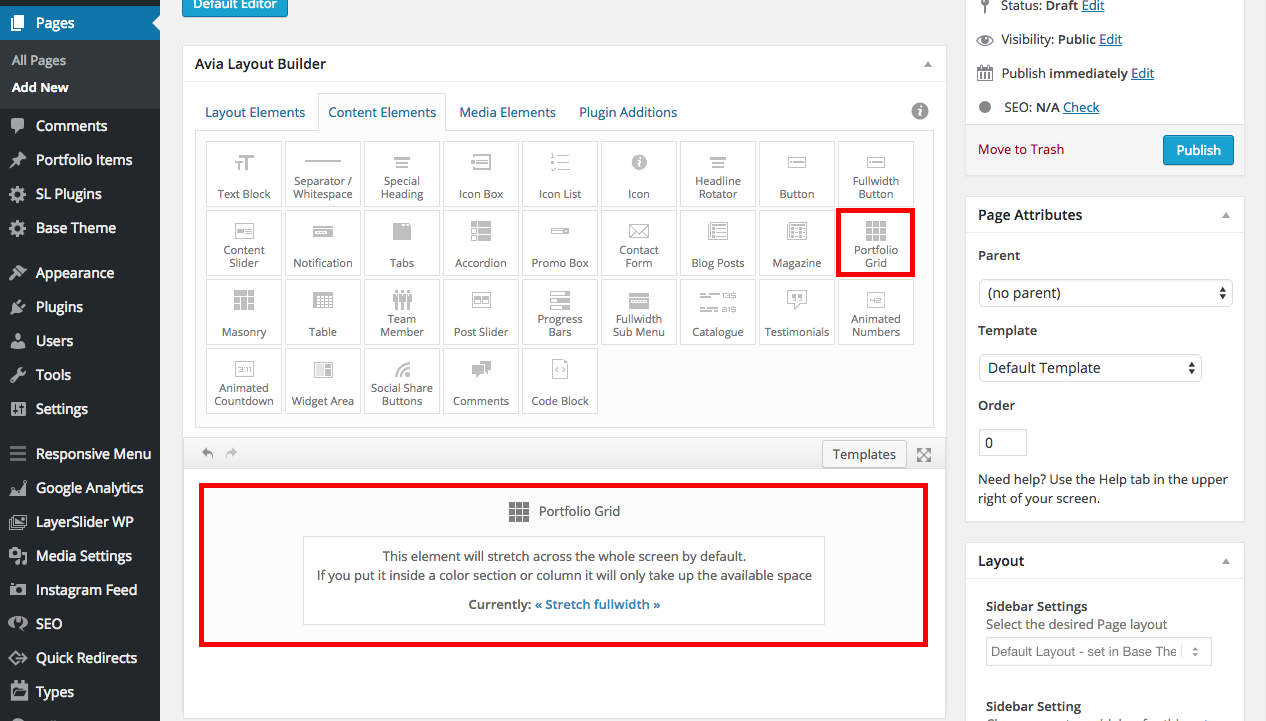
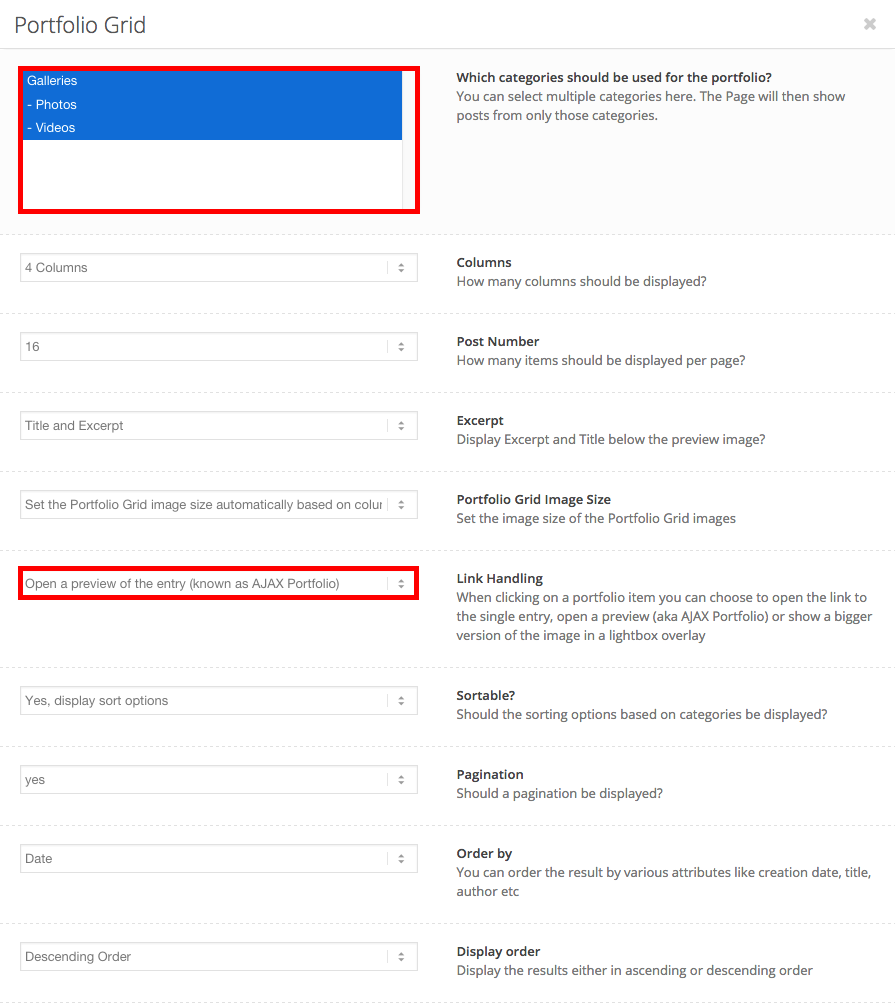
- Under the Pages section on the side bar, use the Advanced Layout Editor and open the “Content Elements” tab. Add a Portfolio Grid Element to your page by dragging and dropping the element to your work area.

- Click on the “Portfolio Grid” element that you added, and under the first box that asks “Which categories should be used for the portfolio?” select all choices (Galleries, Photos, Videos). Customize your media gallery by changing the different options on this page. We recommend that under “Link Handling,” the “Open a preview of the entry (known as AJAX Portfolio)” should be used. This will allow the user to open the content without loading another page.
How to add images to your media gallery
In this section you will learn to add images to your portfolio grid. More specifically, you will learn to add either a single image or several image as an entry with a title and description to your portfolio.
To add/remove images and change their appearance in your media gallery, first visit your dashboard by hovering over your website’s name in the admin bar and clicking “Dashboard”. On the sidebar of the page, select “Portfolio Items”.
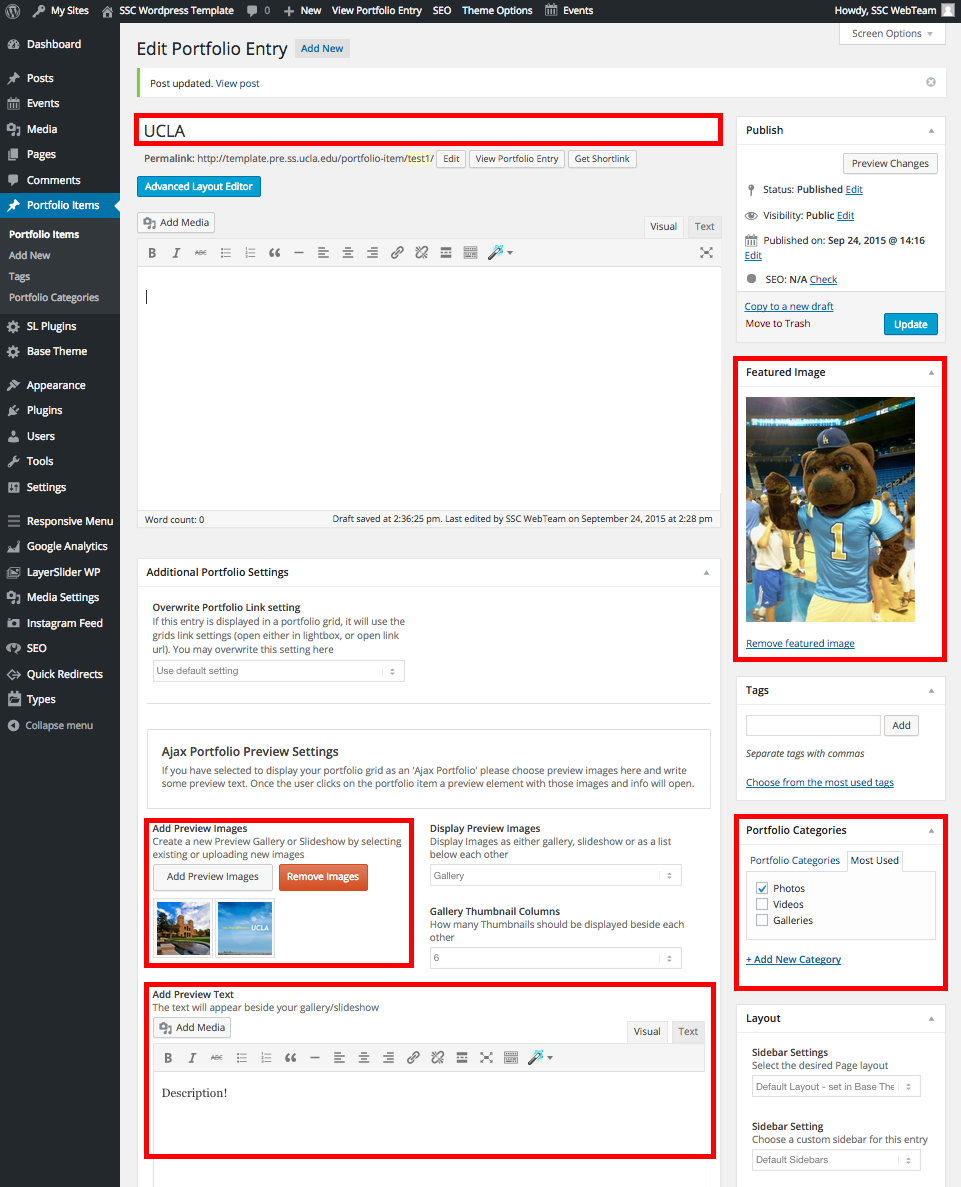
To add a new portfolio item, click “Add New” at the top of the page. Enter the title for your entry in the top field of the page.
The featured image entry on the right of the page will set the cover picture for this entry in your media gallery. If you wish to add a single image as an entry to your portfolio, set this image as your featured image, and ignore the next step.
If you wish to add an album of images under your entry, find the “Add Preview Images” section of the page. Click on the “Add Preview Images” button and select the images you would like to add. You may add a caption to each image during this step, which will appear when the user hovers over the image when he/she visits your gallery. You may choose how these images are displayed under the “Display Preview Images” dropdown menu.
On the right side of the page, find the “Portfolio Categories” box. Select the “Photos” option.
Under the “Add Preview Text” section of the page, you may add a description of your entry which will appear once your entry is selected from your media gallery. The following image highlights all the sections you should modify to create your media gallery entry.
Once you are finished, click the blue “Publish” (or “Update”) button.
The next shows the result from the previous step. It shows what our entry looks like when it is opened and the user is hovering over the thumbnail picture of Royce Hall. The caption “Royce Hall” was added to the picture when it was inserted into the entry.

Don’t be alarmed by the other pictures in the portfolio grid–they are separate entries that existed before this tutorial.
How to add a video to your media gallery
To add a video to your media gallery, first visit your dashboard by hovering over your website’s name in the admin bar and clicking “Dashboard”. On the sidebar of the page, select “Portfolio Items”.
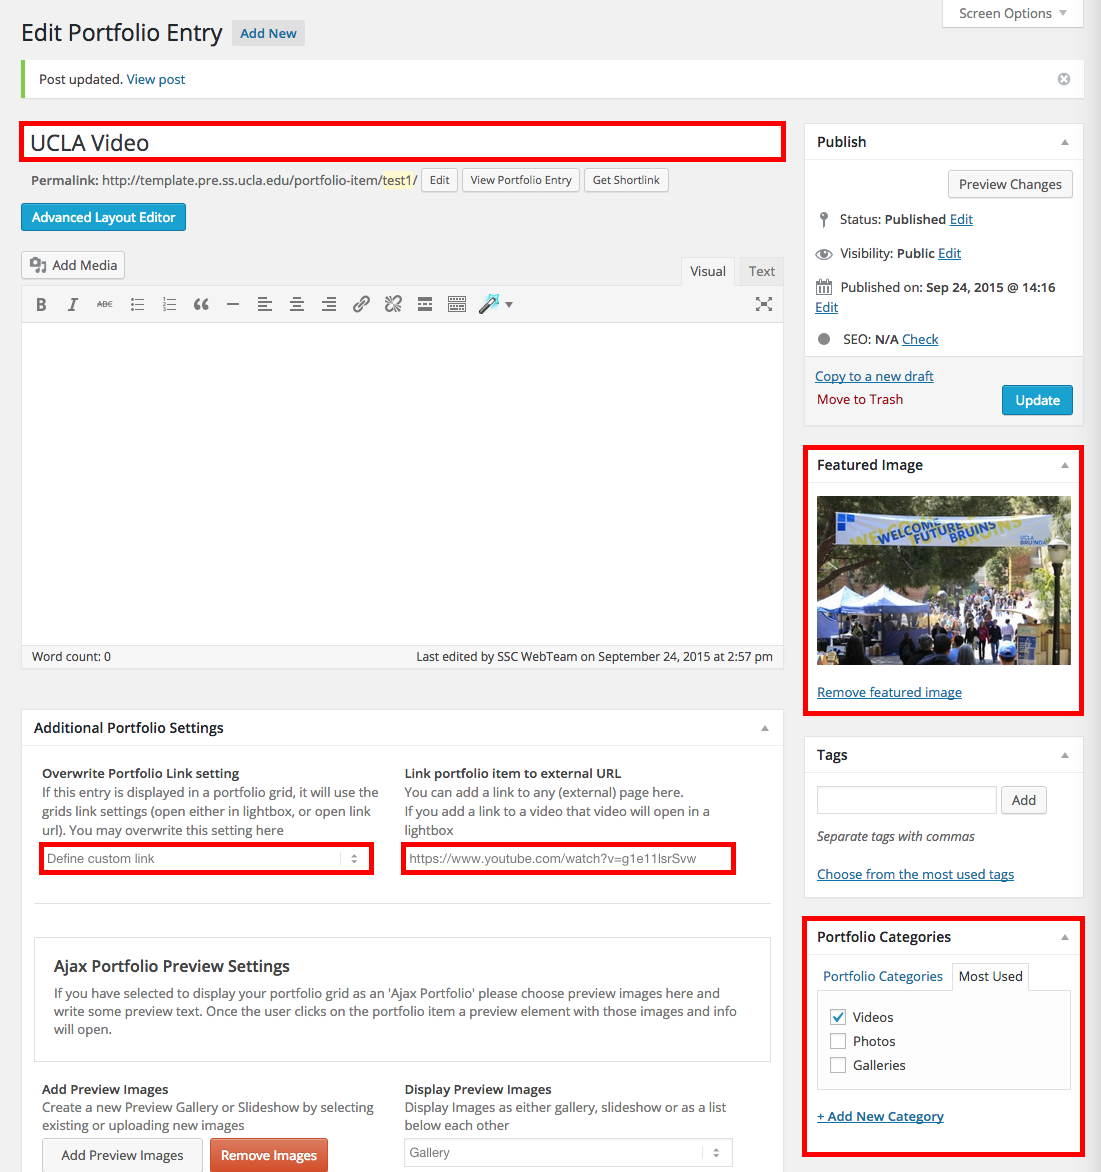
To add a new portfolio item, click “Add New” at the top of the page. Enter the title for your entry in the top field of the page.
The featured image entry on the right of the page will set the cover picture for the video in your media gallery.
To add the video, modify the first two entries under the “Additional Portfolio Settings” section. For “Overwrite Portfolio Link setting”, choose the “Define custom link” option. In the field directly to its right, add the video URL.
On the right side of the page, find the “Portfolio Categories” box. Select the “Videos” option.
You should change the following fields to add a video to your media gallery:
Once you are finished, click the blue “Publish” (or “Update”) button.
Footer
How to change department address in footer (Old WordPress Versions)
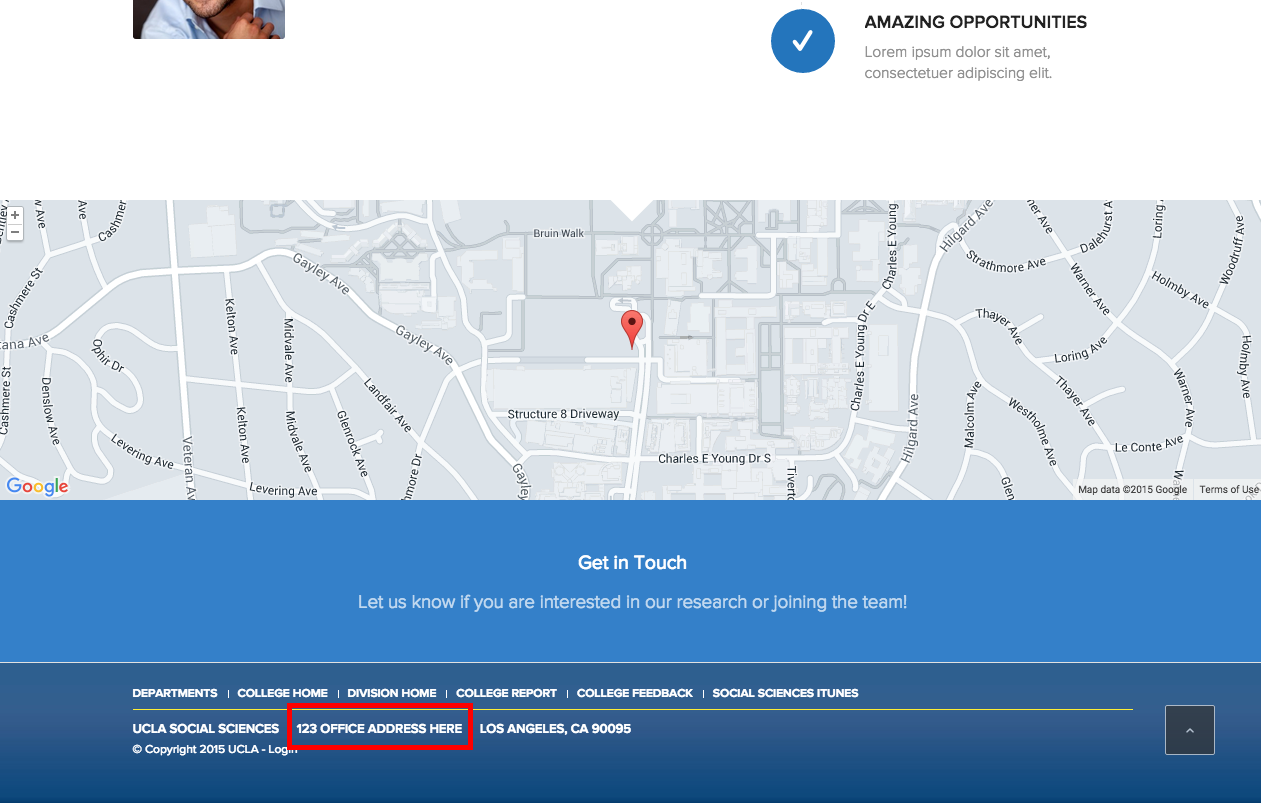
- To change the department address that appears at the bottom of the page (boxed in red), first click on “Edit Page” or “Edit Frontpage” in the admin bar at the top of the page.
- In the sidebar of the page, click “Settings” –> “General”
- Scroll to the bottom of the page to find the “Address” box. Fill in the section with the appropriate address of your department and press “Save Changes” once you are finished.
How to change and style footer (New version of WordPress)
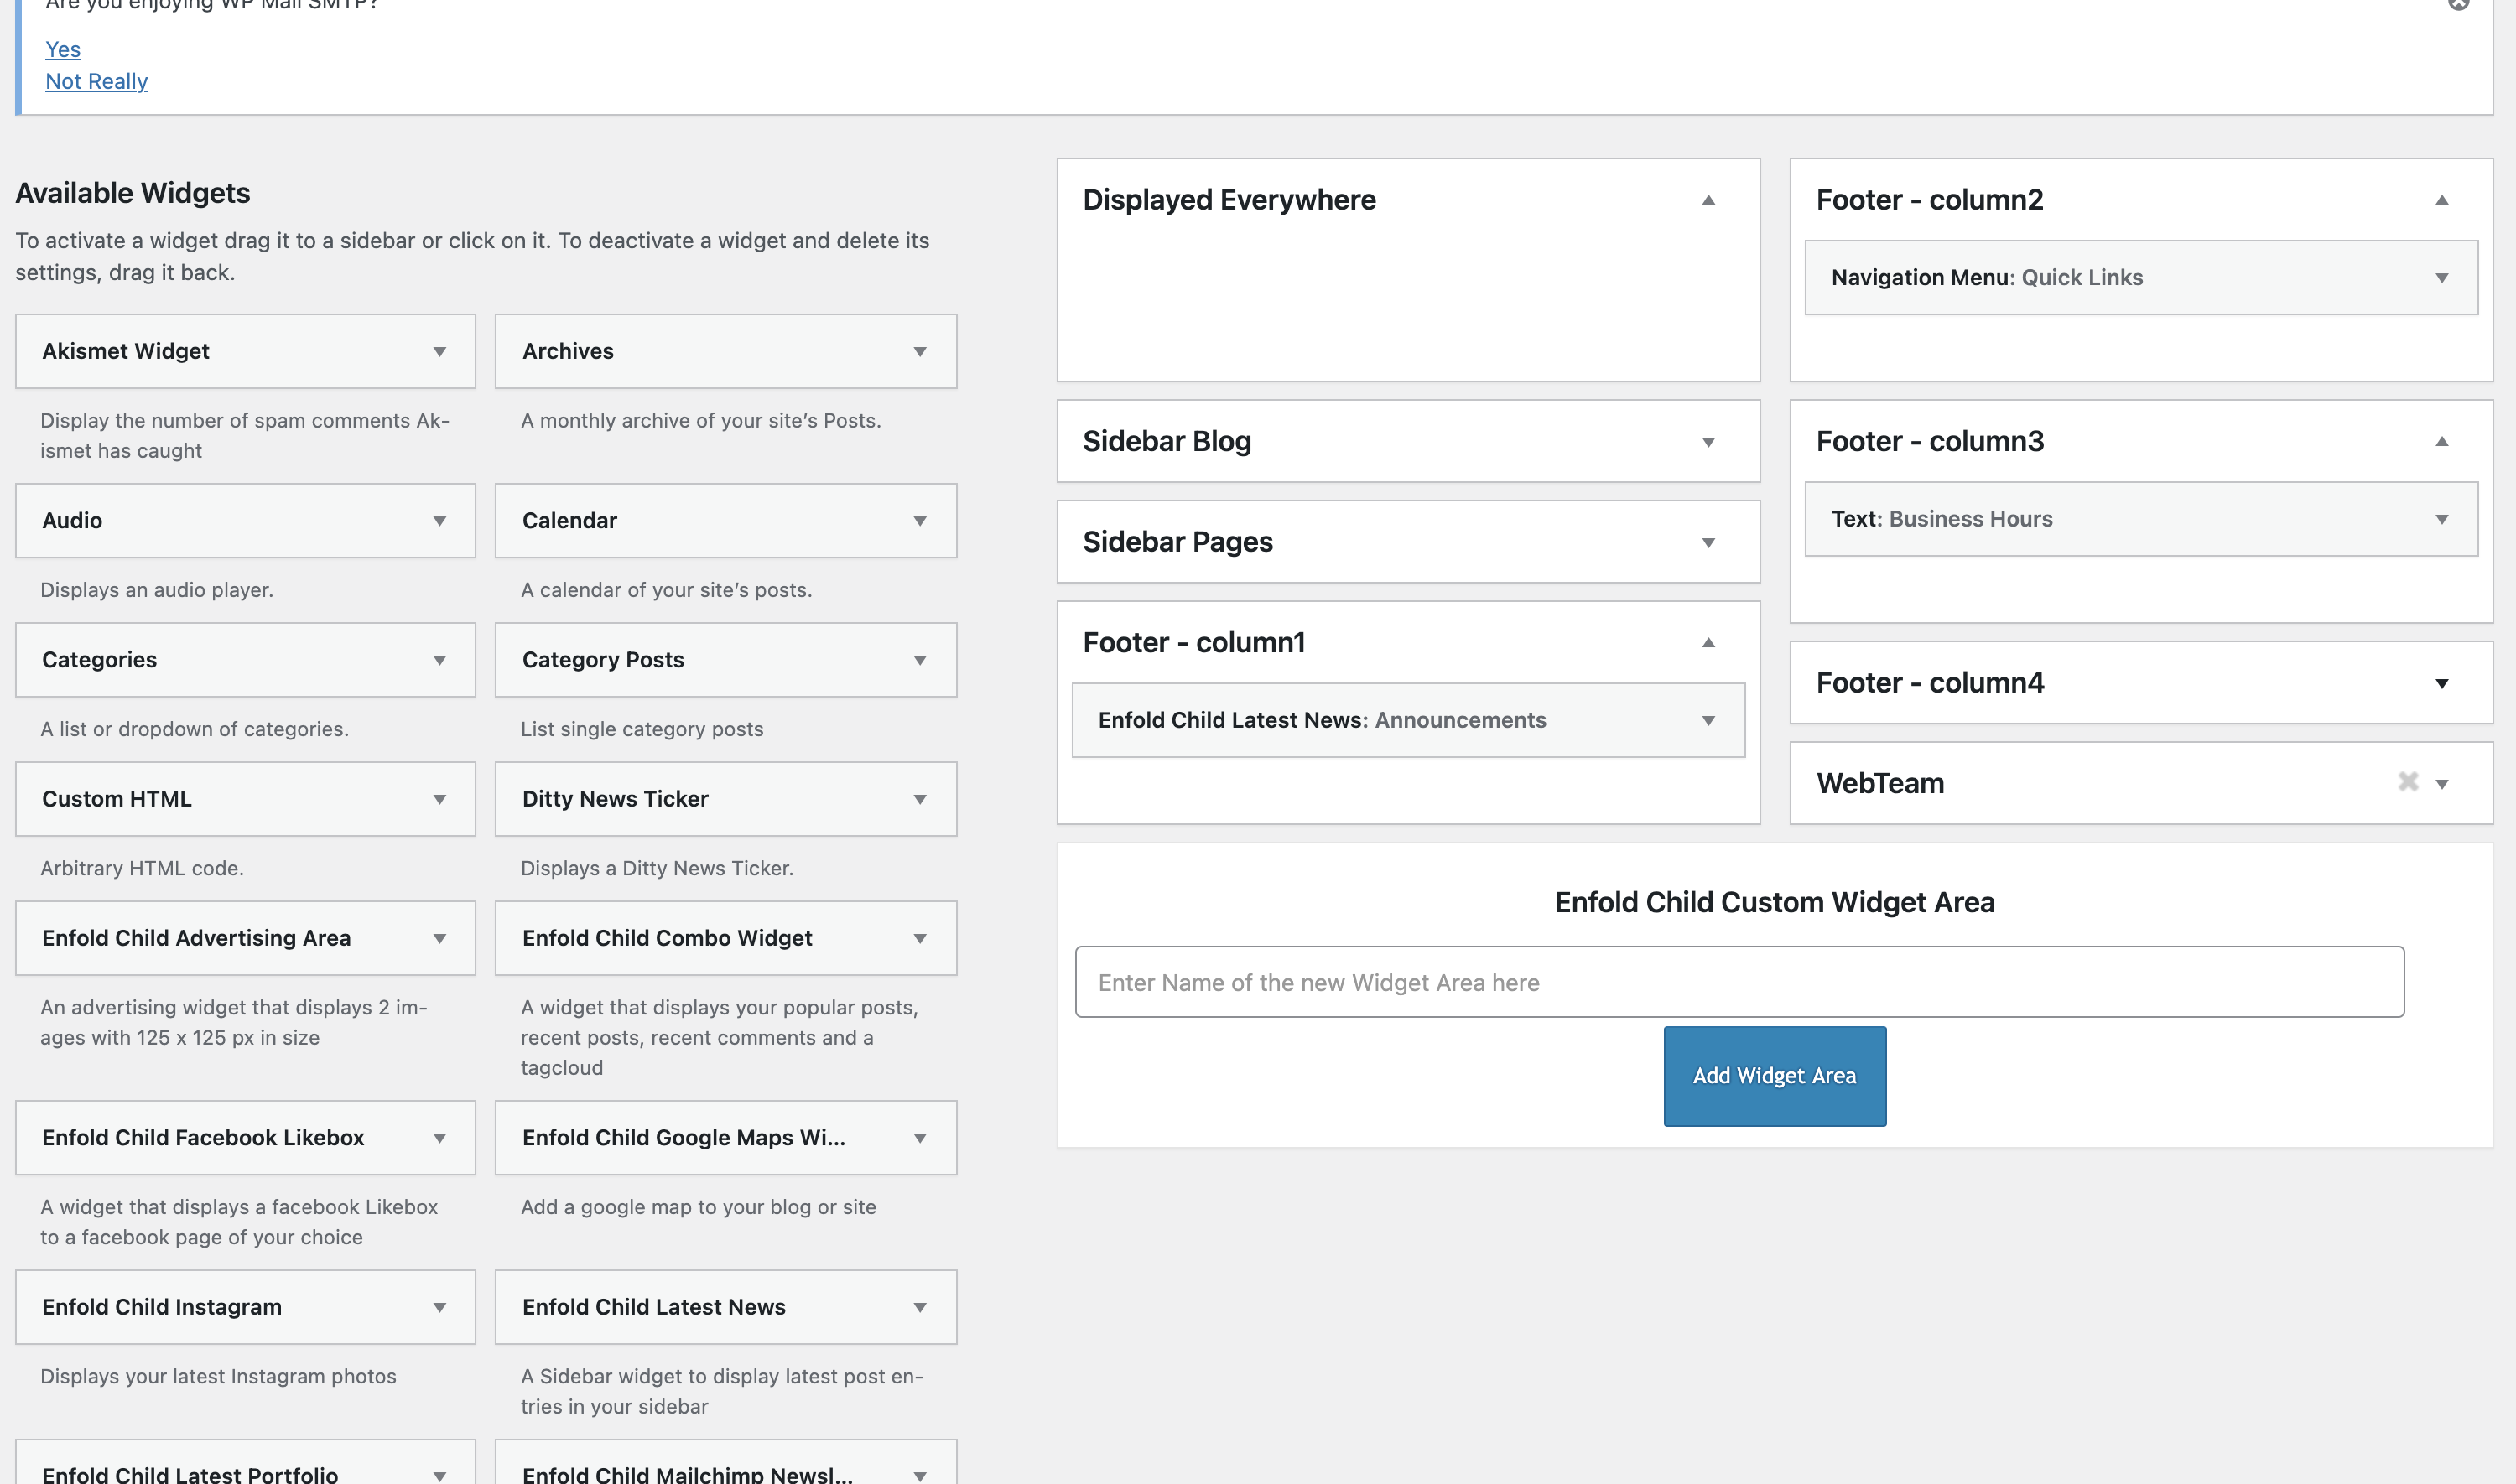
- Go to Appearance > Widgets.
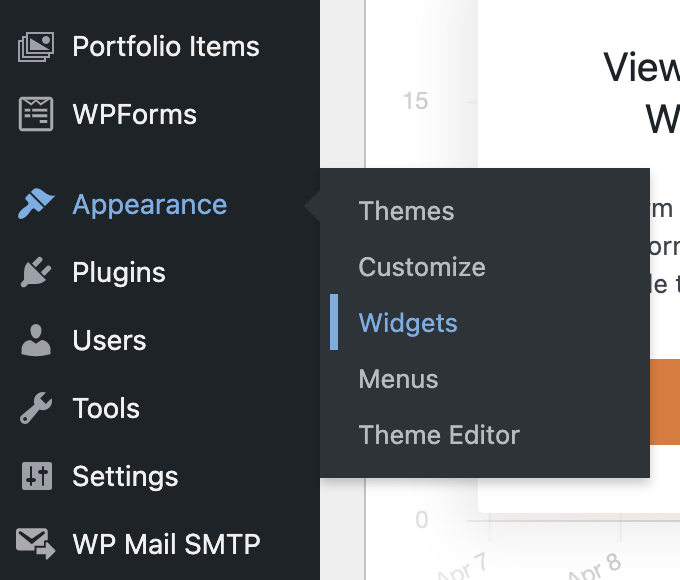
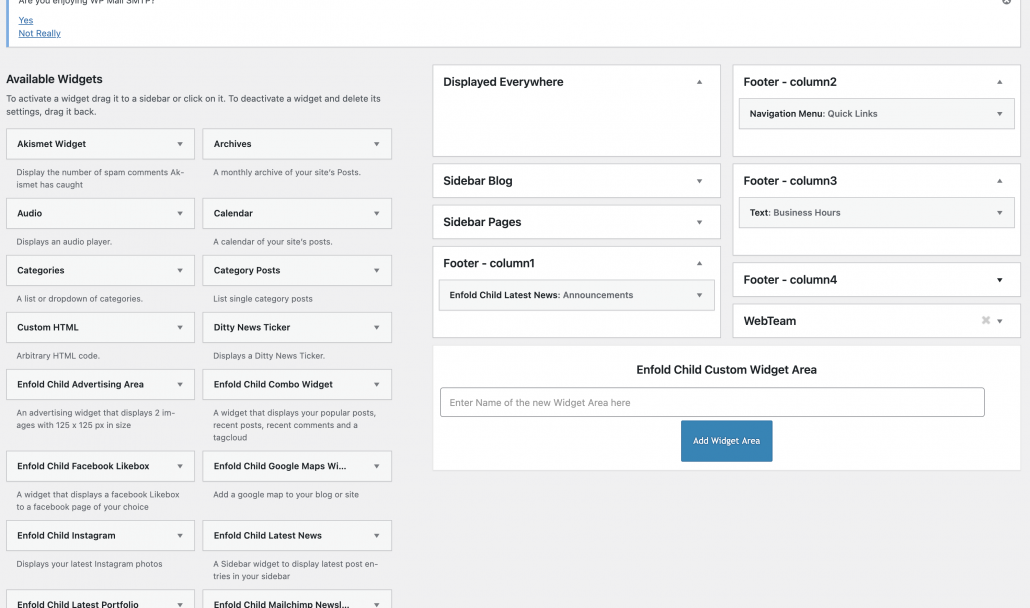
- It should now take you to a page that looks like the image below. On the left are available widgets you can use in your footer. On the right where it says “Footer – Column…” is the actual footer. You can click on the dropdown arrow to drag and drop widgets into the footer and start editing.
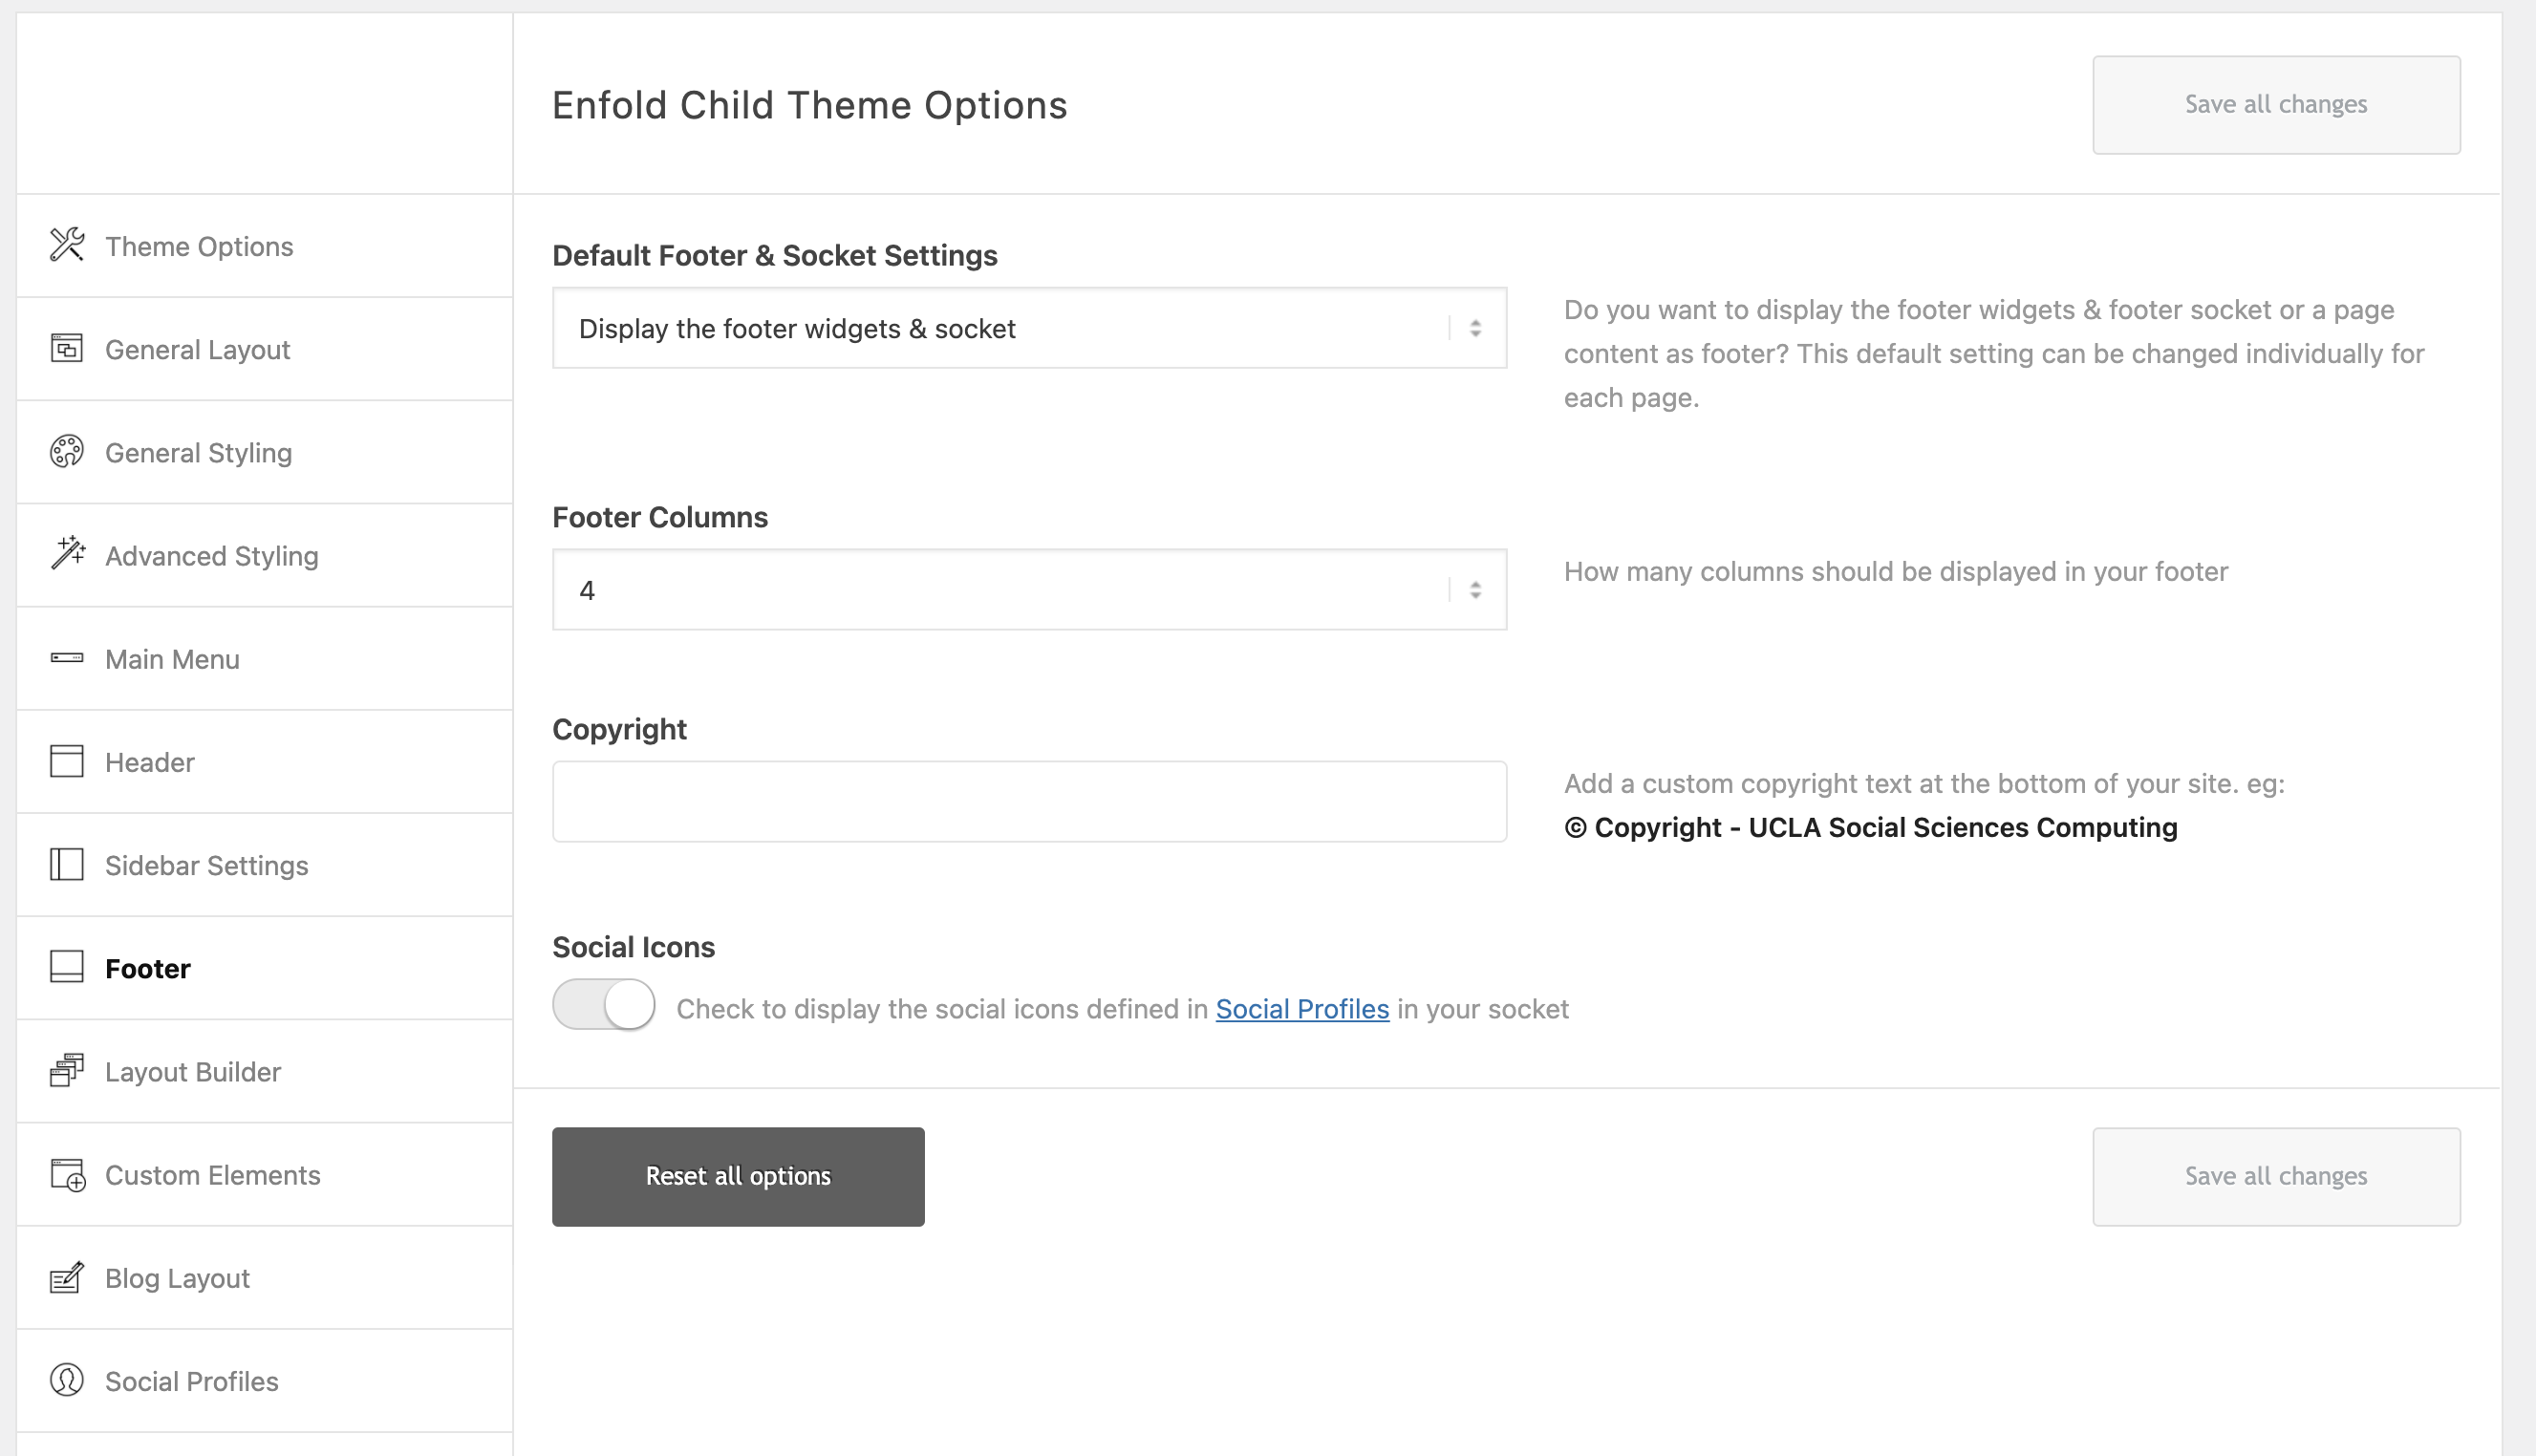
- To change the number of columns go to the top admin bar and click on “Theme Options”.
- Now go to Footer. Where it says “Footer Columns”, this is where you can change the number of columns on the Footer. After make sure to click on “Save all changes” to save.

Javascript/iFrame
Google Sheets
- In the page editor drag and drop a “Code block” element into the editing page.

- Click on “Code Block” and copy the iFrame code below into the “Code Block” page. Add the Google Sheets url in the space where it says “ADD URL HERE”.

- Make sure to click save when you done and then update the page for the sheet to show up onto the page.

Google Calendar
- Drag and drop a “Code block” element into the editing page.
- Copy the iFrame code below into the “Code Block”. Replace “ADD URL HERE” with your Google Calendar url.

- Make sure to click save then update the page in order for the calendar to show up on the page.

Facebook Feed
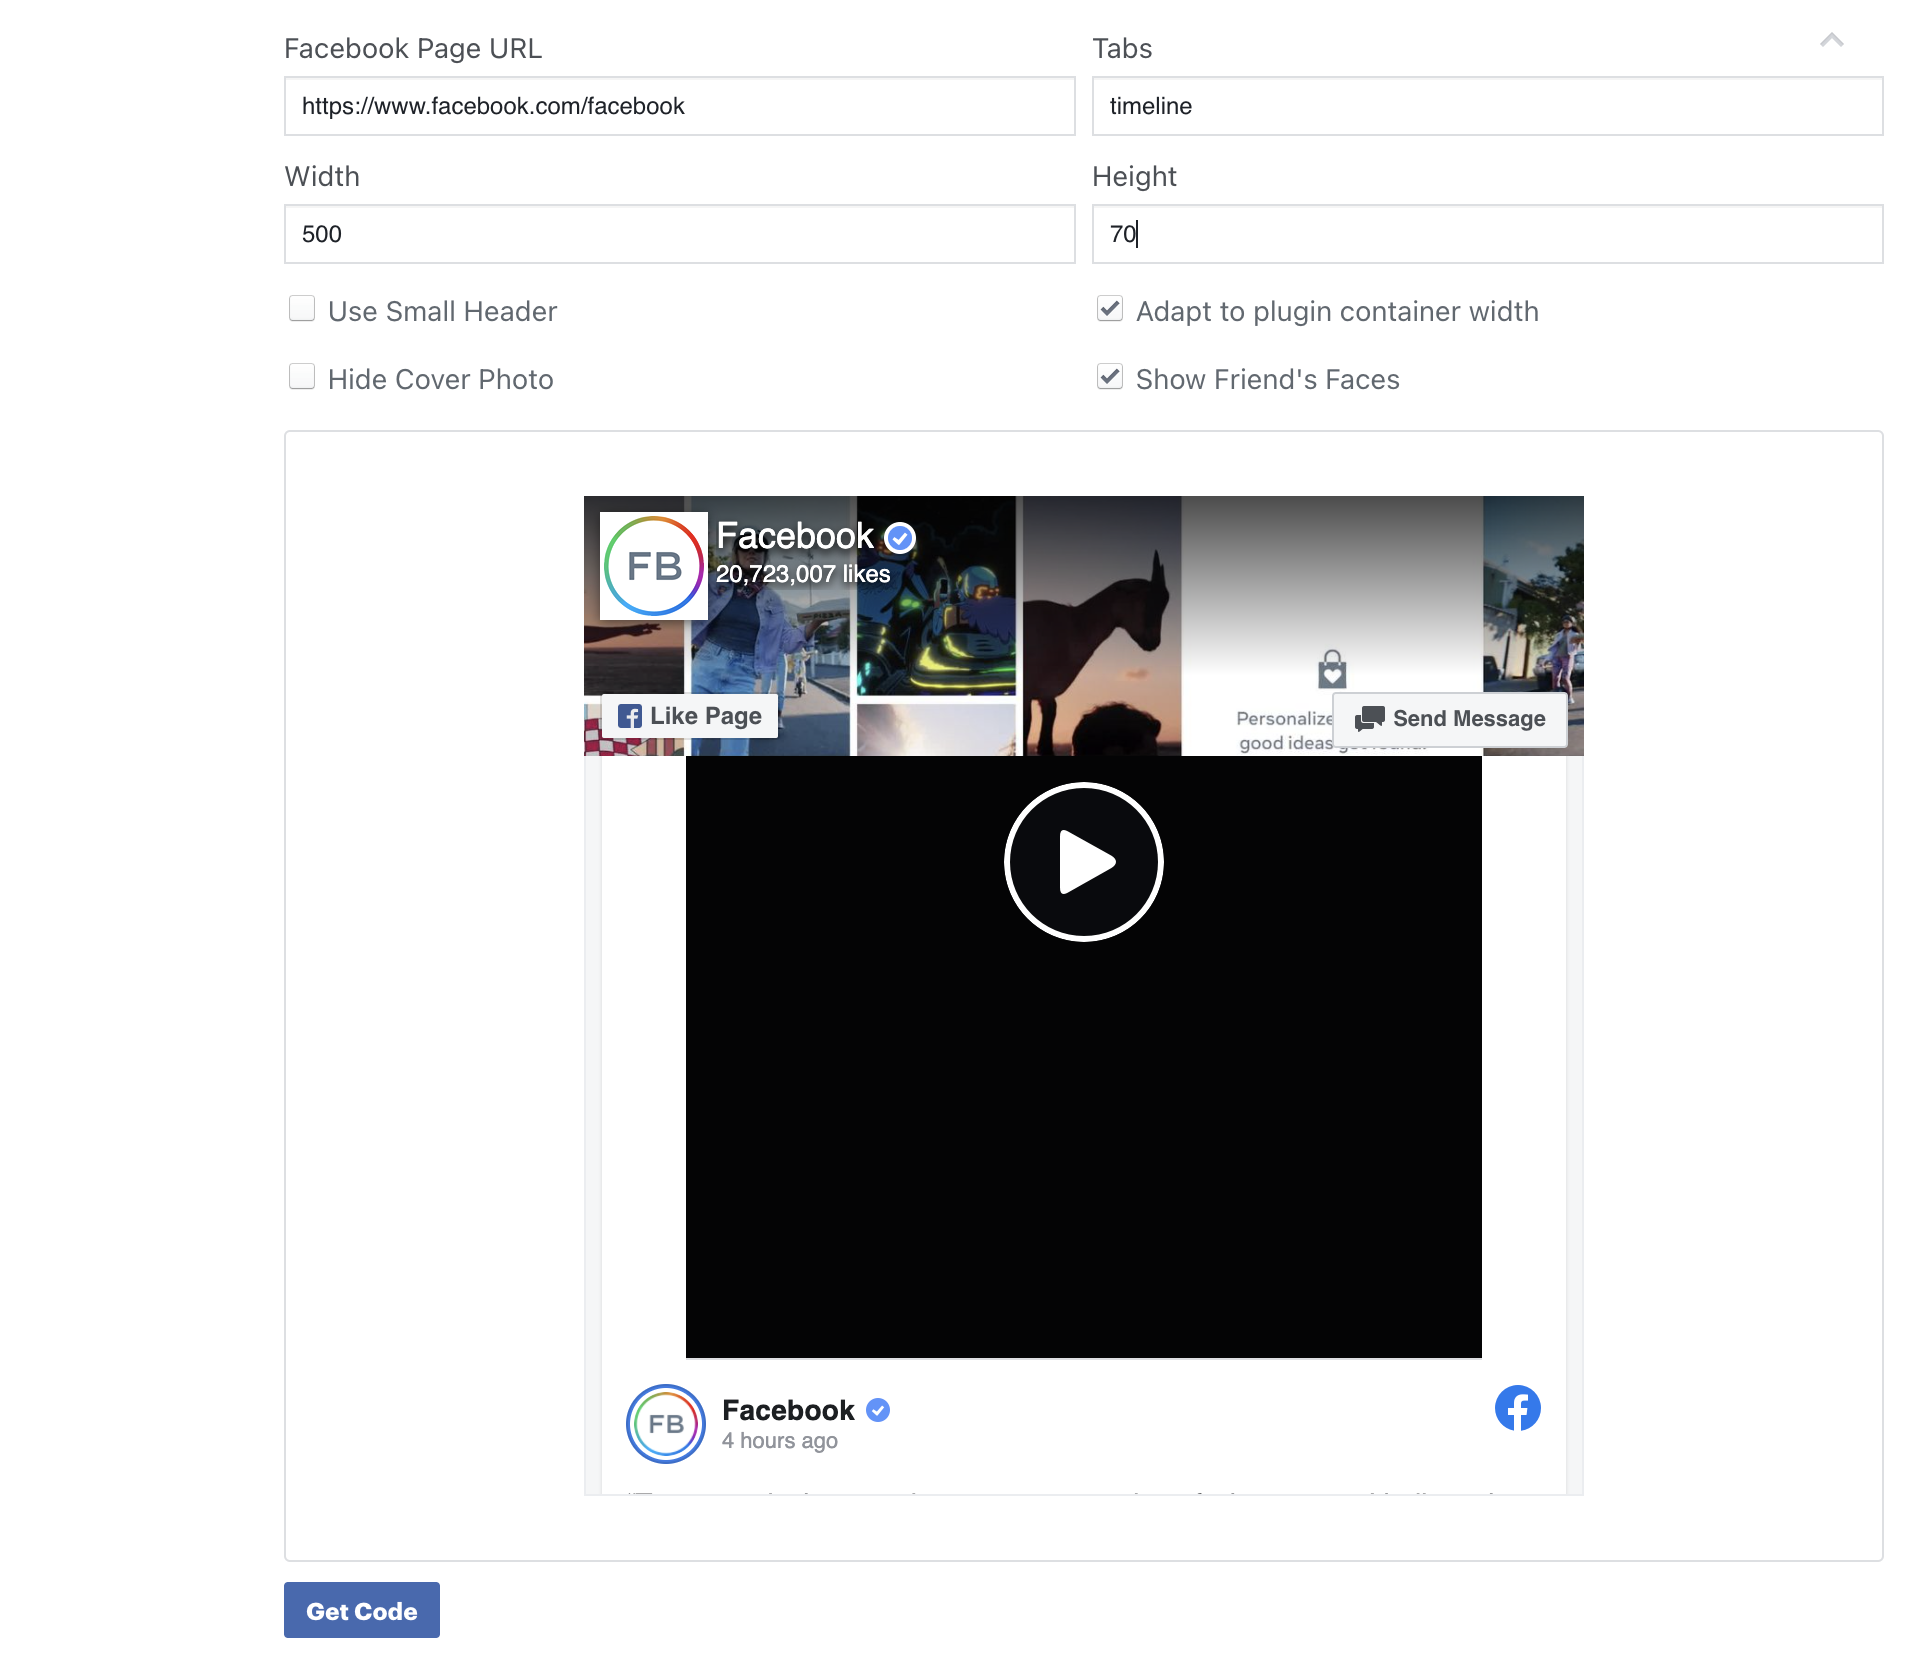
- To add a Facebook feed first go to this url https://developers.facebook.com/docs/plugins/page-plugin/. Here you will need to fill out the fields so that Facebook can create the appropriate iFrame code for you. For width you can try using 500 and height 70.
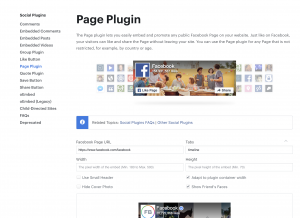
- Once you have filled out the fields, scroll down and click on “Get code”.

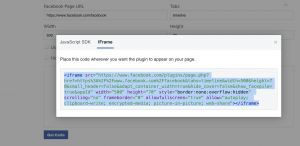
- A window will pop up with an option to get the Javascript or iFrame code. We are going to use the iFrame code. Click on the iFrame tab and then copy the code that is shown.
- Go back to your editor and make sure you have dragged and dropped a “Code block” element into the editing page.
- Open the code block and paste in your iFrame code.
- Save and update the page. Refresh your page and the feed should show up.


Twitter Feed
- Drag and drop a “Code block” element into the editing page.
- Copy the Twitter feed Javascript code below into the “Code Block”. Make sure to replace “ADD URL HERE” with your own Twitter account’s url. Where it says “ADD TITLE HERE”, you can either add in a title or remove it.

- You can also refer to https://developer.twitter.com/en/docs/twitter-for-websites/timelines/overview for information on how to incorporate a Twitter onto a webpage.
